
Our mission was to recover a captured British officer, Captain Leroy (who might have been a spy for the boys in blue), the brave Continentals under the command of Captain Blackmore and a contingent of Lee's Legion by Lieutenant Gillan, stealing a march on the redcoats at the start.


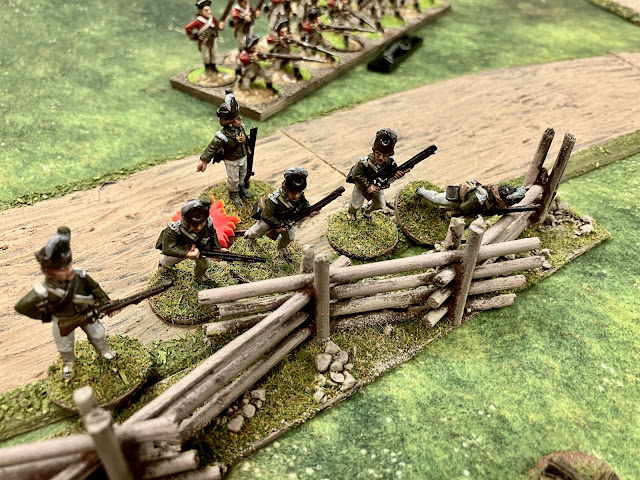


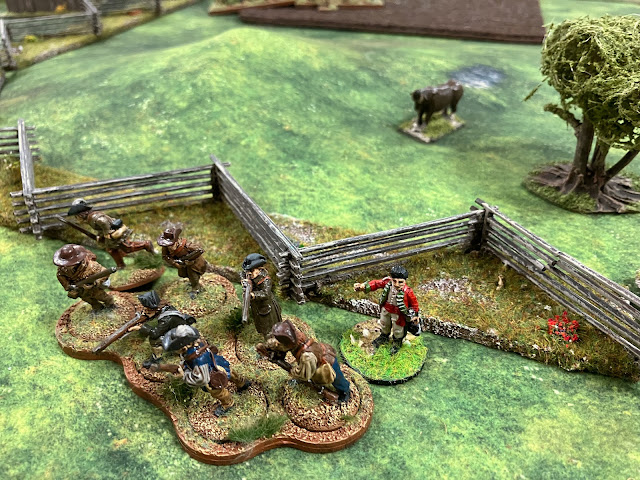


The British were not long arriving though, Sergeant Dagenham leading two groups of Regulars towards the advancing Americans...

Followed by Captain Sambridge who also brought two groups of Redcoat Regulars to the fray.

Gadzooks! More Lobsterbacks! Lieutenant Wakefield moved through the woodland towards the farm the spy was being held in with two groups of Light Infantry in Line, with Ensign Belmont leading the way with a group of Light Infantry Skirmishers.

The British were very aggressive pushing a group of Loyalist Ranger Skirmishers under the command of Corporal Danger forward to try and capture the Americans mobile deployment point. Unfortunately for them this brought them into range of a group of Continental Skirmishers with rifles led by Sergeant Lord.
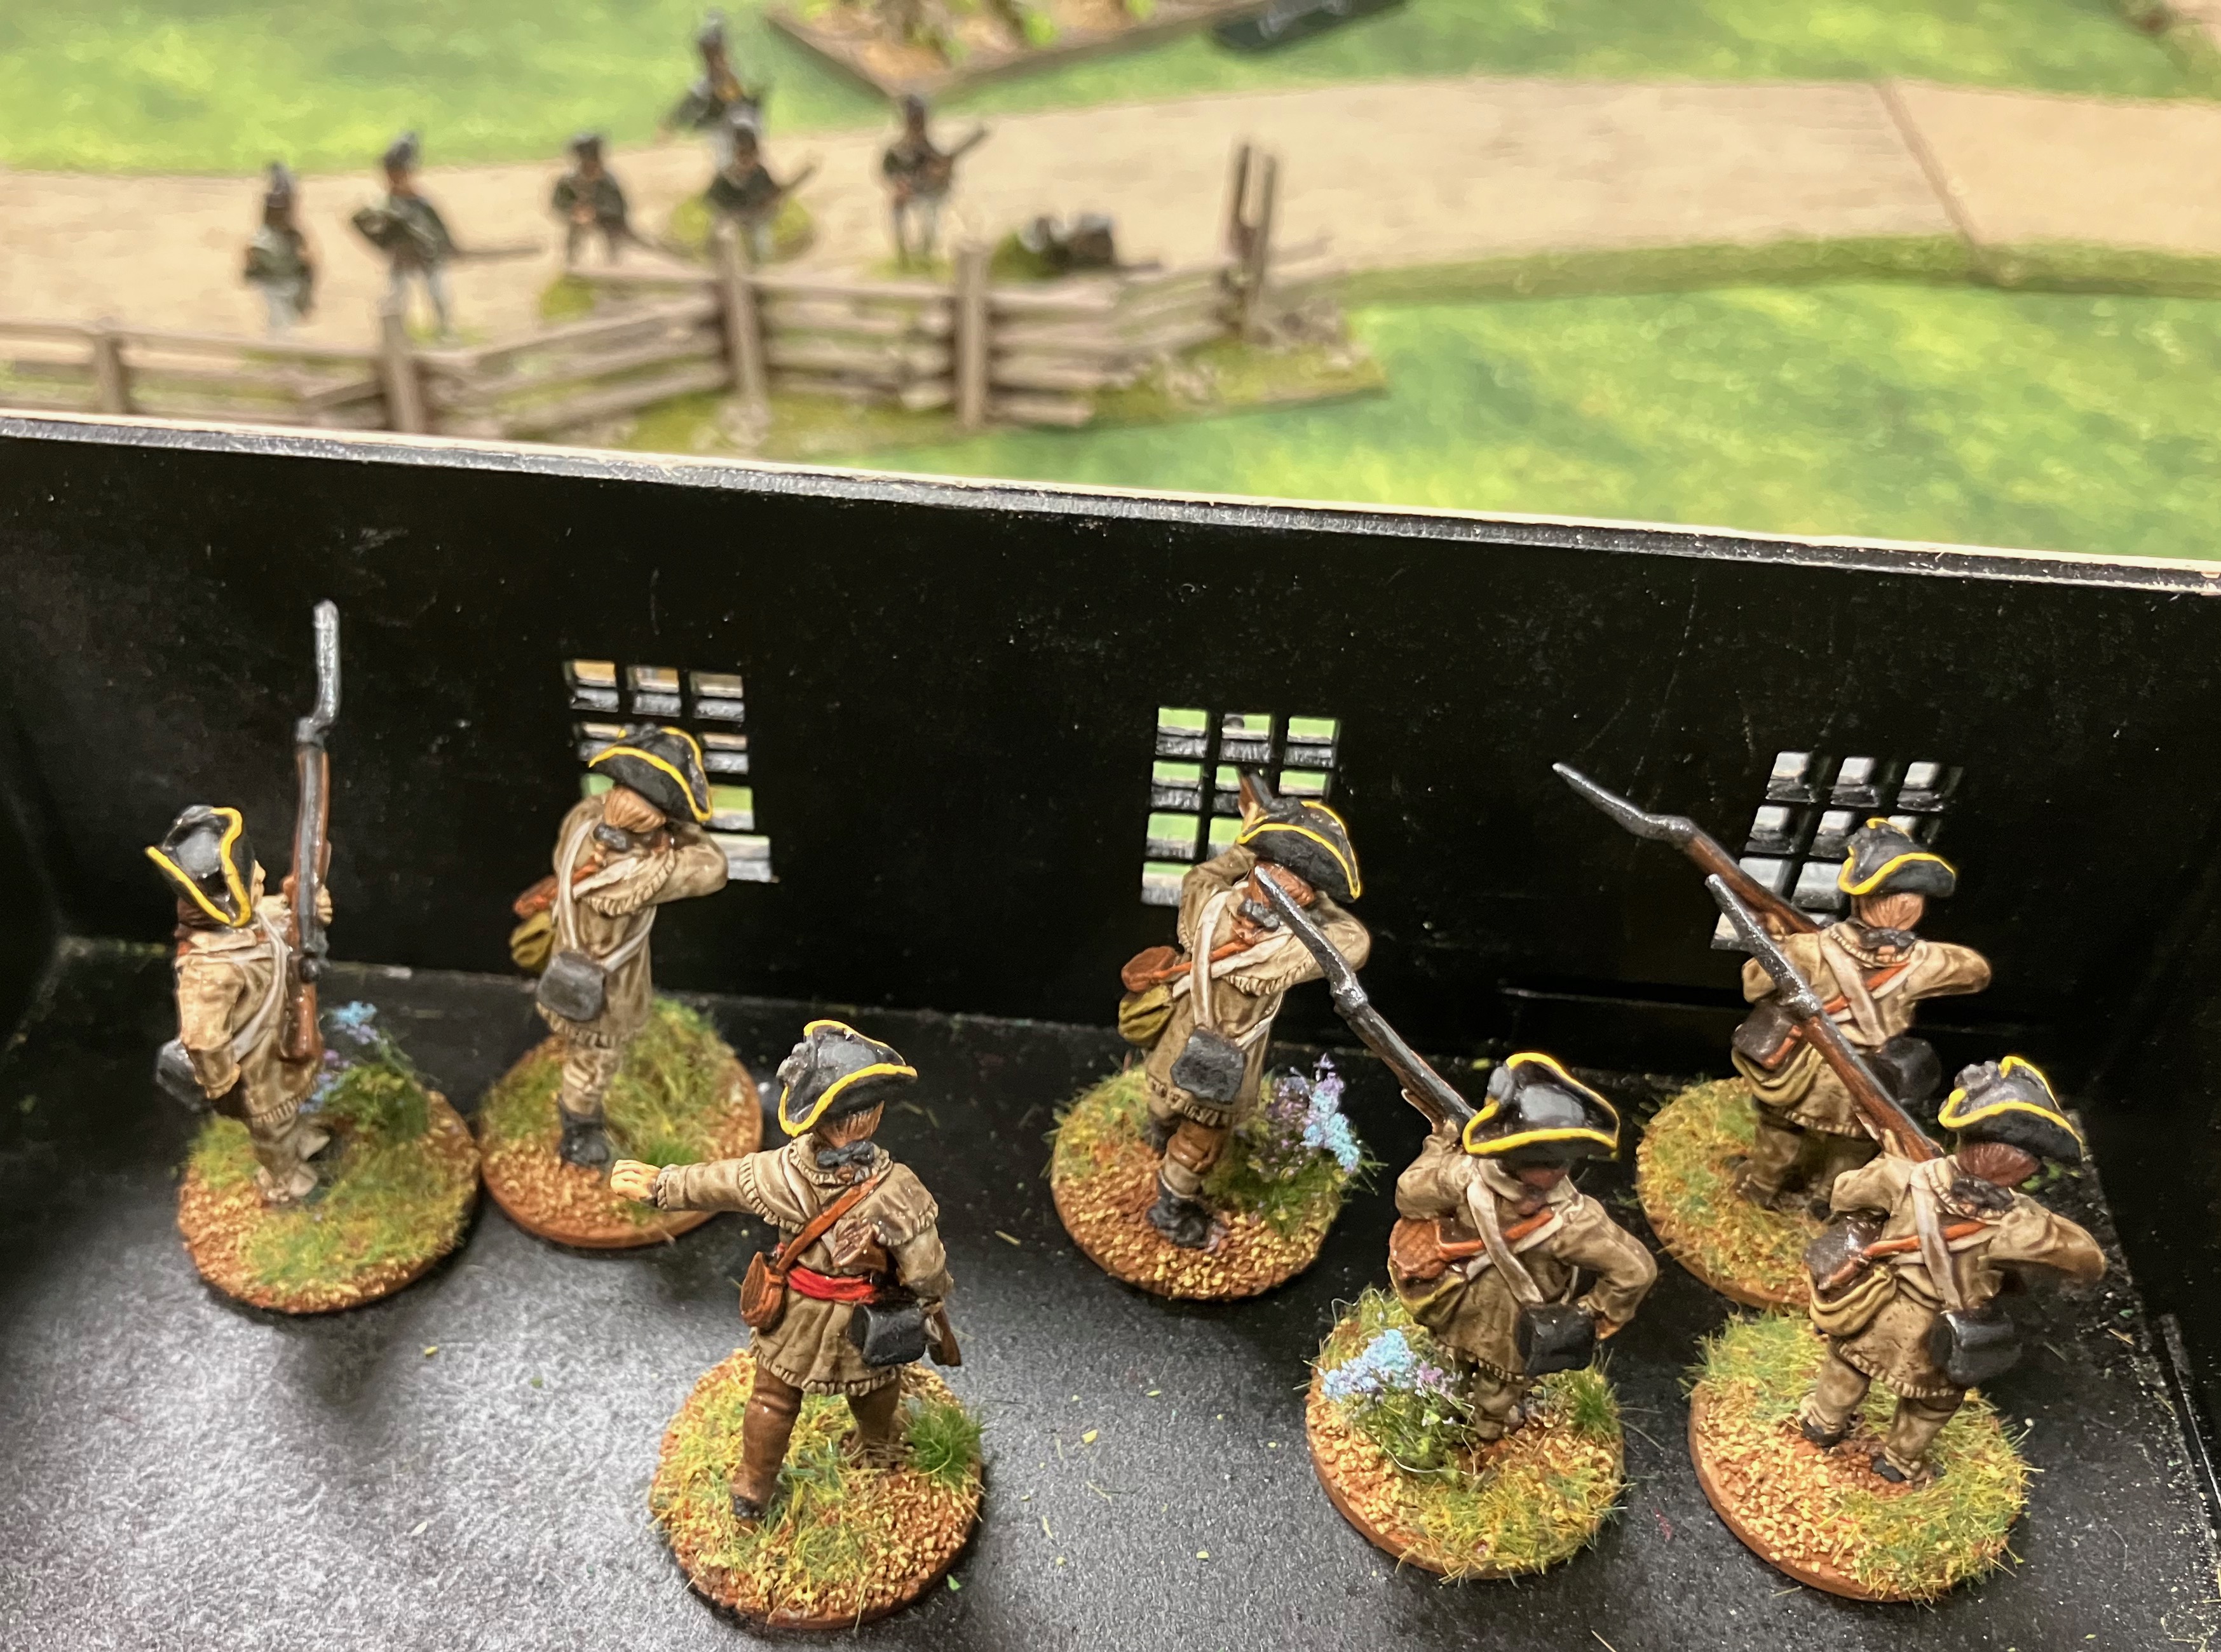
Crack! Rifle fire echoed across the field as one Ranger fell dead and Corporal Danger was wounded, dropping a level to zero.

The main body of Continental troops however found its way forward blocked by the Lobsterbacks who had deployed into line and waited for the Americans to advance into their crossfire...

With the route to the farm where Leroy was being held apparently blocked, Sergeant Paice ordered one of his groups of Rebel Militia to remain at the behind whilst he, and the second group, decided to escort Captain Leroy to the American Deployment Point and safety.

As Paice and his men headed towards safety, Lieutenant Coverdale brought up two groups of Rebel Militia to protect Paice's rear as the British Light infantry moved up.

Across the battlefield two more of the Loyalist Rangers fell to Continental Skirmisher rifle fire...
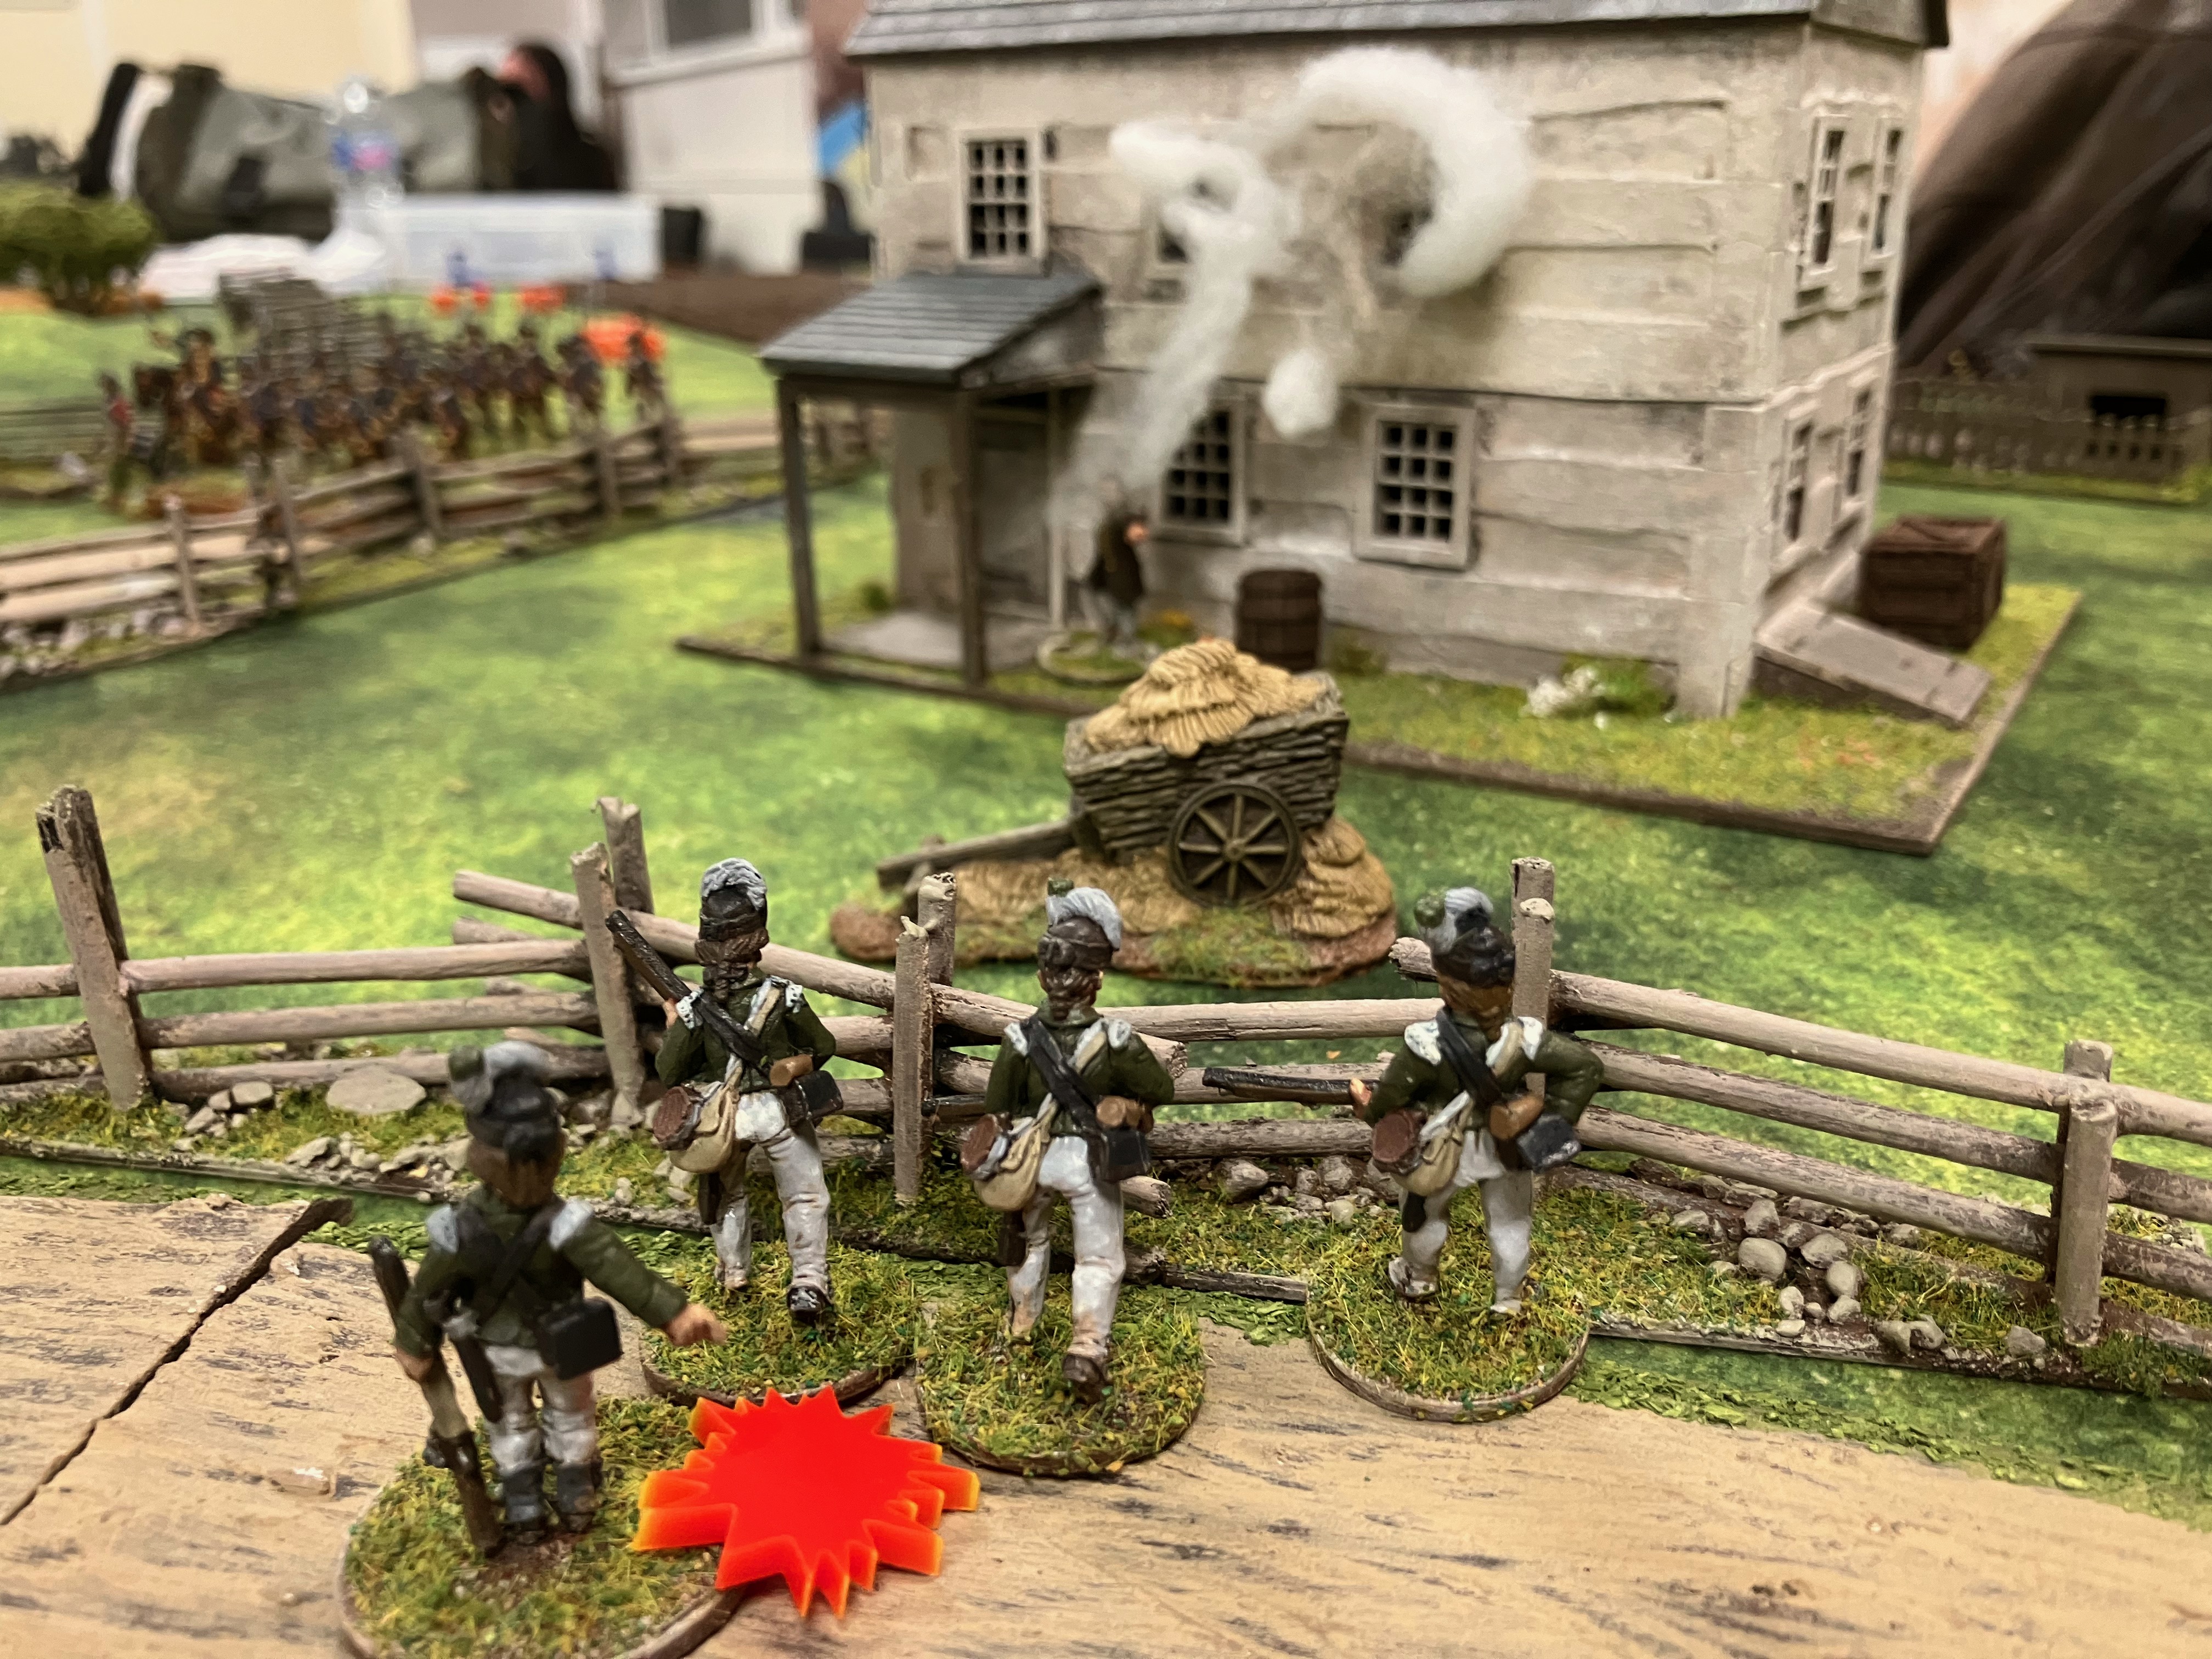
Whilst a detached group of Coverdale's Militia engaged Ensign Belmont's Skirmishers.

The other two groups of Militia being pushed forward to form a firing line.

Gillan's Legion Light Infantry however were struggling to get across a muddy field...

As Sergeant Dagenham's Lobsterbacks opened fire on Captain Blackmore's Continentals who had snapped into line, detaching one group who had moved behind the main building to try and flank the British.

The British fire was quite devastating and two braves sons of liberty made the ultimate sacrifice.

Rebel problems were exacerbated as a bull spotted Leroy's red jacket as the Rebel Militia ran him across the field and gave chase!

Despite moving 3D6, the rescue party saw the bull starting to gain ground on them as Umpire Andy decided the bull could move 4D6! (Andy also deciding that shooting the bull, owned by a rebellion supporting local farmer, would result in an automatic British victory!).

Fortunately the Militia were able to get Leroy and themselves over the rail fence before the bull caught them! Phew...

Blackmore and his outnumbered Continental Regulars began to exchange volleys with the British...

Whilst Sergeant Bolin moved his group around the flank to fire at the Loyalist Rangers...

Killing two more. Whilst they did not break as they only had two Shock, Phil decided to pull them back away from the deadly Continental rifle and musket fire.

Coverdale's Militia started to exchange fire with the British Light Infantry...

Killing two of the Redcoats whilst taking some Shock in return...

While Blackmore's Continentals were taking a battering at the hands of the four groups of British Regulars.

Another devastating volley from Sergeant Dagenham's men...

Causing one Group of the Continental Regulars to Break.

Back across the battlefield the Militia were standing firm against the Lobsterback Lights, and although the Shock was starting to add up, an increasing number of dead Brits littered the battlefield.

An Eagle's eye view of the battlefield, which has effectively split into two separate battles.

Having managed to extract themselves from the mud, Gillan's Legion troops managed to get into a position to engage the enemy.

Something Sergeant Bolin was managing to good effect, causing Captain Sambridge to split his formation and have one group try to engage the Continentals.

Paice had almost escorted his charge to safety...

When Sergeant Lord ordered his Riflemen to open fire...

Taking down two of the detached Redcoats!

A final push saw Sergeant Paice and his men reached safety, but not without a final twist! Captain Leroy made a bid for freedom (clearly he was a captured enemy not a brave spy) and a duel was fought between the redcoat Captain and buck-skin clad Militia Corporal. The first round was a draw but the second saw Paice smack Leroy in the face with the butt of his musket and the unconscious British officer was carried off the board for interrogation!

A fun battle and unusual as for once we settled the game by scenario objects and not Force Morale. It swung back and forth especially as Phil stole an early march as the red tokens kept coming out the bag at a 3 to 1 rate at the start, but eventually American valour and tactics proved too much for the forces of oppression...


