Having tried some
The Men Who Would Be Kings scenarios for our AWI
Rebels and Patriots games this time around George and I decided to have a look in
Lion Rampant (not as crazy as it sounds) and decided to try out
The Messenger scenario.
Abraham Woodhull, leading member of the Culper Spy Ring has vital information for the patriot cause! Unfortunately the British are aware and have sent Lieutenant-Colonel Banastre Tarleton ahead with a fast moving force to capture the American spy. Can the local American forces escort Woodhull to the safety of the Rebel lines, or will the British ensure he sees Tarleton's Quarter?!
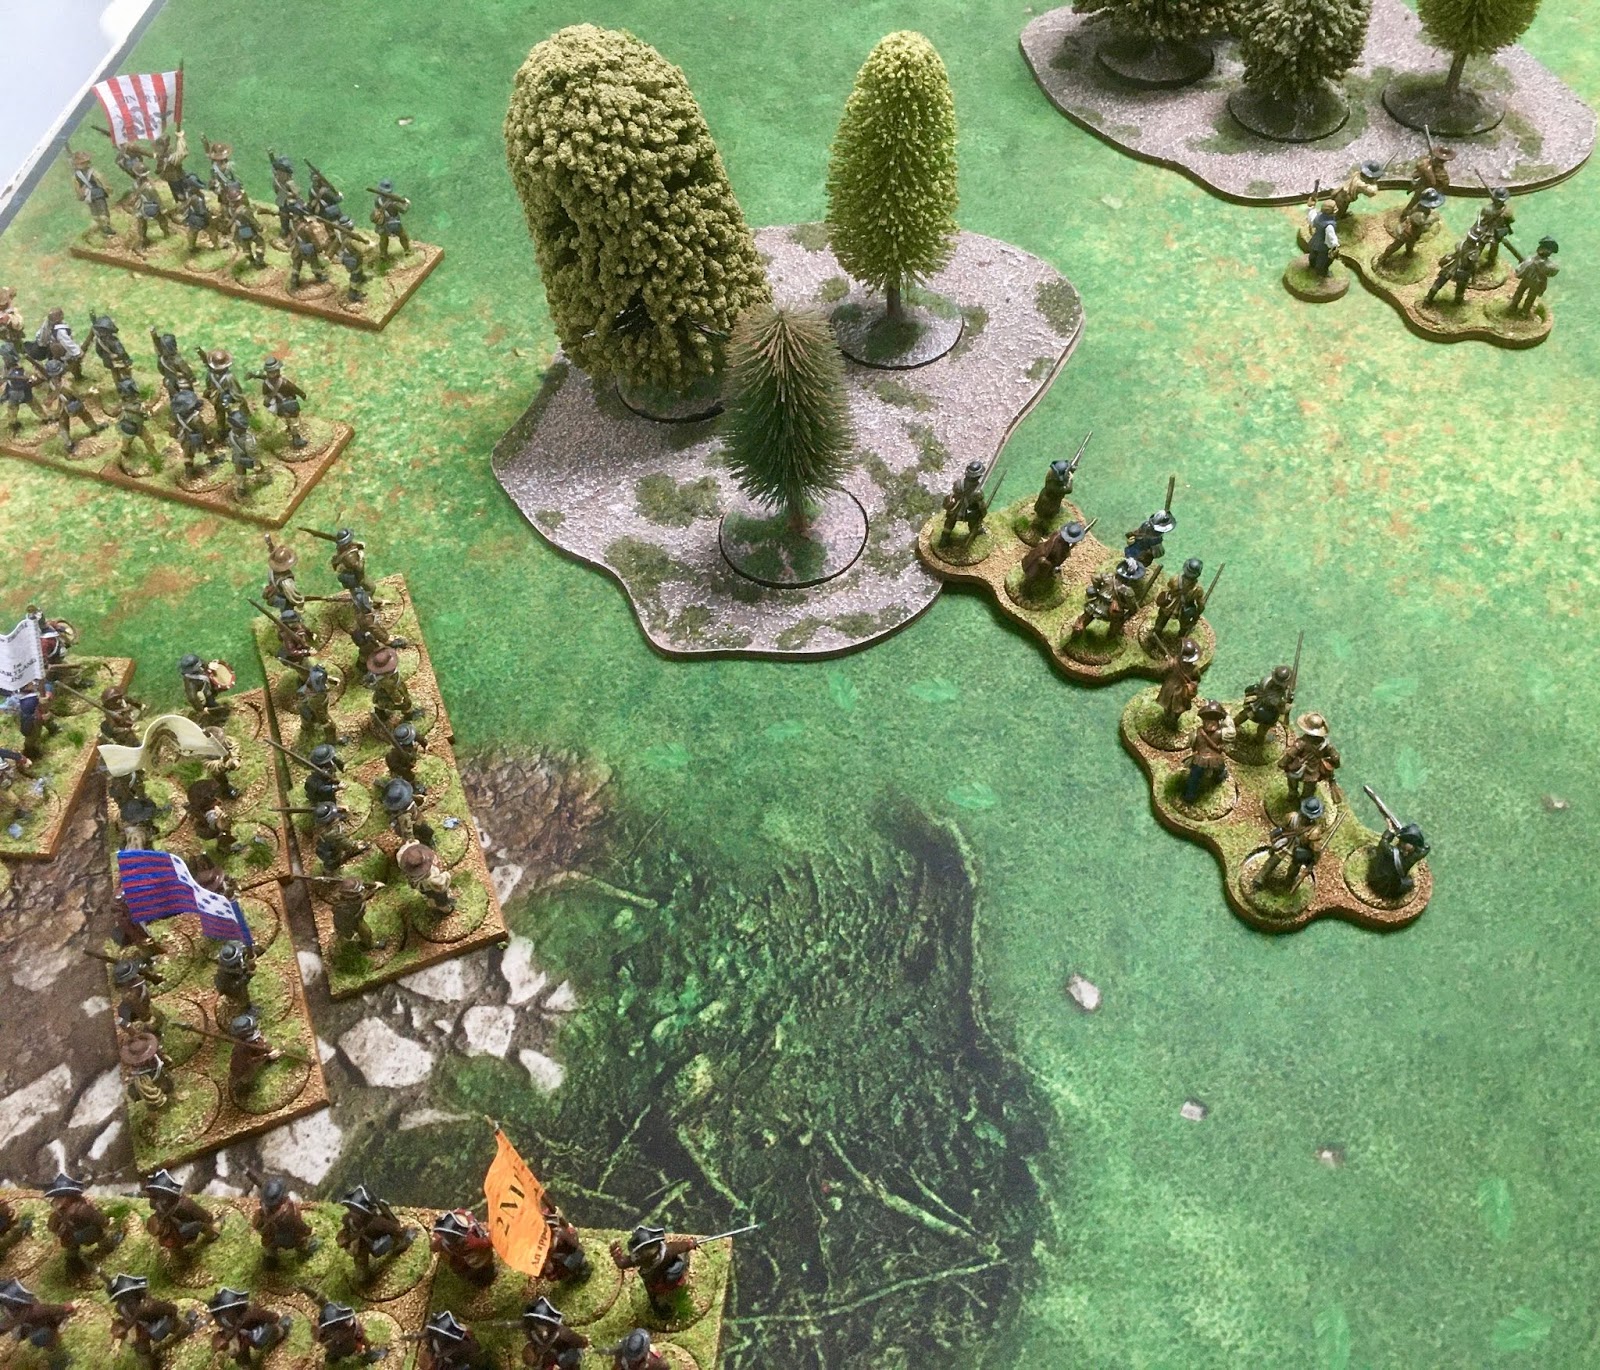
The set-up was table was set up as below with a fair bit of woodland.
It proved a bit hard to cram all of Woodhull's escort force in their starting corner with so many cheap Militia units! :-)
The British force was smaller with higher cost units.
As usual the American advance was chaotic with a number of units deciding to wait a turn or two before moving out.
First blood went to the Americans when I rolled a double 6 to activate one unit. A favourable roll on the table saw some hidden musket fire kill one of the Legion cavalry. Sadly it wasn't Tarleton...
My cunning plan to advance along three axis slowly took shape, with the 1st Maryland advancing past a couple of units of slow to advance Militia and the 2nd Maryland moving along the right flank.
On the left American flank a small group of British skirmishers lay in wait for any advancing Rebels...
Spotting a unit of Militia, the Skirmishers open fire from cover killing two. Unsurprisingly the Militia fail their Morale check and become Disordered.
Inflicting another casualty on the Militia, the British skirmishers fall back as another Militia unit moved up to support their comrades. Eventually the two Militia units managed to wipe out the skirmishers but it did take them most of the battle to do so.
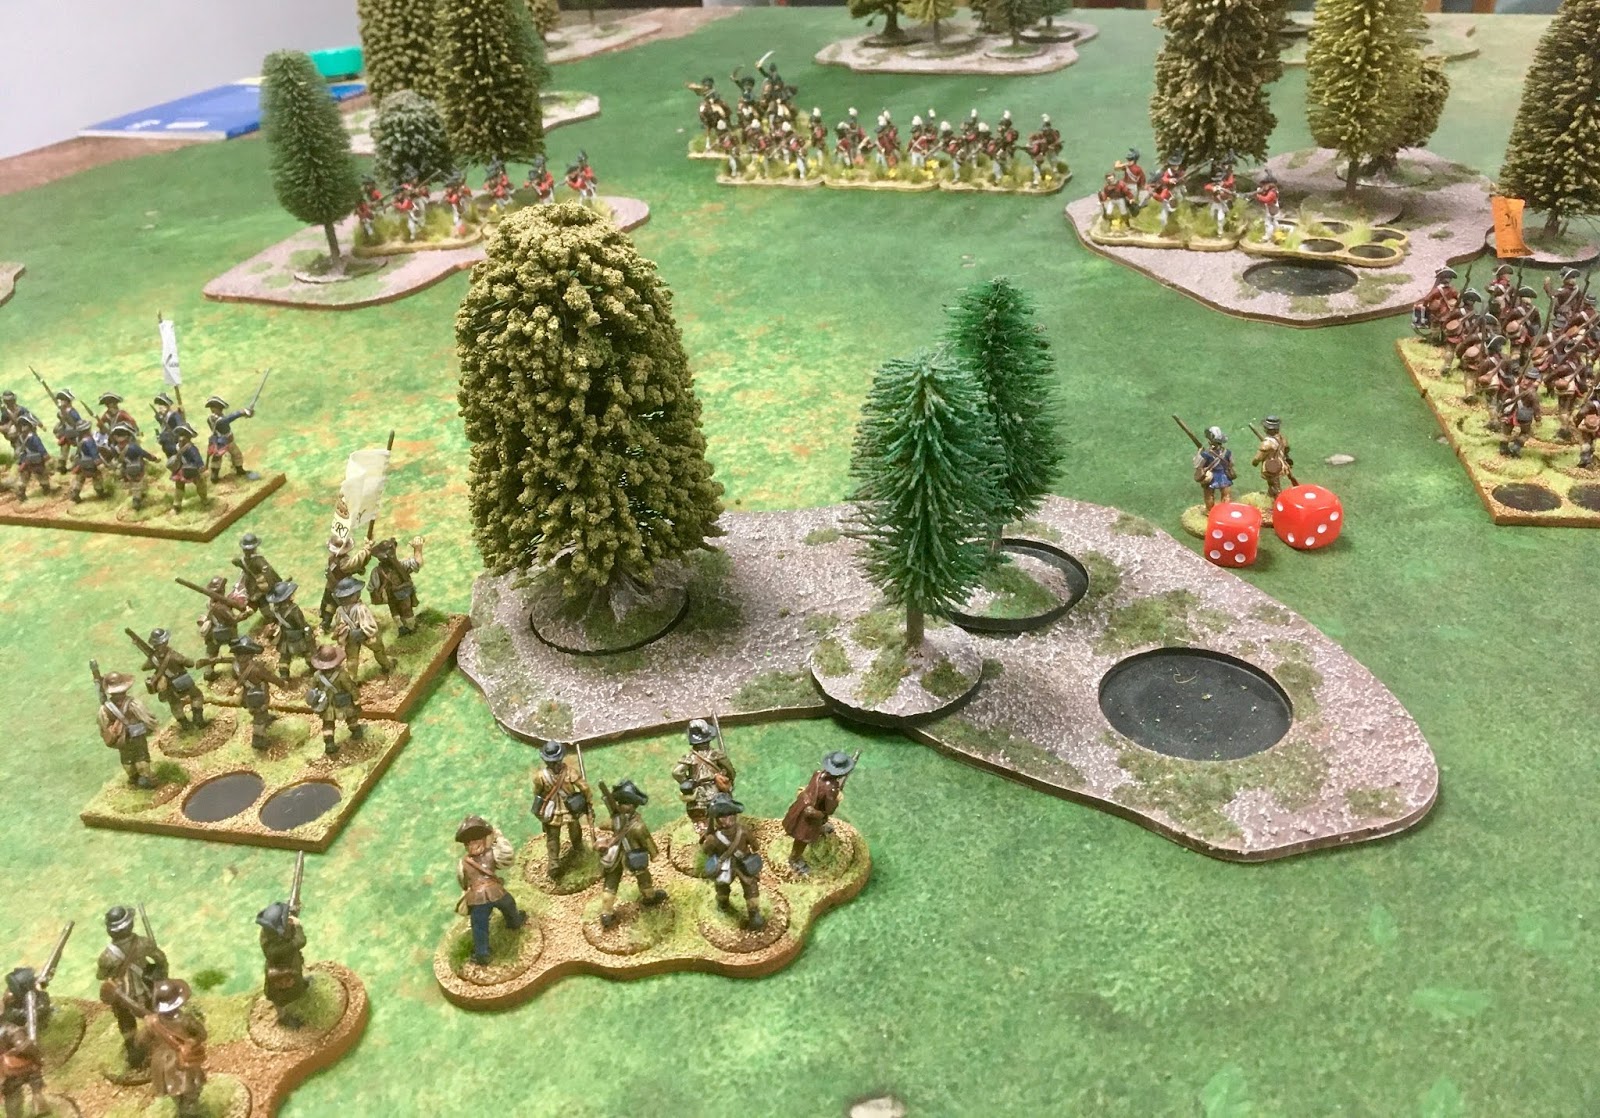
Elsewhere the Americans slowly move across the board, spotting the 23rd Welsh Fusiliers supported by the 1st and 2nd Light Battalions blocking their way...
One of the Lights takes cover in the woods and waits...
...for the 2nd Maryland who advance towards them.
The view from above the British lines with the Lights taking position in the woods either side of Welsh Fusiliers with the Legion in support.
The American centre tries to advance, the 1st Maryland forming Close Order, but soon taking casualties...
The 23rd Welsh Fusiliers in all their glory, waiting to shoot down the advancing Rebels...
...a unit of Militia advancing in an attempt to draw their fire whilst the 1st Maryland move up in support.
Unfortunately a volley of musket fire from the Fusiliers and Lights ravages the advancing Militia and they fail their Morale test becoming Broken.
Meanwhile the Lights in the woods on the British left make use of their cover to pepper Rebel skirmishers with musket fire.
Another double 6 activation roll sees the Americans gain reinforcements in the form of two more units of skirmishers who march to the sound to the guns!
On the American right flank the 2nd Maryland and a couple of units of Skirmishers try and clear the woodland of the pesky Lights
I confess I was somewhat fixated on the battle on the right flank and became determined that I needed to clear the Lights from the wood before advancing through the centre.
As time began to run out I changed plan, using the Militia on the American left and 1st Maryland to focus on the Lights in the wood on that side of the British position, eventually forcing them back after some bloody fighting.
On the other flank the 2nd Maryland moved beyond the enemy in the woods in an attempt to flank the Fusiliers. As you can see the American centre was badly mauled by now, though another Double 6 had seen more hidden musket fire and another one of Tarelton's boys shot down.
A final attempt to see Woodhull to safety on the American left went badly wrong as the the 1st Marlyland Routed following the loss of the American general accompanying them and subsequently the two Militia on that flank also Routing as a result, leaving Woodhull and a unit of Skirmishers caught in the open at least three moves from safety, with the British Legion drawing their sabres...
Well that went spectacularly badly! I'm not sure this was a good mission to have so many low quality Militia units in my army for, but it was a case of using what I'd painted (and I wanted to try the standard 12 figure units again, following the recent disasters with the large ones). However my battle plan was a disaster and I got fixated with mini-battles rather than react to changing circumstances and keeping focused on the mission! That all said it was a fun game and proved that it is easy to port scenarios from one 'Rampant' set to another.
Unfortunately though this is our last game for a while as George has been confined to barracks (aka working from home somewhere north of London) due to the Coronavirus outbreak and BIG has closed down for the duration. Hopefully normal service will be resumed as soon as possible, in the mean time I guess there is a Lead Mountain that needs tackling!