The second 'lost report' from last Autumn was a large Rebels and Patriots game played down BIG with George and Steve. The specific scenario was the 'Take The High Road' one from The Men Who Would Be Kings, the hill replaced by a ford held by the Rebel forces which had to be taken by the British in 12 moves.
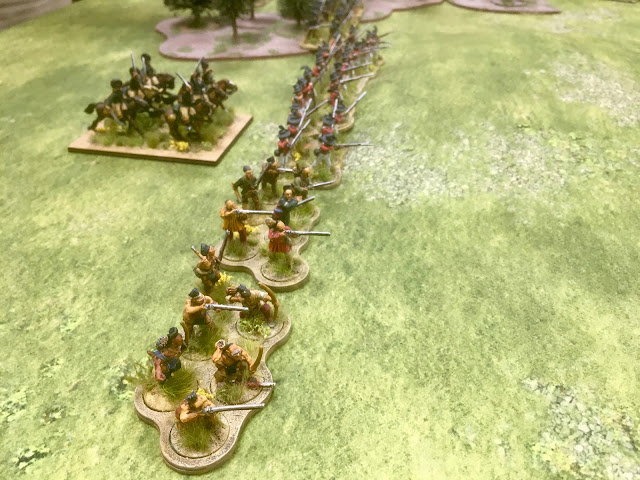
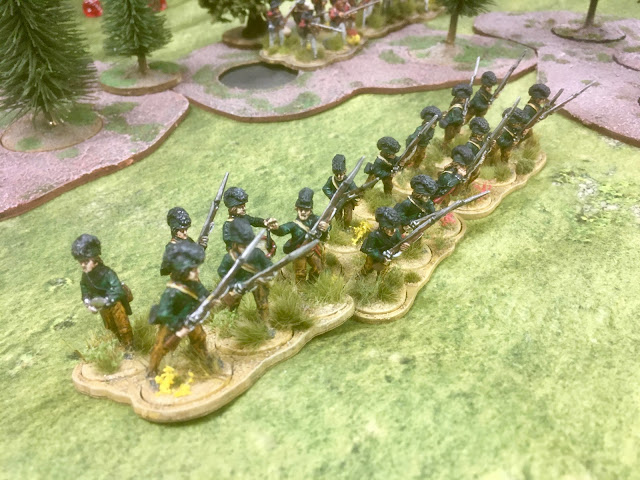
The Loyalist forces were a mix of British and Hessian, the Ansbach-Bayreuth Jäger Company leading Regiment von Bose forward...
Flanked by the British Legion (aka Tarleton's Raiders).
As the British army advanced, the Americans rush to deploy...
The Ansbach-Bayreuth Jägers pushing forward to harass the enemy...
As the 1st Virginia and 2nd Maryland marched across Colling's Ford to defend the vital crossing point.
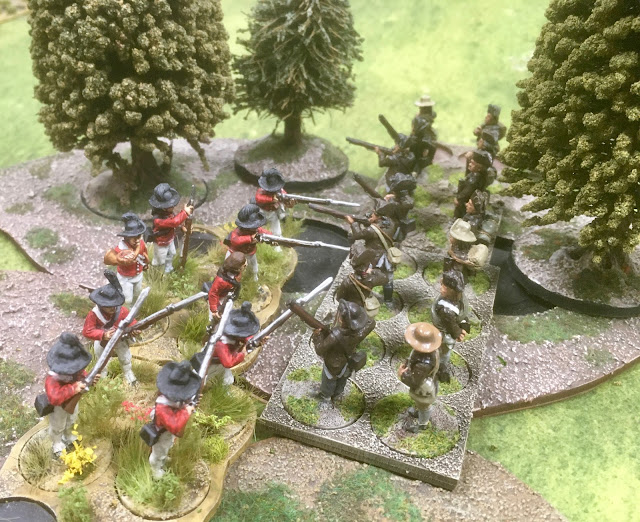
The 1st Virginia formed up in line in the woods to the right of the road.
At the ford the 1st Maryland, the North Carolina Militia and 1st Continental Artillery formed a rearguard to provide a final line of defence if it was needed.
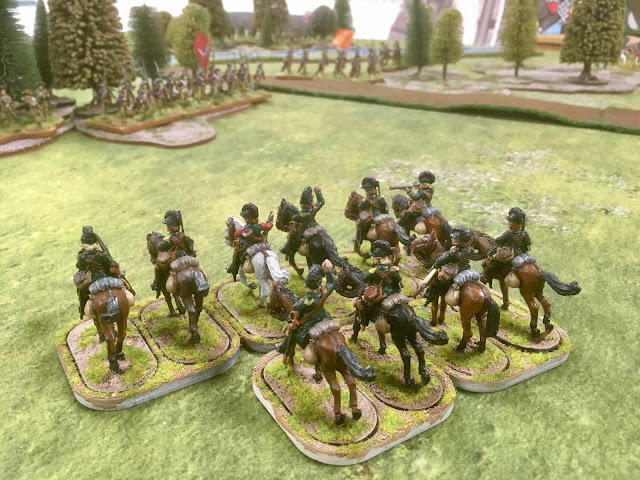
Spotting the 1st Virginia, Tarelton's Raiders trotted forward...
Then charged the Continental line!
Despite the 1st Virginia being in the tree line, the Legion cavalry inflicted a number of casualties and pushed the Continentals back. However with the Americans being in woodland the Shock Cavalry could not follow up the attack to try and finish them off
This exposed them to an attack by Lee's Legion who were also in the wood and who charged into the British cavalry.
Whilst skirmishers from Kirkwood's Lights fired into their flank.
This saw a number of the Raiders fall and the unit fall back Broken with two Disorder markers - a third would see them Rout.
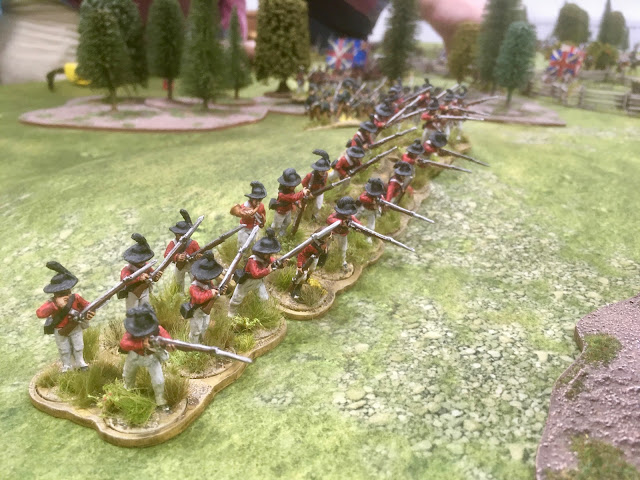
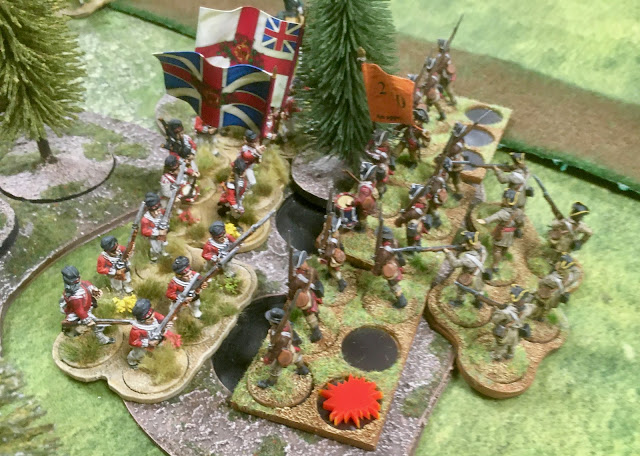
To their right the British line advanced. The 23rd Foot (Royal Welsh Fuzileers), 17th Foot and 1st Battalion Light Infantry followed by the 71st Foot, Fraser's Highlanders...
The 1st Battalion Lights soon engaging the Americans to their front...
Inflicting casualties and a Disorder marker on the 2nd Maryland.
A lucky double 6 roll by George saw him roll for a 'good thing happen' - he rolled a 3. Independent Fire! An off table unit targets an enemy unit. George chose the 1st Continental Artillery and one gunner fell victim to the unseen enemy!
Unfortunately for the British Legion a bad thing was about to happen as they took fire from Lee's Legion and lost more troopers.
A failed Morale check saw them take a third Disorder marker and Rout!
On the American left the Highlanders of the 71st went in with the bayonet on the 2nd Maryland Continental line.
Killing several and inflicting a Disorder marker on the Americans.
The 1st Battalion Lights pushing forward to engage the Virginian Militia holding the American flank.
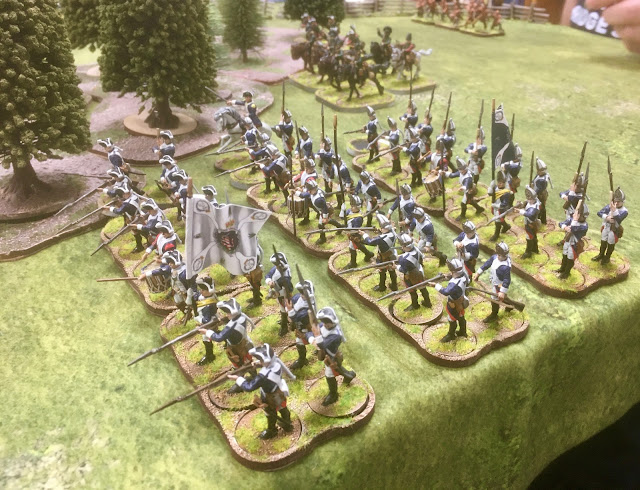
On the British left the Grenadiers von Bose marched smartly forward to avenge the British Legion.
Whilst on the right the 71st took pause in their attacks on the 2nd Maryland...
Allowing the 17th Foot to take over!
Who, whilst only inflicting one more casualty on the Continentals, caused them to fall back Broken with a second Disorder marker.
Meanwhile the 1st Battalion Light Infantry took on the Virginian Militia.
On the British left the Musketeers von Bose engaged the light infantry of Lee's Legion.
But were forced back having suffered several casualties - but not failing their Morale check. No Disorder marker for the Hessians.
In the centre the German Grenadiers charged into the 1st Virginia...
A first fierce round of melee saw both sides stand firm...
However a second saw the American Continentals forced back towards the river bank!
The 17th Foot then charged into a group of Kirkwood's Lights, forcing them back across the river on the right flank...
As the 71st renewed their attack on the 2nd Maryland going in once again with bayonets...
Suffering two more casualties the Continentals took an automatic Disorder marker for falling under half strength, then an extremely naff Morale roll by yours truly saw them pick up two more! Three Disorder markers saw the 2nd Maryland Routed!
With a big hole now appearing in the American left it was up to the 1st Continental Artillery and Virginian Militia Regiments to hold back the British, though one Militia regiment was engaged with the 1st Battalion Lights and the second having a Disorder marker which they had taken when they saw the 2nd Maryland rout.
Despite firing at half effect due to a half stength permanent Disorder marker, the 1st Continental Artillery fired at the oncoming Highlanders - killing the British commander Tarleton! Hah!
On the British left the Musketeers von Bose and Lee's Legion continued their own personal battle, the Hessians taking more casualties and a Disorder marker.
In the centre the 1st Virginia attempted to hold back the Grenadiers von Bose firing a volley into them to minimal effect.
The Ansbach-Bayreuth Jägers then cleared the woods of the remaining skirmishers of Kirkwood's Lights...
As their Grenadier comrades charged in on the 1st Virginia...
Pushing the Americans back, with a Disorder marker, onto the very edge of the river!
I then made another awful Morale role adding two more Disorder markers to the one the Continentals already had - and they too Routed!
Things were now looking grim for the Americans, though there were only a couple of turns left - could the rearguard hold the ford?
On the American right one of the Virginian Militia units, now with two Disorder markers having lost a man to the fire of the 17th, failed its Rally check and had fallen back further weakening the American position.
Thought a change of luck next turn saw them Rally off the Disorder markers. Could they now move forward and stop the inexorable advance of the 17th Foot?
The 1st Battalion Lights charged in on the other Militia regiment but the brave boys from Virginia beat them back inflicting a Disorder marker on them.
George took umbrage with this and sent the 17th Foot in on the brave Virginians!
Who suffering two casualties fell back with a Disorder marker.
The 71st then charged across the river at the half-strength 1st Continental Artillery...
Who, despite being Disordered, forced the Highlanders back with a round of case shot!
The Ansbach-Bayreuth Jägers then charged across the ford at the 1st Maryland who failed to see the pesky light infantry off!
The final turn saw the 71st charge in again on the 1st Continental Artillery destroying the light cannon and its crew.
And the Ansbach-Bayreuth Jäger fall back to allow the Grenadiers von Bose to try advance and try to hold the ford against the anticipated attack from the 1st Maryland...
Who, disastrously refused the order to advance!!! The cursed shag-bags!
Pushing the Continentals aside the brave boys of the North Carolina Militia charged into the Hessian Grenadiers in an effort to wrest control of the ford from them right at the death...
But unfortunately their effort was in vain as the Grenadiers beat them back.
That was the end of turn 12 - the British had won.
Another incredibly close game of Rebels and Patriots, the system holding up again as we abused its intended points size with another mass battle.
It was all going so well until both the 1st Virginia and 2nd Maryland routed following my bad Morale rolls (the law of averages suggest they should only have picked up a second Disorder marker not three) and the least said about the failure of the 1st Maryland to advance and win the game in the last turn the better!