Showing posts with label C18th Wargaming. Show all posts

Sunday, 5 January 2025

French & Indian Wars: Gorham's Rangers

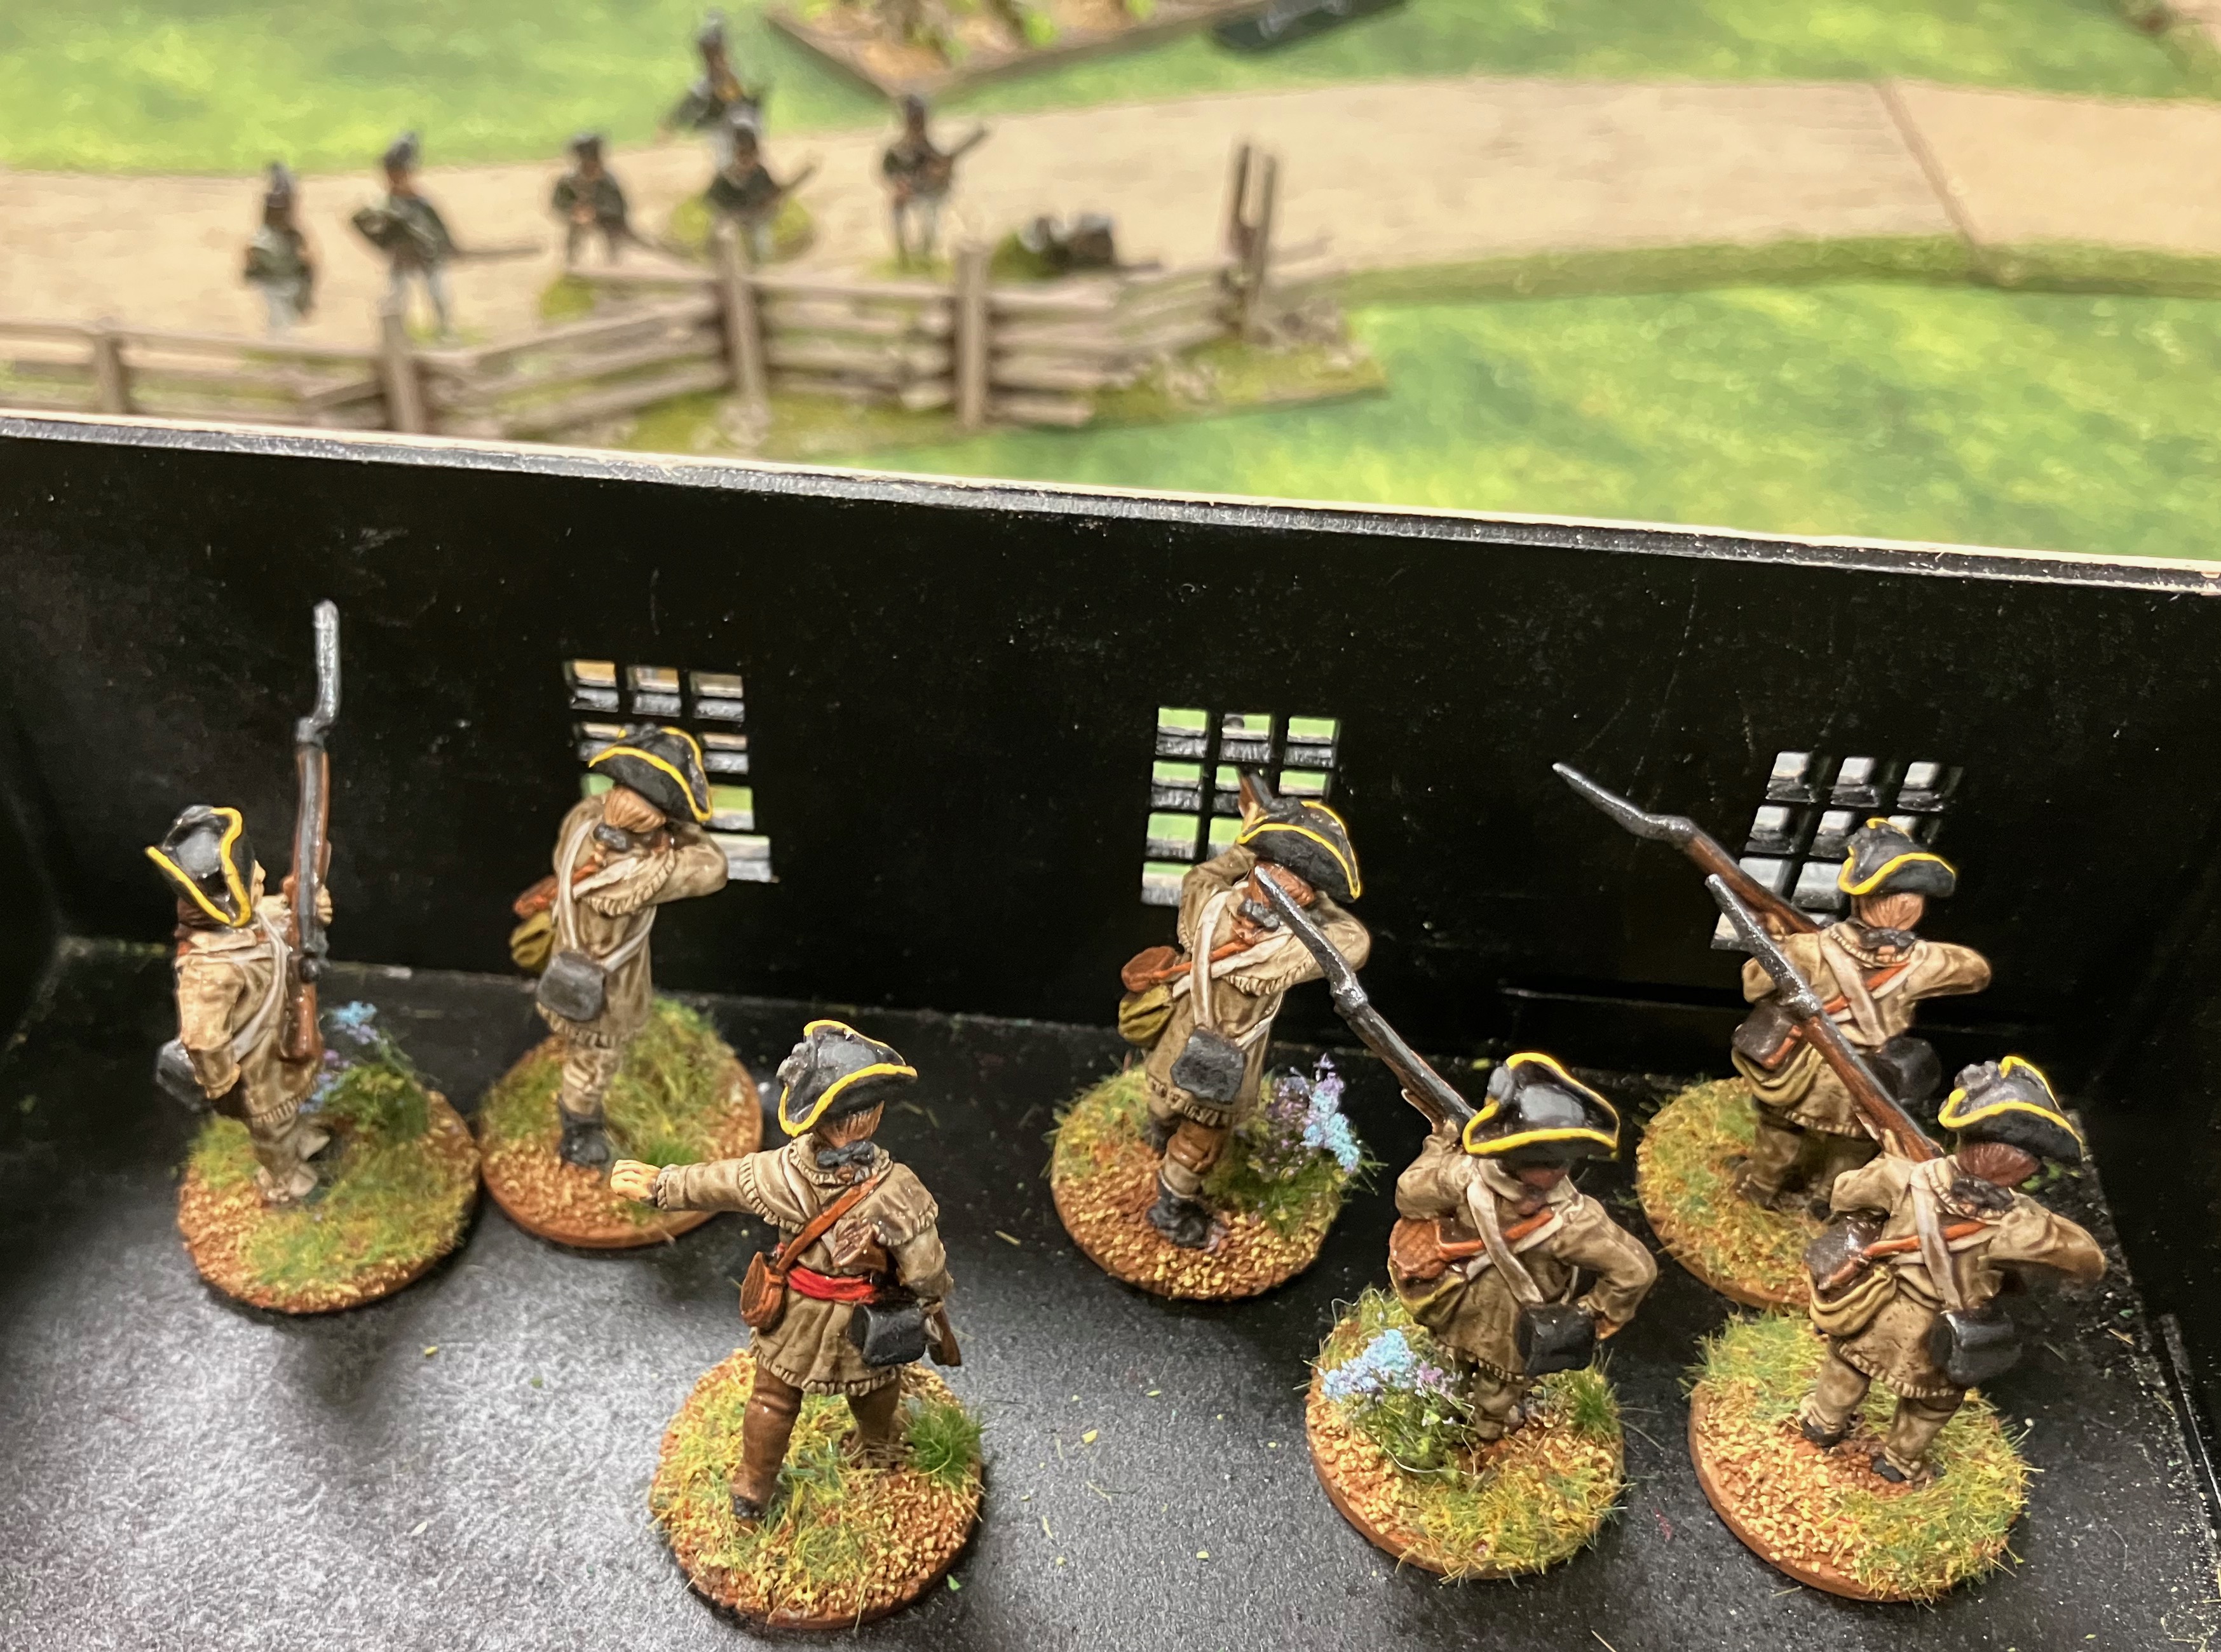
The other day Lance at Galloping Major kindly asked for permission to include one of my photos of my Gorham's Rangers unit in an updated Rangers Guide he is preparing for his website. I offered to take some 'clean' non-game photos for him, which I did, subsequently realising I had not posted pictures of the unit here when I painted them (nor the 1st Virginia which I'll dig out).

The main reason I went with Gorham's Rangers rather than Rogers' more famous compatriots was mainly because everyone and their Aunt Nelly seems to have Rogers Rangers in their French & Indian Wars armies, but also because I liked the uniform colour (green is soooo 1758 you know...)

The miniatures are Galloping Major and are an absolute joy to paint. I recently picked up some more following a recent sale with a view to adding some Native Americans to my force, and to convert some to North Carolina provincials who on the Forbes Expedition of 1758 were noted to be wearing native dress.

Wednesday, 14 February 2024

Sharp Practice: The Rescue of Captain the Right Honourable Lord Marmaduke Leroy, or a tale of bull, with several illustrations...

After the dust had settled on Winter Wonderlard IV, Andy put on a 110 point a side Sharp Practice game Revolutionary War game set in 1778 Pennsylvania for Phil and myself. Unsurprisingly Phil wanted to lead the the forces of suppression and unrepresentative taxation so he took command of the Lobsterbacks, whilst I hoisted the flag of liberty with my Americans. 


Our mission was to recover a captured British officer, Captain Leroy (who might have been a spy for the boys in blue), the brave Continentals under the command of Captain Blackmore and a contingent of Lee's Legion by Lieutenant Gillan, stealing a march on the redcoats at the start.


The British were not long arriving though, Sergeant Dagenham leading two groups of Regulars towards the advancing Americans...


Followed by Captain Sambridge who also brought two groups of Redcoat Regulars to the fray.


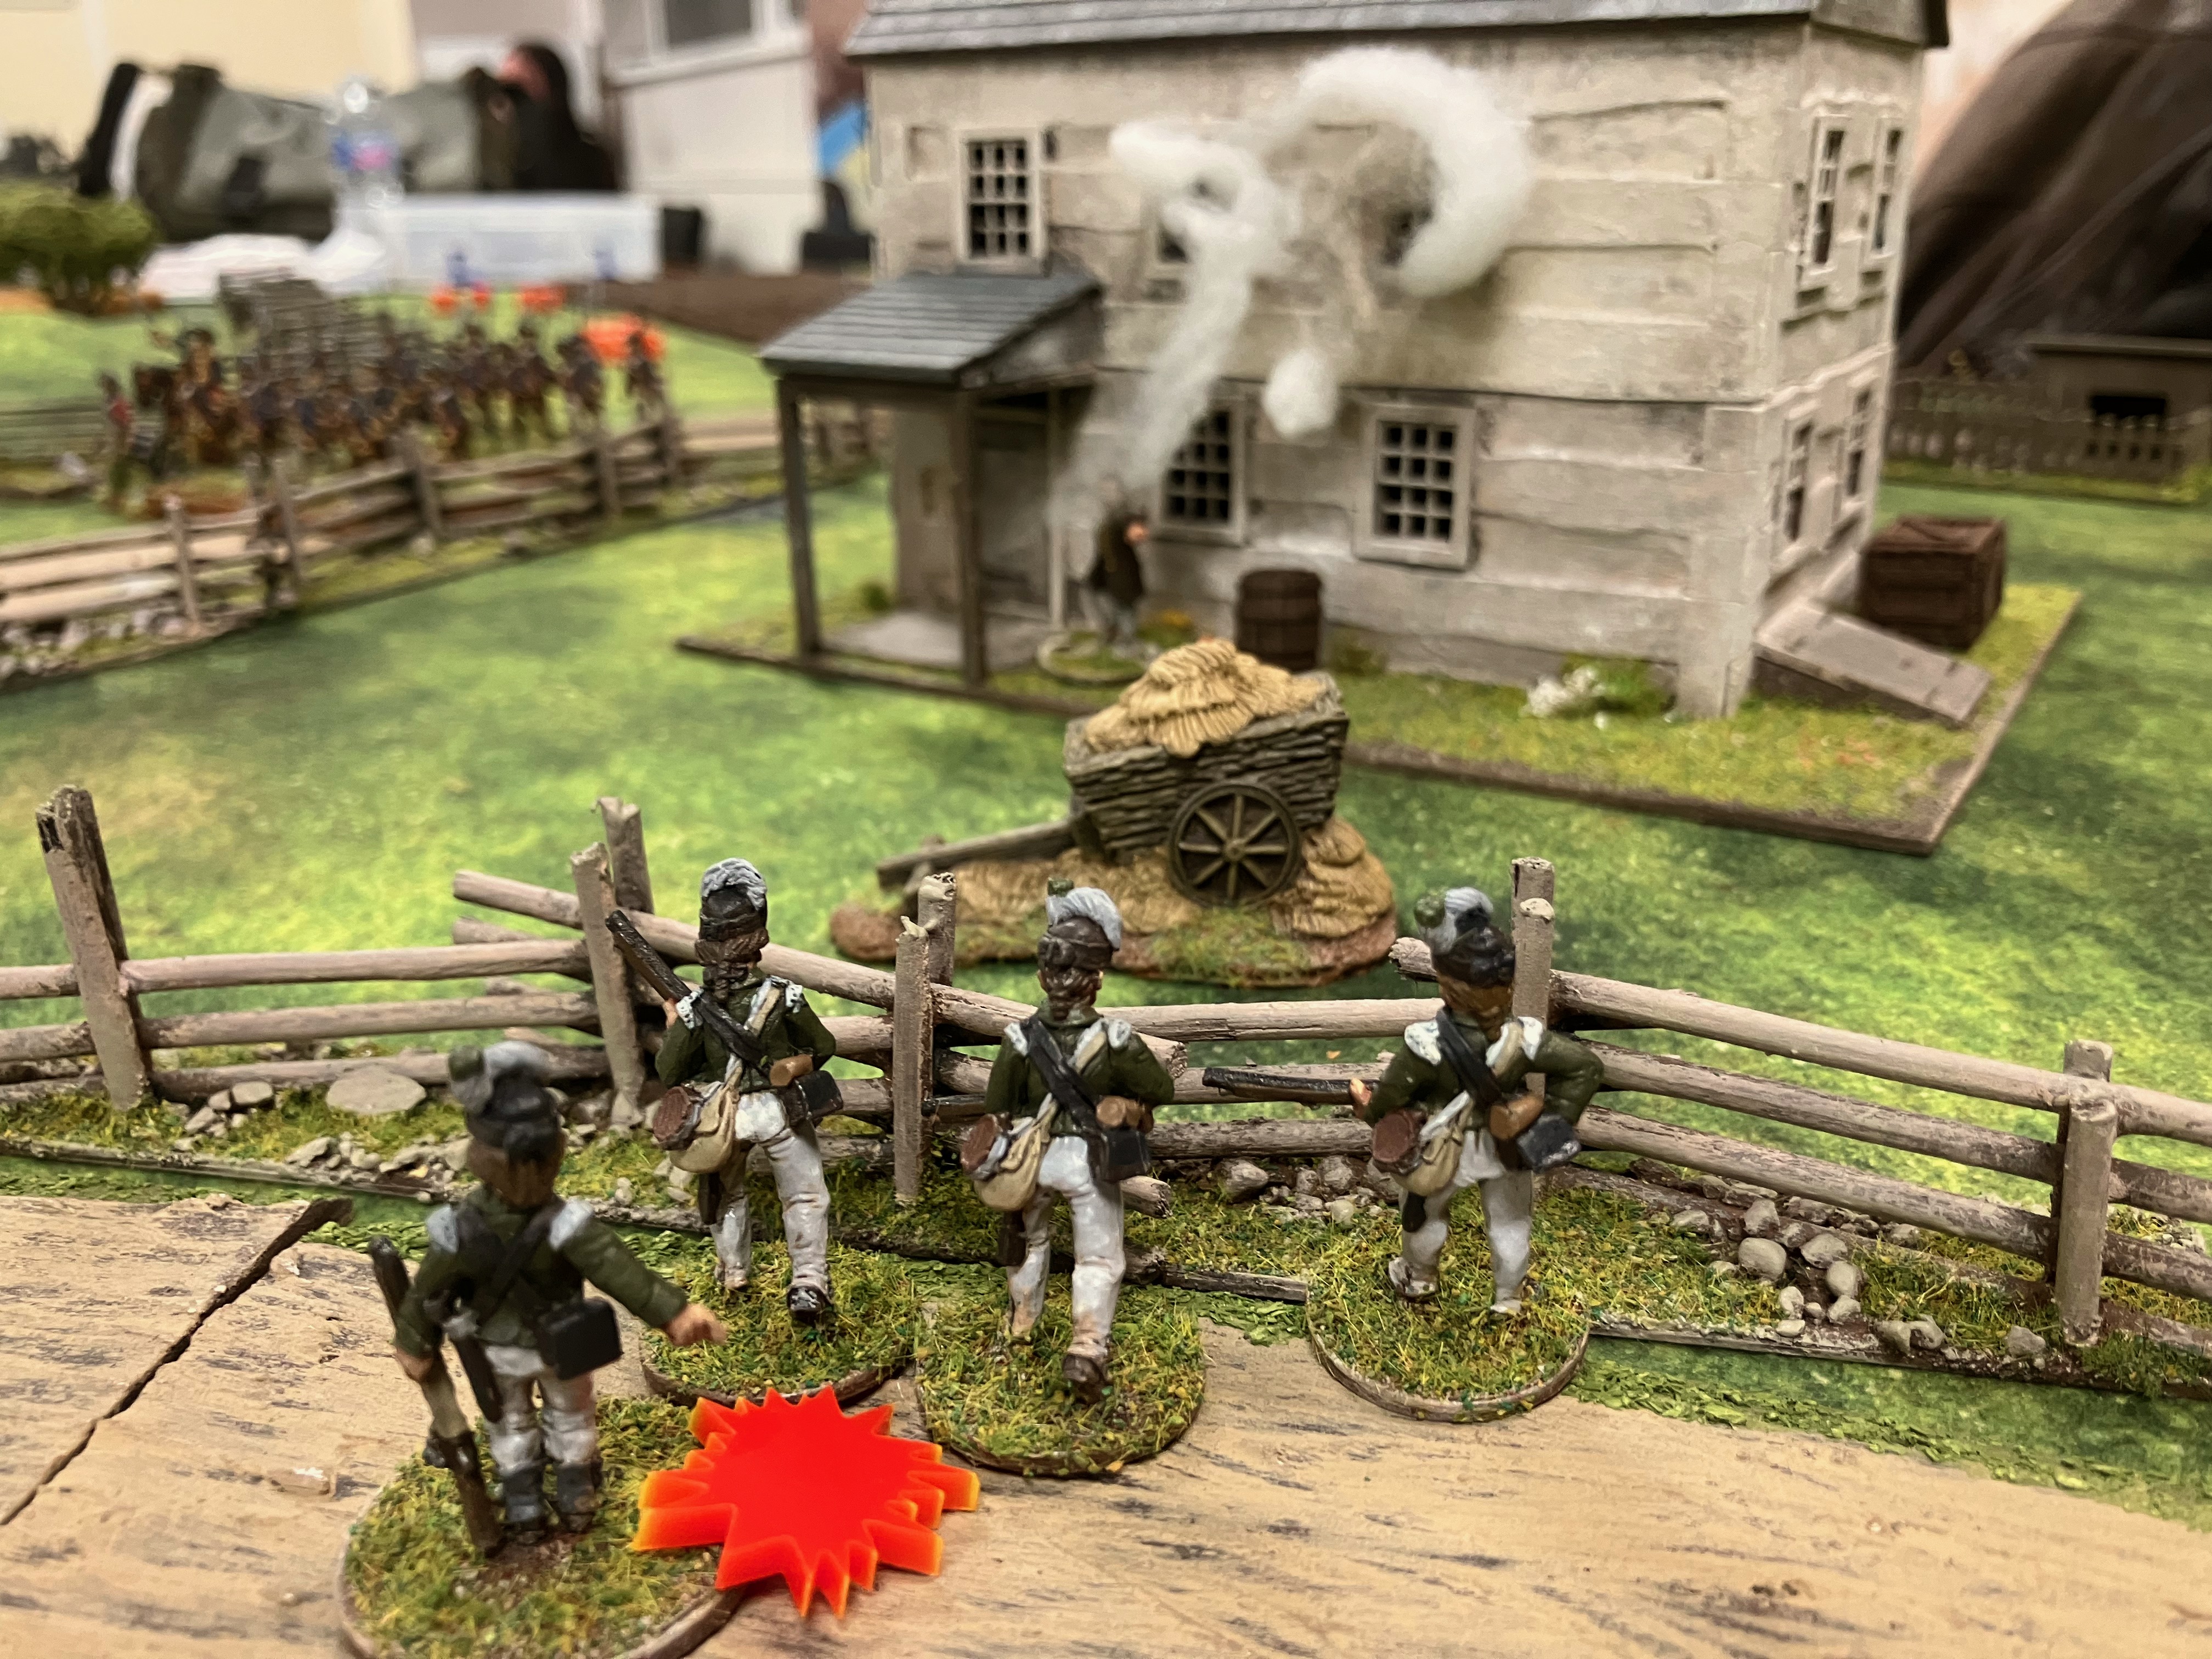
Gadzooks! More Lobsterbacks! Lieutenant Wakefield moved through the woodland towards the farm the spy was being held in with two groups of Light Infantry in Line, with Ensign Belmont leading the way with a group of Light Infantry Skirmishers.


The British were very aggressive pushing a group of Loyalist Ranger Skirmishers under the command of Corporal Danger forward to try and capture the Americans mobile deployment point. Unfortunately for them this brought them into range of a group of Continental Skirmishers with rifles led by Sergeant Lord.


Crack! Rifle fire echoed across the field as one Ranger fell dead and Corporal Danger was wounded, dropping a level to zero.


The main body of Continental troops however found its way forward blocked by the Lobsterbacks who had deployed into line and waited for the Americans to advance into their crossfire...


With the route to the farm where Leroy was being held apparently blocked, Sergeant Paice ordered one of his groups of Rebel Militia to remain at the behind whilst he, and the second group, decided to escort Captain Leroy to the American Deployment Point and safety.


As Paice and his men headed towards safety, Lieutenant Coverdale brought up two groups of Rebel Militia to protect Paice's rear as the British Light infantry moved up.


Across the battlefield two more of the Loyalist Rangers fell to Continental Skirmisher rifle fire...


Whilst a detached group of Coverdale's Militia engaged Ensign Belmont's Skirmishers.


The other two groups of Militia being pushed forward to form a firing line.


Gillan's Legion Light Infantry however were struggling to get across a muddy field...


As Sergeant Dagenham's Lobsterbacks opened fire on Captain Blackmore's Continentals who had snapped  into line, detaching one group who had moved behind the main building to try and flank the British.


The British fire was quite devastating and two braves sons of liberty made the ultimate sacrifice.


Rebel problems were exacerbated as a bull spotted Leroy's red jacket as the Rebel Militia ran him across the field and gave chase!


Despite moving 3D6, the rescue party saw the bull starting to gain ground on them as Umpire Andy decided the bull could move 4D6! (Andy also deciding that shooting the bull, owned by a rebellion supporting local farmer, would result in an automatic British victory!).


Fortunately the Militia were able to get Leroy and themselves over the rail fence before the bull caught them! Phew...


Blackmore and his outnumbered Continental Regulars began to exchange volleys with the British...


Whilst Sergeant Bolin moved his group around the flank to fire at the Loyalist Rangers...


Killing two more. Whilst they did not break as they only had two Shock, Phil decided to pull them back away from the deadly Continental rifle and musket fire.


Coverdale's Militia started to exchange fire with the British Light Infantry...


Killing two of the Redcoats whilst taking some Shock in return...


While Blackmore's Continentals were taking a battering at the hands of the four groups of British Regulars.


Another devastating volley from Sergeant Dagenham's men...


Causing one Group of the Continental Regulars to Break.


Back across the battlefield the Militia were standing firm against the Lobsterback Lights, and although the Shock was starting to add up, an increasing number of dead Brits littered the battlefield.


An Eagle's eye view of the battlefield, which has effectively split into two separate battles.


Having managed to extract themselves from the mud, Gillan's Legion troops managed to get into a position to engage the enemy.


Something Sergeant Bolin was managing to good effect, causing Captain Sambridge to split his formation and have one group try to engage the Continentals.


Paice had almost escorted his charge to safety...


When Sergeant Lord ordered his Riflemen to open fire...


Taking down two of the detached Redcoats!


A final push saw Sergeant Paice and his men reached safety, but not without a final twist! Captain Leroy made a bid for freedom (clearly he was a captured enemy not a brave spy) and a duel was fought between the redcoat Captain and buck-skin clad Militia Corporal. The first round was a draw but the second saw Paice smack Leroy in the face with the butt of his musket and the unconscious British officer was carried off the board for interrogation!


A fun battle and unusual as for once we settled the game by scenario objects and not Force Morale. It swung back and forth especially as Phil stole an early march as the red tokens kept coming out the bag at a 3 to 1 rate at the start, but eventually American valour and tactics proved too much for the forces of oppression...

Friday, 13 October 2023

Sharp Practice: Skirmish at Halfway Swamp

Having spent recent gaming time in the Second World War (whether that be 6mm 'O' Group or 28mm Chain of Command), Andy suggested a long over due return to the American War of Independence with Sharp Practice and as he dug out his lobsterbacks and a scenario from the Swamp Fox supplement, I dusted off my rebels.

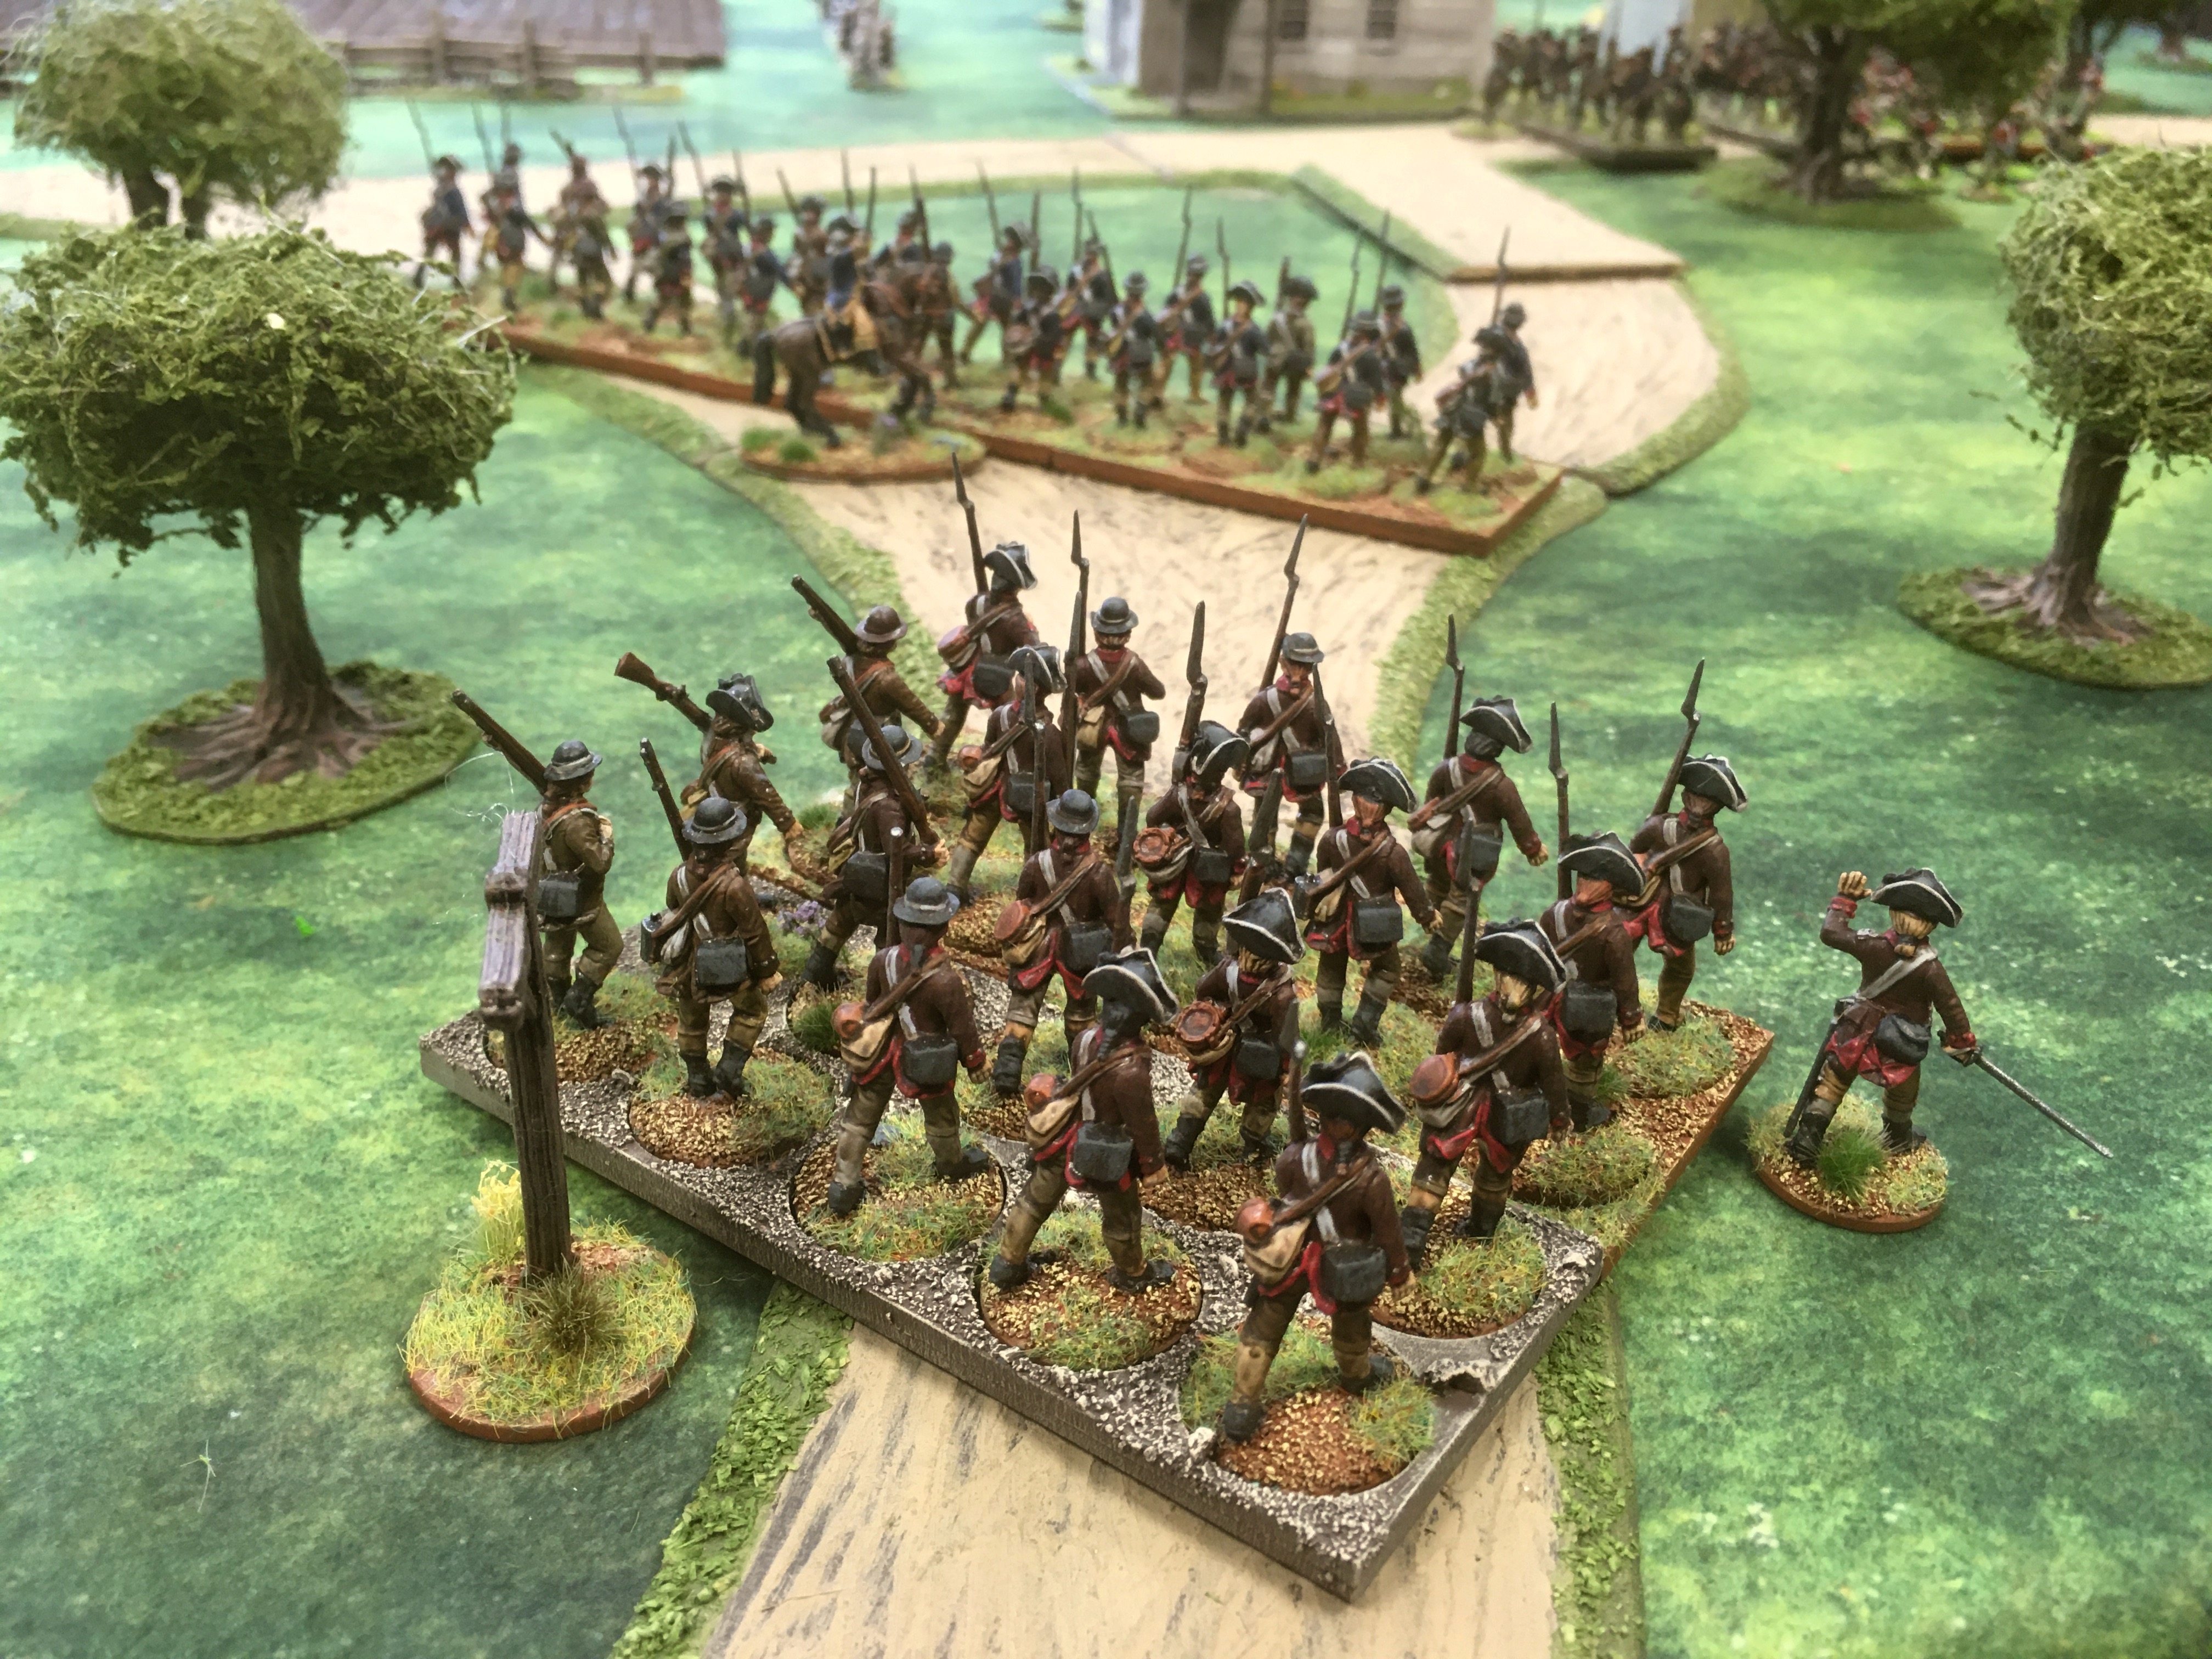
The scenario, based on a skirmish between Colonel Francis Marion ("The Swamp Fox" himself) and Major Robert McLeroth of the 64th Foot in December 1781 required a lot of rebel militia forces so I had to make use of some of my Continental regulars who I slotted into the Veteran Rebel Militia, obviously back home in South Carolina after time served up north still proudly wearing their blue coats!

Having received intelligence that Major McLeroth would be leading a column of recruits for the 7th Fusiliers to Camden to join their regiment there, the Swamp Fox decided to ambush the lobersbacks at the farm at Halfway Swamp, leading Veteran Rebel Militia towards the road the British will be travelling along.


Aware of the presence of the legendary rebel leader in the region, McLeroth ordered Sergeant Dowling to scout ahead with a group of Light Infantry skirmishers from the 64th Foot.


Whilst the volunteers for for the 7th Fusiliers (Tory Loyalist Militia types) "marched" towards Camden led by Captain George Kelly and Lieutenant Anthony Chalmers-Brown - it'll take some serious effort by a Sergeant Major to whip these boys into shape!


Behind them Major McLeroth led the escort from the 64th Foot (bayonets fixed no doubt to encourage the Militia "volunteers" on their way to Camden).


Spotting the Tory Militia marching down the Camden-Charleston road, Marion snapped his men into a firing line, whilst Lieutenant Colonel Hugh Horry brought the Kingstree Regiment Militia up behind in support...


Surprised by the appearance of so many rebels, McLeroth split the 64th into two formations, the second under the command of the inexperienced Captain Willian Stanford.


As the British prepared to face down the American rebels flanking the main road they suddenly spied more enemy to their front - Lieutenant Colonel Lemuel Benton commanding three groups of Newly Recruited Militia and two groups of Militia skirmishers commanded by Major John Vanderhorst and Captain Robert McCottry respectively. Whilst the Newly Recruited Militia would not be able to stand against the bayonets of the redcoats, Benton was hopeful that his men might get a couple of good volleys in, even if they were Poor Shots.


Major McLeroth ordered Chalmers-Brown to get his Loyalist Militia to face off against the Swamp Fox whilst he led his 64th Foot further down the main road and Kelly led the other Militia around the rear of the building.


Sergeant Dowling ordered his men to the edge of the swampy woodland and opened fire on the enemy Militia to their front...


Gad! A British musket ball creased the brow of the Swamp Fox and knocked him from his horse! Dazed Marion lay prone on the dusty road...


His Veterans opened fire, a volley tearing into the Tory Militia, killing two.


Major McLeroth ordered his redcoats to boldly push forward and engage the enemy militia, killing two and inflicting more Shock on them, whilst Stanford ordered the remainder of the 64th down the main road.


Volleys were traded and redcoats, bluecoats and Tory Militia fell dead.


Whilst at the very edge of the range of his men, Lieutenant Colonel Benton ordered his to fire, fire and keep firing down the main road at the redcoats!


Whilst they were Poor Shots Benton's Newly Recruited Militia managed to inflict enough Shock on McLeroth's men that one group of them were forced to fall back!


As his command wavered, Major McLeroth ordered Captain Stanford to go in with the bayonet on Marion's leaderless Militia!


The British attack forcing the Veteran Militia to fall back into the swamp!


Vanderhorst and McCottry's skirmishers took position behind the rail fencing and opened fire...


On Kelly's Loyalist Militia, killing one and inflicting some Shock. A firefight erupted between the rebel skirmishers and Tory militia, caught up in their own private battle.


Meanwhile Lieutenant Colonel Horry ordered a group of the Kingstree Militia, who were slowly advancing through the swamp alongside the road, to open fire at the 64th who had pushed Marion's men back...


Several lobsterbacks falling to the well aimed shots of the Kingstree men!


With Major Vanderhorst's men concentrating on the enemy Militia across the field, Captain McCottry ordered his men to concentrate on the redcoats by the farm building...


Shocked by the fire coming in from their flank, the decimated redcoats wavered...


And broke, running back to Charleston as quick as they could!


Dowling's Light Infantry skirmishers traded fire with the Kingstree Militia to limited effect...


An eagle's-eye view of the battlefield revealing the finely balanced situation, the British wobbling under American fire, but still capable to carrying the road to Camden if they could just close with Benton's men and put them to the bayonet!


Major Vanderhorst's private battle with Captain Kelly came to a sudden conclusion...


A rebel musket ball lodging itself in the Tory Militia Captain's skull!


Then in a shocking example of cultural misappropriation Sergeant Dowling ordered his Light Infantry skirmishers to throw tomahawks at the Kingstree Militia and charge in on the Americans...


The noble Lieutenant Colonel Horry took a slight wound from the British but he remained upright as his men saw off the redcoat attack (that'll teach them to use weapons stolen from America!)


The Kingstree men decided to see the 64th's skirmishers off with a final volley...


Resulting in the surviving redcoat skirmishers fleeing into the woodland swamp! (probably to be eaten by alligators).


The coup de grace was administered by a detached group of Lieutenant Colonel Benton's Newly Raised Militia who levelled their muskets and fired at Major McLeroth's men...


The 64th broke, the surviving lobsterbacks running as fast as their legs could carry them back to Charleston! The British Force Morale crashed to zero and victory was handed to the supine Swamp Fox!

A lot of fun was had here, a somewhat challenging scenario for the British that went the way of history. Nice to play some AWI Sharp Practice again, we should do this again soon.