Thursday, 26 October 2023

Sharp Practice: Attacco ad un Obiettivo!

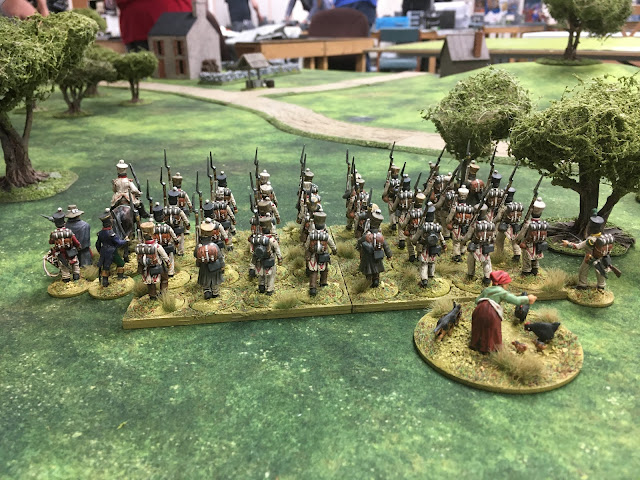
Following on from our recent Sharp Practice AWI game, Andy and I returned to the Napoleonic period with a game set in 1813 Germany using the Attack on an Objective scenario from the rulebook. I dusted off my Kingdom of Italy troops whilst Andy brought his new Königlich Preußisches Freikorps von Lützow to the table. The scenario was simple, the Italians had to capture the Freikorps HQ building, the Prussians had to stop them!

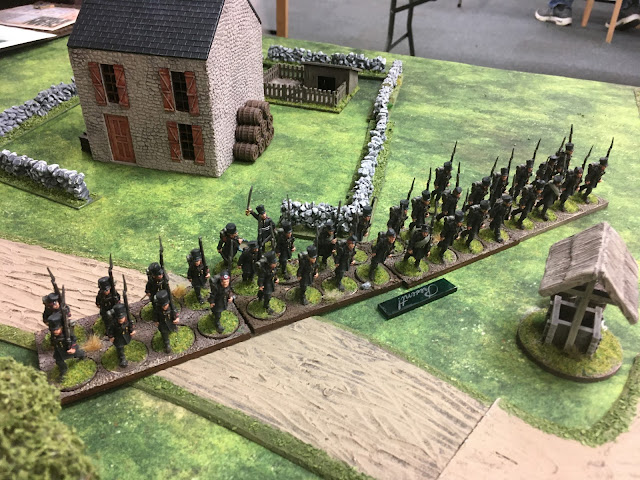
The Italians stole a march on the sleepy Prussians with Captaino Rossi leading an attack column of Fucilieri straight towards the enemy building!

With Sergente Altobelli and his Cacciatori a Cavallo scouting the Fucilieri's flank...


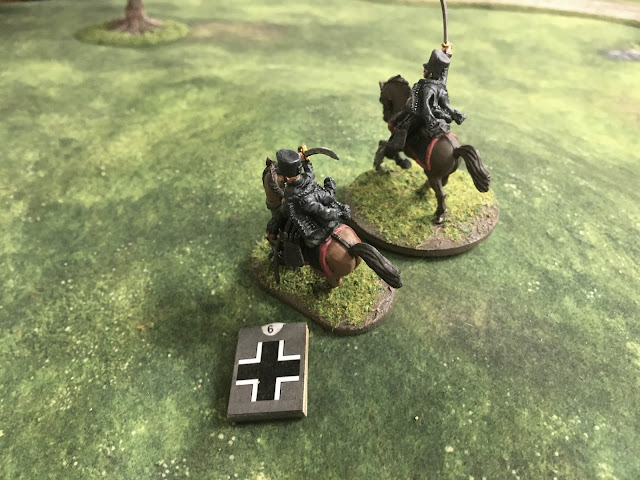
And discovering enemy forces - Sekondeleutnant Carsten Horst with his Freikorps Hussars!


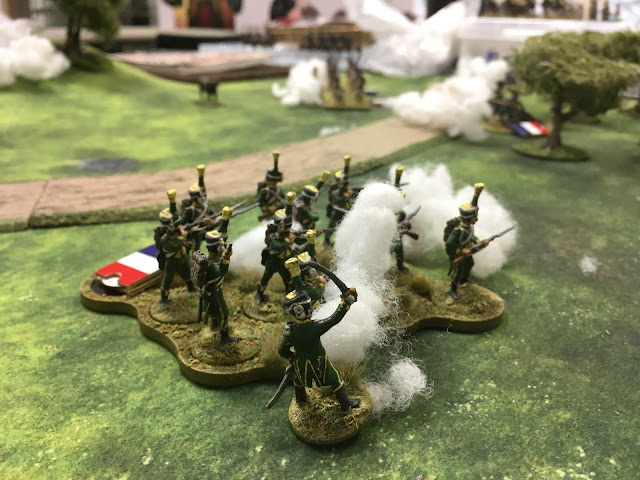
This did not stop the arrival for more Italians, Tenente Baresi commanding the green-uniformed Volteggiatori Fanteria Leggera and Primo Corporale Zoff leading the white-coated Volteggiatori Fanteria di Linea...


With Tenente Baresi then deploying with a cannon of the Artiglieria a piedi.


However he soon found himself under fire from a group of Freikorps Volunteer Riflemen on a neighbouring hill commanded by Oberjäger Manfreid Mann!


Three Italian gunners fell dead to the accurate Freikorps fire.


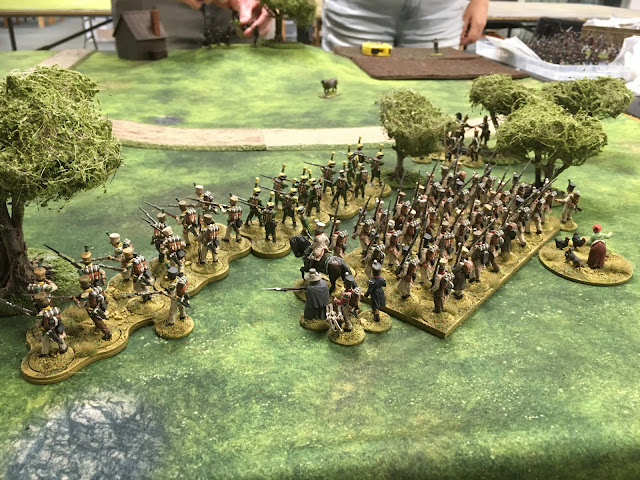
The crack of rifle fire alerted the Prussians and Leutnant Hans Undnees swiftly deployed his Freikorps Musketeers in line to await the Italian attackers.


With a cry of Tally Ho! Sekondeleutnant Horst charged his Freikorps Hussars in on the Cacciatori a Cavallo...


Sergente Altobelli fell to a flashing Prussian blade and with two men lost on each side a second round of combat was fought...


Three more Cacciatori a Cavallo fell to the Prussian Hussars and the Italians broke, heading back to safety behind their infantry colleagues.


The battle had not started too well for the Italians, but it was far from lost! Tenente Baresi ordered his Volteggiatori Fanteria Leggera to shoot at the Freikorps Volunteer Riflemen on the hill...


The Italian musket fire inflicting shock on Oberjäger Mann's men.


Elsewhere Primo Corporale Zoff  instructed his Volteggiatori to see off Carsten Horst and his Hussars...


Their first volley only inflicted some Shock...


But a second round of fire from the Volteggiatori...


Killed three Hussars...


Resulting in Sekondeleutnant Horst and the sole surviving man of his unit breaking and fleeing for safety.


On the Italian right Tenente Conte arrived on the battlefield with his Granatieri...


Whilst Tenente Tardelli fired his artillery piece!


Inflicting some Shock on the Freikorps musketeers.


Screened by the Volteggiatori Fanteria Leggera, Captaino Rossi ordered the Fucilieri attack column forward!


But what is this?! Fahnrich Rolf Undtumble commanding two groups of Tyrolean Jäger deployed into the woods on the Fucilieri's left!


Tenente Conte snapped his Granatieri into line and fired a volley at Manfreid Mann's Volunteer Riflemen...


Killing three and inflicting Shock on the survivors!


With the Volteggiatori Fanteria Leggera and Volteggiatori Fanteria di Linea covering the attack column, Capitano Rossi and the Fucilieri bore down on the Freikorps.


In an attempt to stem the relentless Italian advance, Fahnrich Undtumble charged his Tyrolean Jäger in on the Volteggiatori Fanteria di Linea!


Although the Italians are forced back with Primo Corporale Zoff knocked to the ground...


The Tyrolean Jäger paid a heavy price as both Fahnrich Rolf Undtumble and his subordinate Stefan Kuntz now lay dead on the field of battle!


Believing the Gods of War(gaming) to be favouring him, Capitano Rossi charged the Fucilieri in and although the attack column broke up (and a medic killed), two groups of Freikorps musketeers were beaten back.


The Fucilieri followed this up with a quick volley...


Breaking the Freikorps formation, one group running almost back as far as Berlin!


Whilst Leutnant Undnees hid behind a stone wall with the other group.


Tenente Baresi ordered the Volteggiatori Fanteria Leggera to charge the surviving Tyrolean Jäger, but came up short after the Jäger evaded.


Suddenly a pounding of hooves was heard as Sekondeleutnant Carsten Horst having taken charge of a group of Freikorps Mounted Jäger from Estandartenjunker Franz Fürzenmemories appeared out of the trees and charged the Italian Light Infantry!


But the Volteggiatori Fanteria Leggera were fleet of foot and managed to evade the German cavalry charge.


In the centre Feldwebel Willi Vinkle with the remaining two groups Freikorps Musketeers attempted to engage the Fucilieri in fisticuffs, but the German charge came up short...


The Fucilieri poured fire into the Freikorps and one group broke, breaking the formation. Tests on the Bad Things Happen table saw the German Force Morale plummet to zero handing victory to the brave troops of the Kingdom of Italy!


Another great game of Sharp Practice, it was good to get the Italians back on the table and inflict a defeat on andy's new Freikorps army!

Saturday, 14 October 2023

Blitzkrieg: Dutch Infantry Platoon

As you will have seen from earlier posts this month, I have recently painted up a Dutch Infantry Platoon for Chain of Command. This is not my first stab at the Koninklijke Nederlandse Landmacht (Royal Netherlands Army) of 1940, but this time, with the CoC weekend event to get ready for, I managed to paint up a usable force!

The majority of models are from May '40 Miniatures which I picked from Great Escape Games. I used May '40's painting guide for the infantry uniforms and AFV's.

Dutch Infantry Platoon for Chain of Command with supports
Dutch Mitrailleurgroepen (infantry section)
Dutch Schwarzlose M.08 MMG and crew
Chain of Command requires five crew for the MMG so I enlisted a couple of Great Escape Romanians, which are, with some minimal conversion to their kit, are pretty much identical to the Dutch, to make up the numbers.

Dutch 47mm Bohler PAG AT gun with crew and Junior Leader
I needed to do the same with the AT gun. Fortunately Great Escape sell Romanian gun crew in separate packs.

Dutch Forward Observer with 80mm mortar
Although medium mortars are off table in Chain of Command and I only needed the FO, May '40 sell them as one set. It is a nice model to paint and I'll probably put it on the rear table edge when employed in games.

Dutch "sniper"
I'm sure I read that a sniper was a support option in one of the Dutch Chain of Command lists - it wasn't! :-)

Dutch Engineer Team
Engineer Teams are a useful List One support in CoC if you have a support point over. Given some of the Blitzkrieg handbook scenarios utilise them I thought it would be a good idea to paint up three figures to represent engineers. Unfortunately I had run out of May '40 Miniatures (and Romanians!) but I did have some old Gothic Line Dutch I had bought a decade earlier, so three got repainted. They are not as nice as the May '40 models but they were what I had to hand.

Dutch S Type Kazemat
It seems the Dutch like their bunkers so I had to have at least one. My attempt to make an S Type Kazemat out of foam was a messy disaster so I converted an MDF Sarissa Precision British Pill Box which provided a reasonable facsimile if not 100% perfect one.

Dutch Carden-Loyd Mk VI tankette
The Dutch had five Carden-Loyd carriers, Mk VI versions with closed roof, which made it a bit harder to source but I found a 3D printed one on Etsy from MiniGeneral. It should have a shield on the MG but I haven't got around to making one for it yet.

Dutch M.36 Pantserwagen (Landsverk L-181)
The M.36 Pantserwagen was used by the Dutch cavalry so my infantry platoon had to pay an extra point to have one as a support option, but I really, really wanted one! The May '40 resin model is lovely but the decals that came with it fell to pieces in the water. Fortunately I had some I-94 Enterprises 1/144th aircraft ones which I was able to use on both AFV's.

This turned up to be quite a useful force at the event, even with restrictions such as the Mitrailleurgroepen Lewis gun not being able to move and fire, or the section itself operate as teams like other armies. There are a few things I'd like to do to expand it, some entrenched troops for one - and May '40 have just released a Ford DAF 01Y PAG-trekker artillery tractor which would be really useful for the Bohler AT gun but I'm going to have to hope Great Escape Games get a stock in as I can't justify the shipping and potential Brexit fees sting just for one truck...

Friday, 13 October 2023

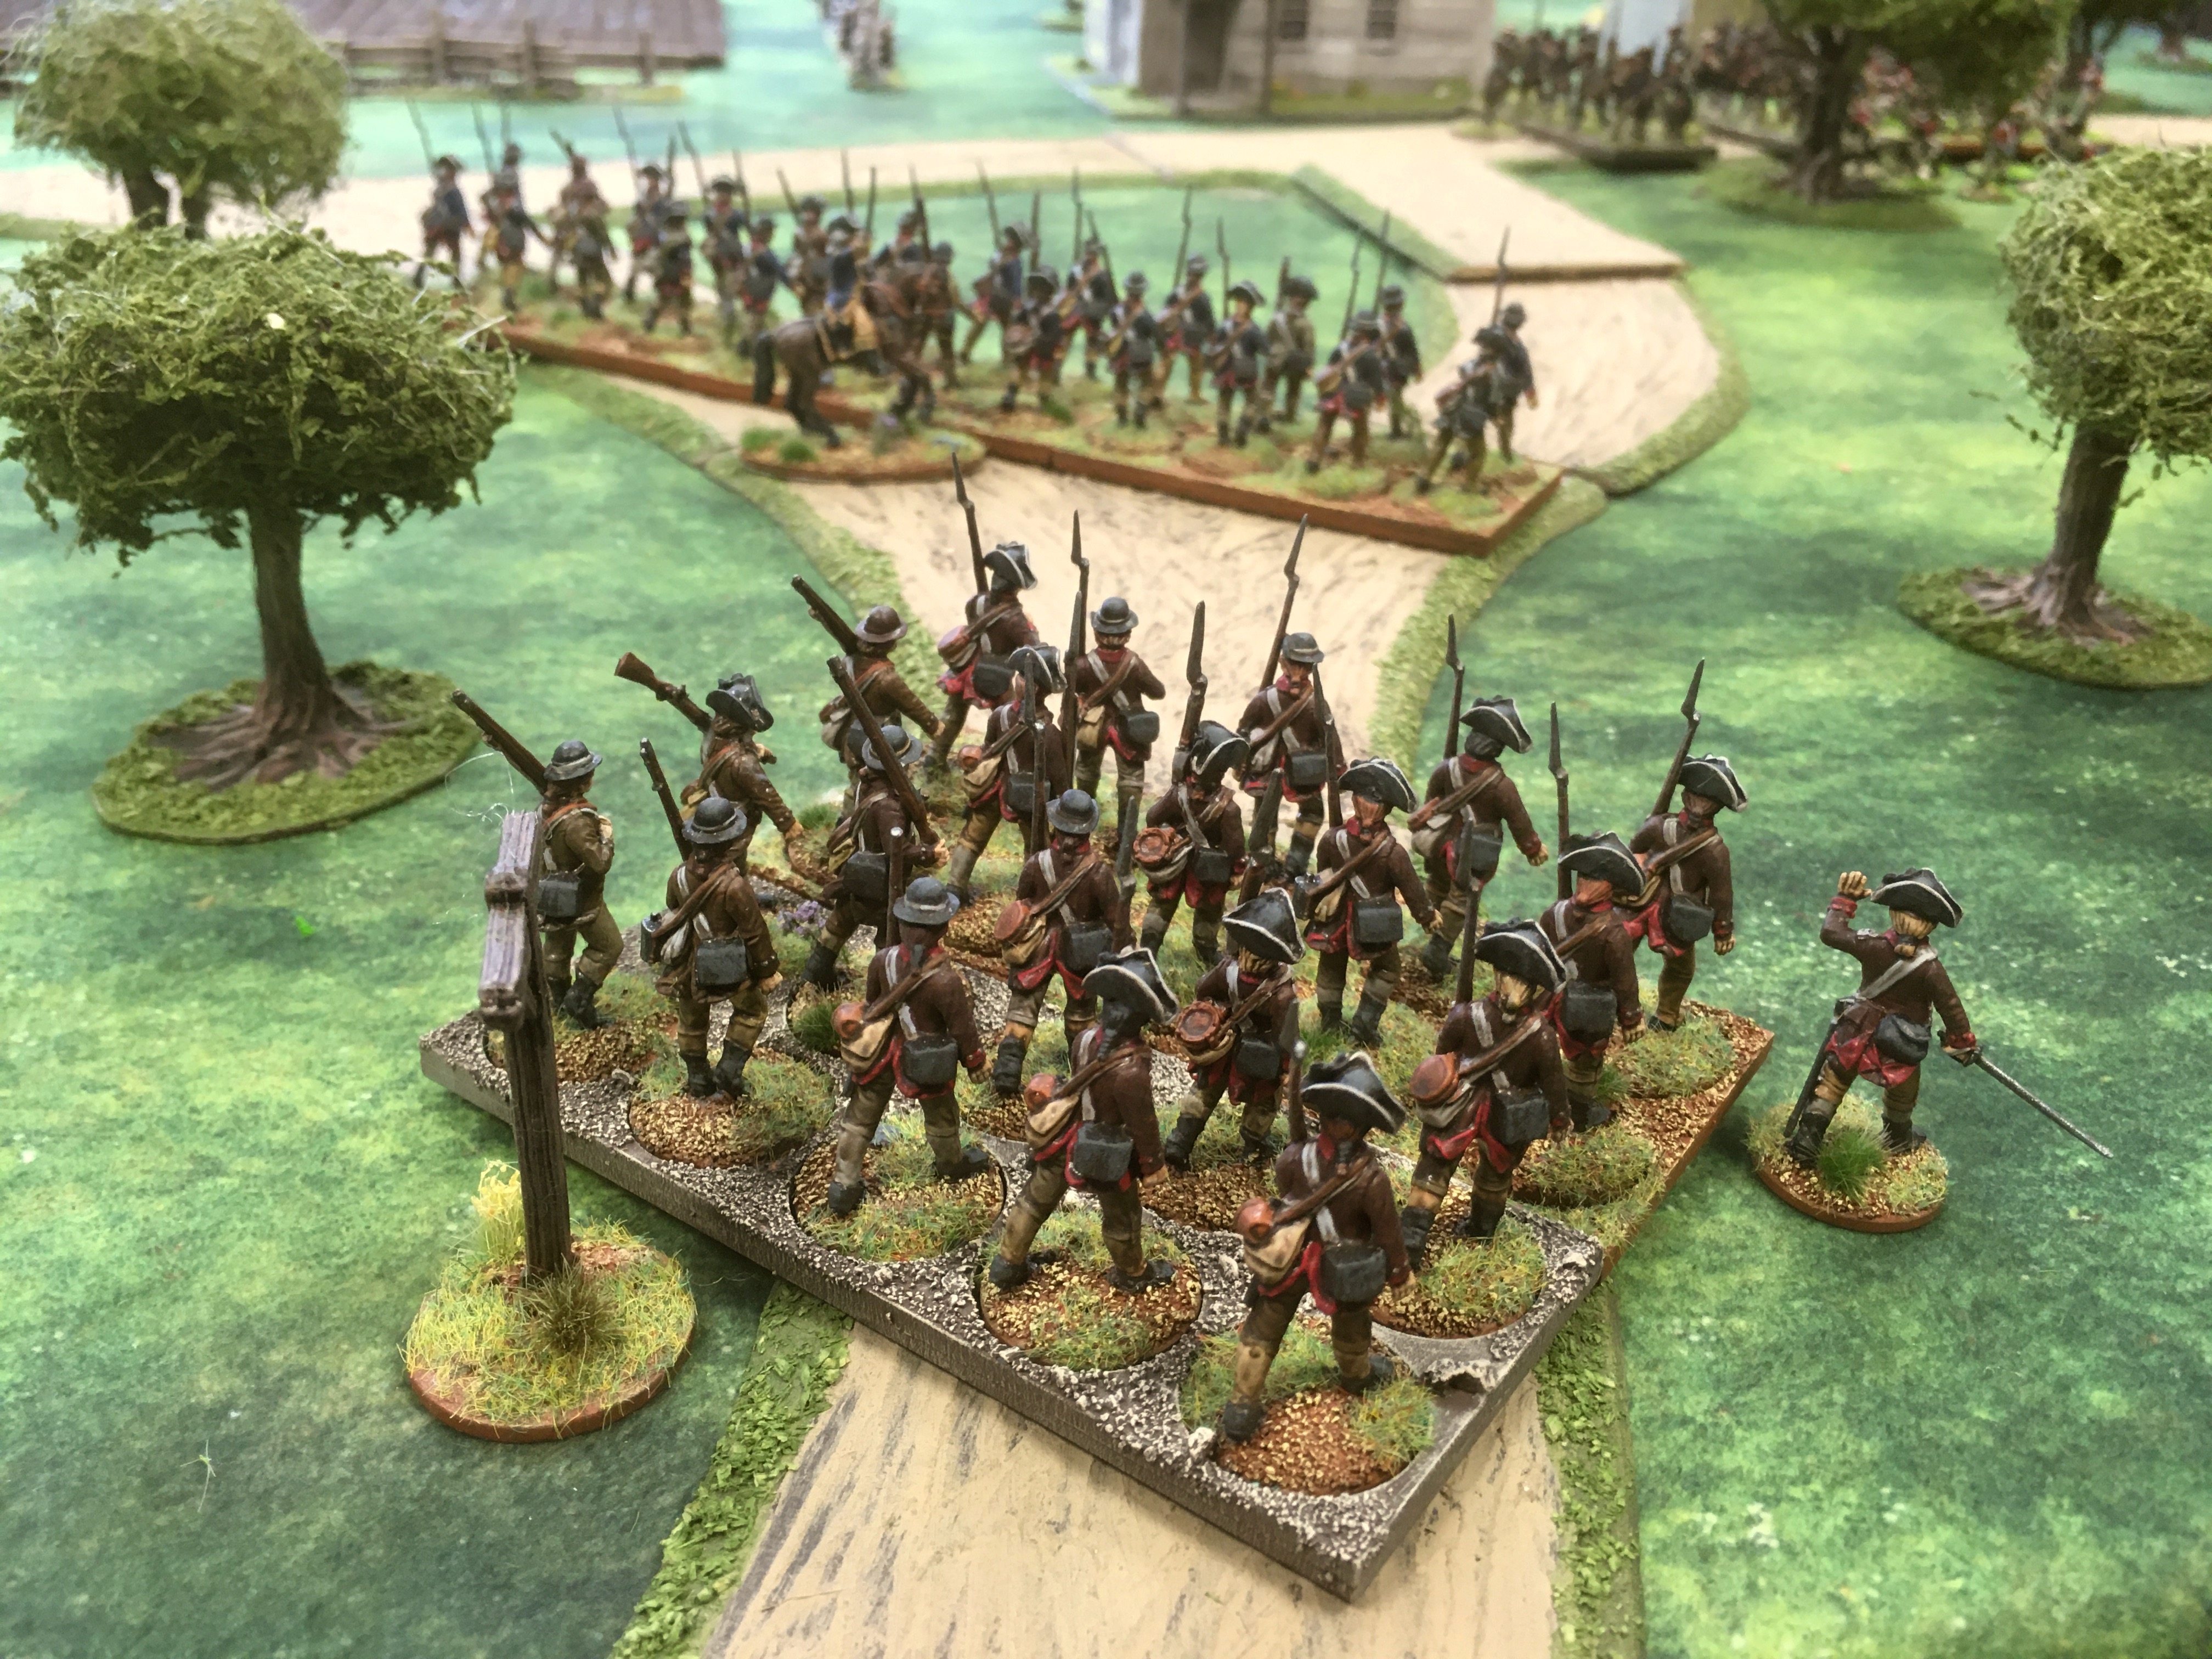
Sharp Practice: Skirmish at Halfway Swamp

Having spent recent gaming time in the Second World War (whether that be 6mm 'O' Group or 28mm Chain of Command), Andy suggested a long over due return to the American War of Independence with Sharp Practice and as he dug out his lobsterbacks and a scenario from the Swamp Fox supplement, I dusted off my rebels.

The scenario, based on a skirmish between Colonel Francis Marion ("The Swamp Fox" himself) and Major Robert McLeroth of the 64th Foot in December 1781 required a lot of rebel militia forces so I had to make use of some of my Continental regulars who I slotted into the Veteran Rebel Militia, obviously back home in South Carolina after time served up north still proudly wearing their blue coats!

Having received intelligence that Major McLeroth would be leading a column of recruits for the 7th Fusiliers to Camden to join their regiment there, the Swamp Fox decided to ambush the lobersbacks at the farm at Halfway Swamp, leading Veteran Rebel Militia towards the road the British will be travelling along.


Aware of the presence of the legendary rebel leader in the region, McLeroth ordered Sergeant Dowling to scout ahead with a group of Light Infantry skirmishers from the 64th Foot.


Whilst the volunteers for for the 7th Fusiliers (Tory Loyalist Militia types) "marched" towards Camden led by Captain George Kelly and Lieutenant Anthony Chalmers-Brown - it'll take some serious effort by a Sergeant Major to whip these boys into shape!


Behind them Major McLeroth led the escort from the 64th Foot (bayonets fixed no doubt to encourage the Militia "volunteers" on their way to Camden).


Spotting the Tory Militia marching down the Camden-Charleston road, Marion snapped his men into a firing line, whilst Lieutenant Colonel Hugh Horry brought the Kingstree Regiment Militia up behind in support...


Surprised by the appearance of so many rebels, McLeroth split the 64th into two formations, the second under the command of the inexperienced Captain Willian Stanford.


As the British prepared to face down the American rebels flanking the main road they suddenly spied more enemy to their front - Lieutenant Colonel Lemuel Benton commanding three groups of Newly Recruited Militia and two groups of Militia skirmishers commanded by Major John Vanderhorst and Captain Robert McCottry respectively. Whilst the Newly Recruited Militia would not be able to stand against the bayonets of the redcoats, Benton was hopeful that his men might get a couple of good volleys in, even if they were Poor Shots.


Major McLeroth ordered Chalmers-Brown to get his Loyalist Militia to face off against the Swamp Fox whilst he led his 64th Foot further down the main road and Kelly led the other Militia around the rear of the building.


Sergeant Dowling ordered his men to the edge of the swampy woodland and opened fire on the enemy Militia to their front...


Gad! A British musket ball creased the brow of the Swamp Fox and knocked him from his horse! Dazed Marion lay prone on the dusty road...


His Veterans opened fire, a volley tearing into the Tory Militia, killing two.


Major McLeroth ordered his redcoats to boldly push forward and engage the enemy militia, killing two and inflicting more Shock on them, whilst Stanford ordered the remainder of the 64th down the main road.


Volleys were traded and redcoats, bluecoats and Tory Militia fell dead.


Whilst at the very edge of the range of his men, Lieutenant Colonel Benton ordered his to fire, fire and keep firing down the main road at the redcoats!


Whilst they were Poor Shots Benton's Newly Recruited Militia managed to inflict enough Shock on McLeroth's men that one group of them were forced to fall back!


As his command wavered, Major McLeroth ordered Captain Stanford to go in with the bayonet on Marion's leaderless Militia!


The British attack forcing the Veteran Militia to fall back into the swamp!


Vanderhorst and McCottry's skirmishers took position behind the rail fencing and opened fire...


On Kelly's Loyalist Militia, killing one and inflicting some Shock. A firefight erupted between the rebel skirmishers and Tory militia, caught up in their own private battle.


Meanwhile Lieutenant Colonel Horry ordered a group of the Kingstree Militia, who were slowly advancing through the swamp alongside the road, to open fire at the 64th who had pushed Marion's men back...


Several lobsterbacks falling to the well aimed shots of the Kingstree men!


With Major Vanderhorst's men concentrating on the enemy Militia across the field, Captain McCottry ordered his men to concentrate on the redcoats by the farm building...


Shocked by the fire coming in from their flank, the decimated redcoats wavered...


And broke, running back to Charleston as quick as they could!


Dowling's Light Infantry skirmishers traded fire with the Kingstree Militia to limited effect...


An eagle's-eye view of the battlefield revealing the finely balanced situation, the British wobbling under American fire, but still capable to carrying the road to Camden if they could just close with Benton's men and put them to the bayonet!


Major Vanderhorst's private battle with Captain Kelly came to a sudden conclusion...


A rebel musket ball lodging itself in the Tory Militia Captain's skull!


Then in a shocking example of cultural misappropriation Sergeant Dowling ordered his Light Infantry skirmishers to throw tomahawks at the Kingstree Militia and charge in on the Americans...


The noble Lieutenant Colonel Horry took a slight wound from the British but he remained upright as his men saw off the redcoat attack (that'll teach them to use weapons stolen from America!)


The Kingstree men decided to see the 64th's skirmishers off with a final volley...


Resulting in the surviving redcoat skirmishers fleeing into the woodland swamp! (probably to be eaten by alligators).


The coup de grace was administered by a detached group of Lieutenant Colonel Benton's Newly Raised Militia who levelled their muskets and fired at Major McLeroth's men...


The 64th broke, the surviving lobsterbacks running as fast as their legs could carry them back to Charleston! The British Force Morale crashed to zero and victory was handed to the supine Swamp Fox!

A lot of fun was had here, a somewhat challenging scenario for the British that went the way of history. Nice to play some AWI Sharp Practice again, we should do this again soon.