After making some tweaks to his Winter Wonderlard II Sharp Practice scenario, Andy asked if I would like to try it again, this time against George, but taking the side of the Imperial Oppressors, sorry the Crown!

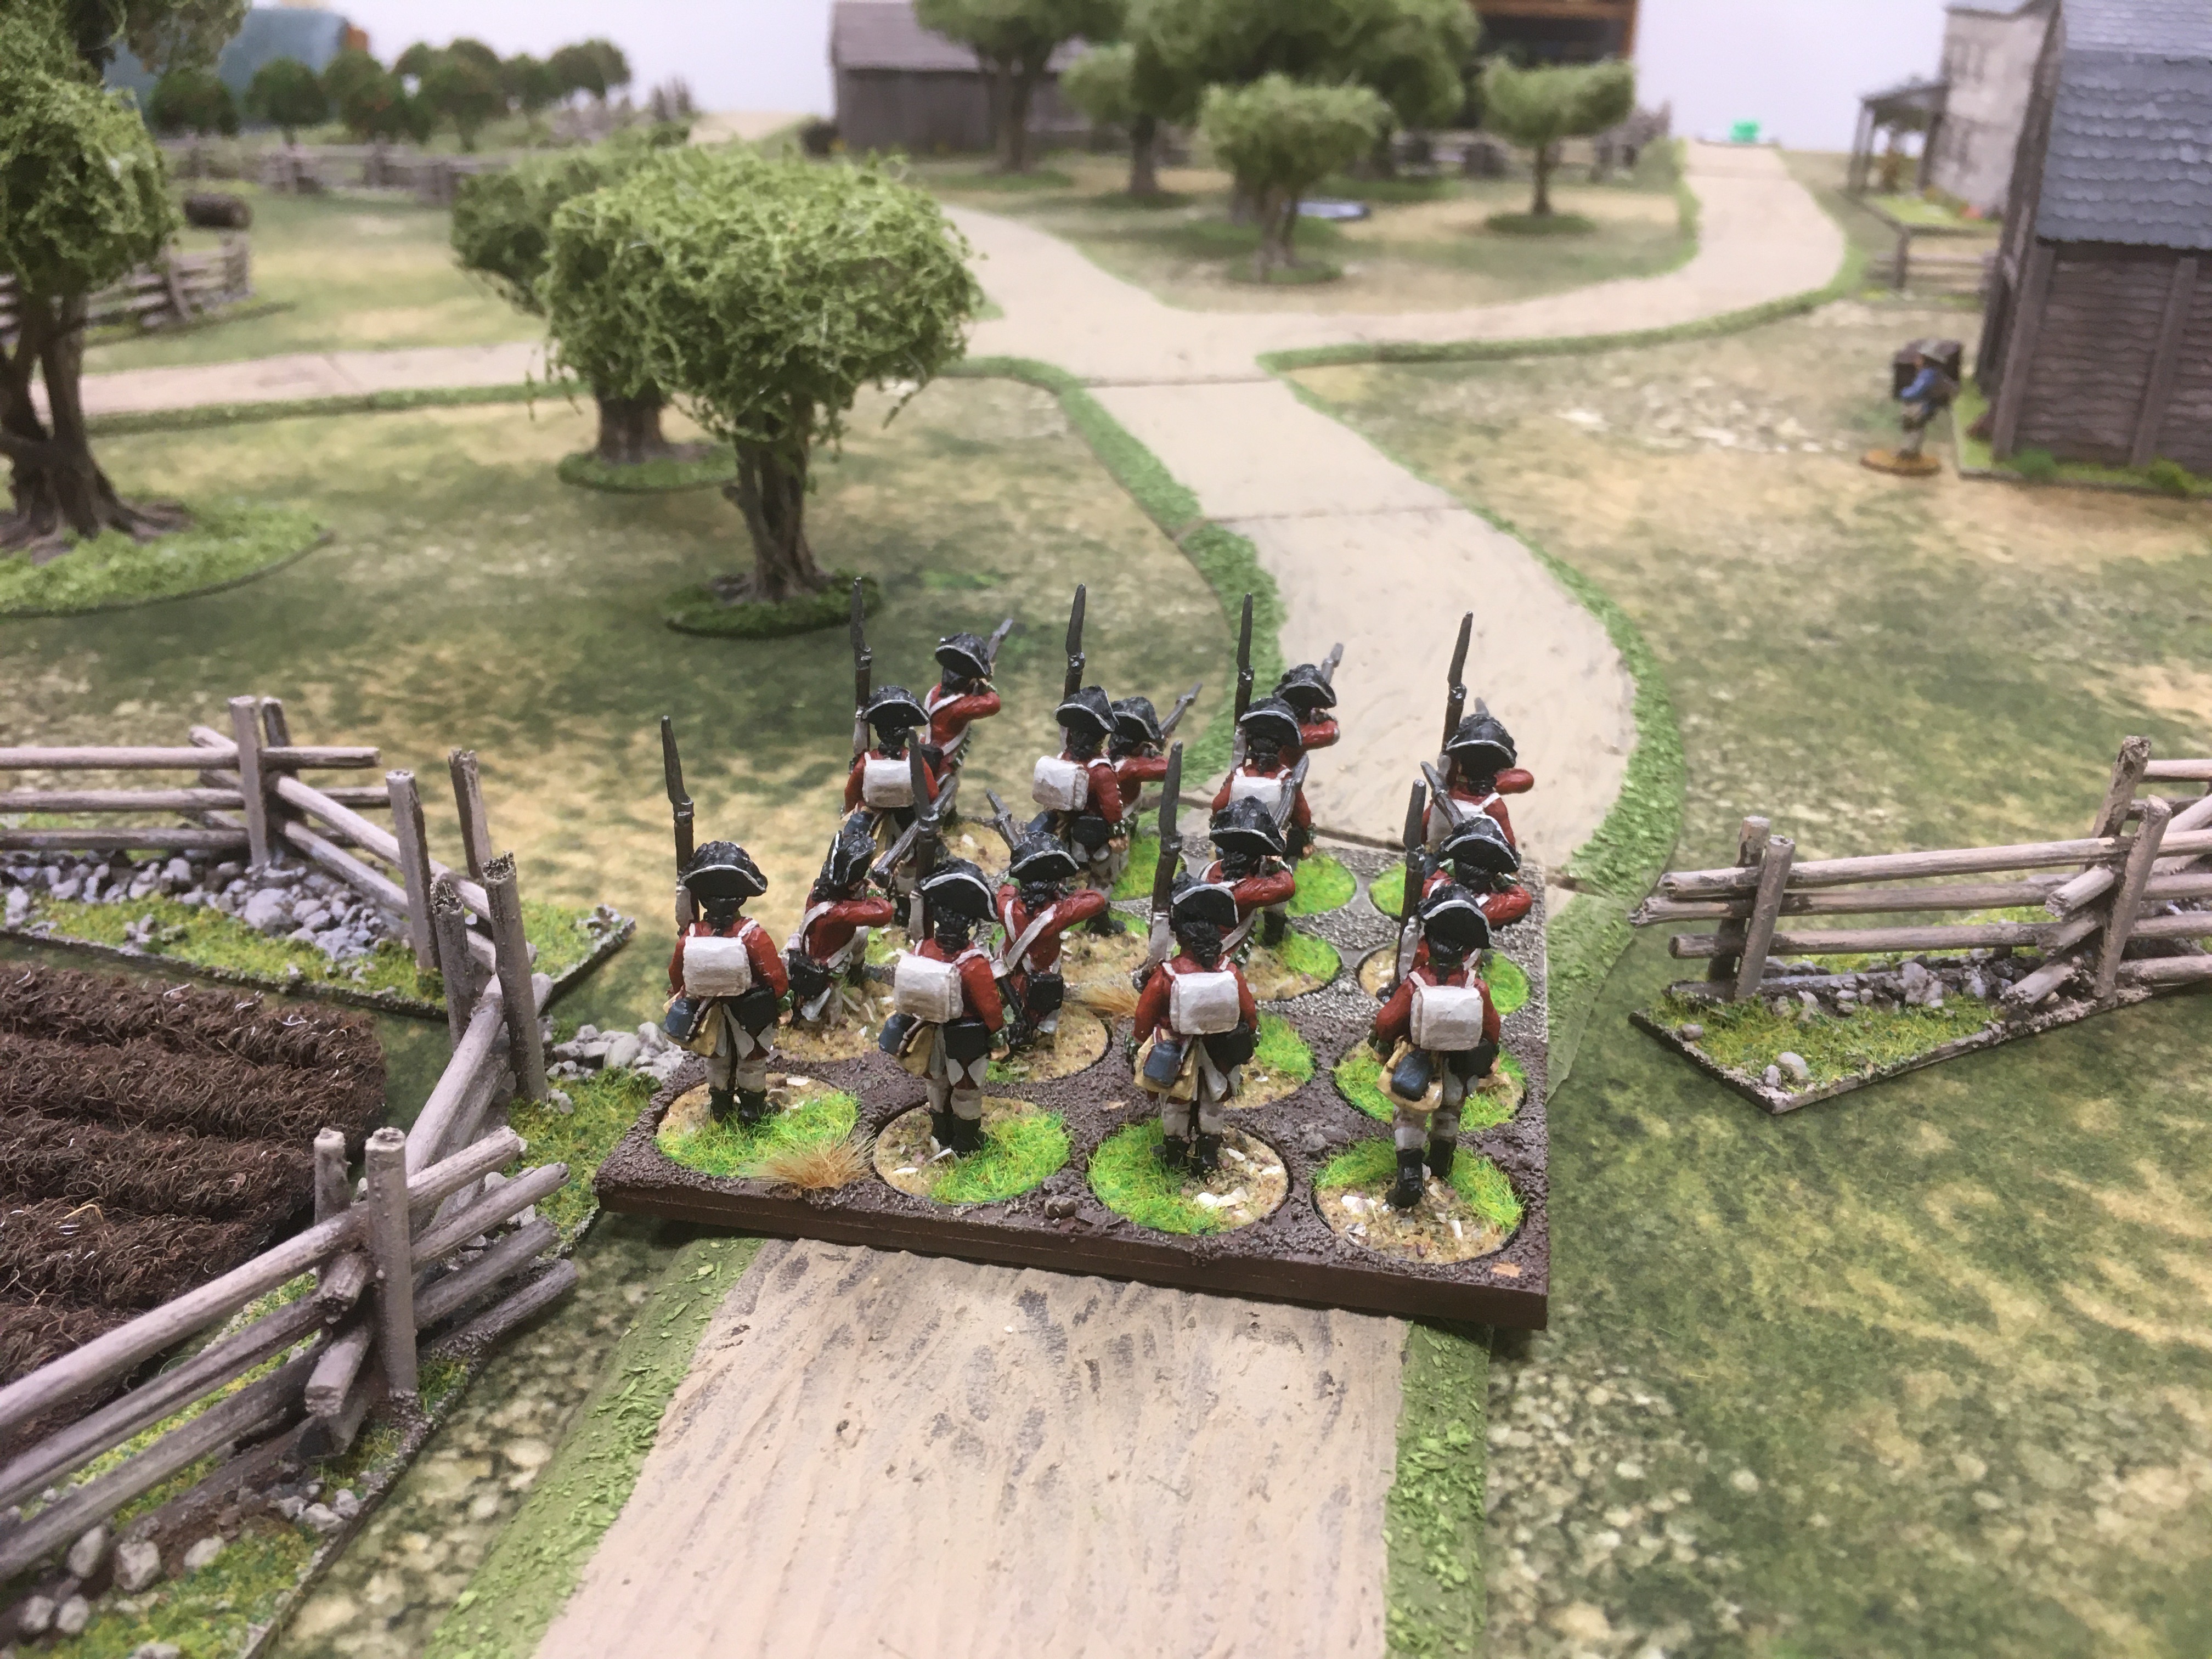
Once again Captain Gerald Ramsey of the 5th Regiment of Foot was sent with his men to 'fly the flag' in Westbury marching his men smartly down the road, as Sergeant Roach and his Light Infantry Skirmishers moved cautiously through the fields on the redcoats flank.
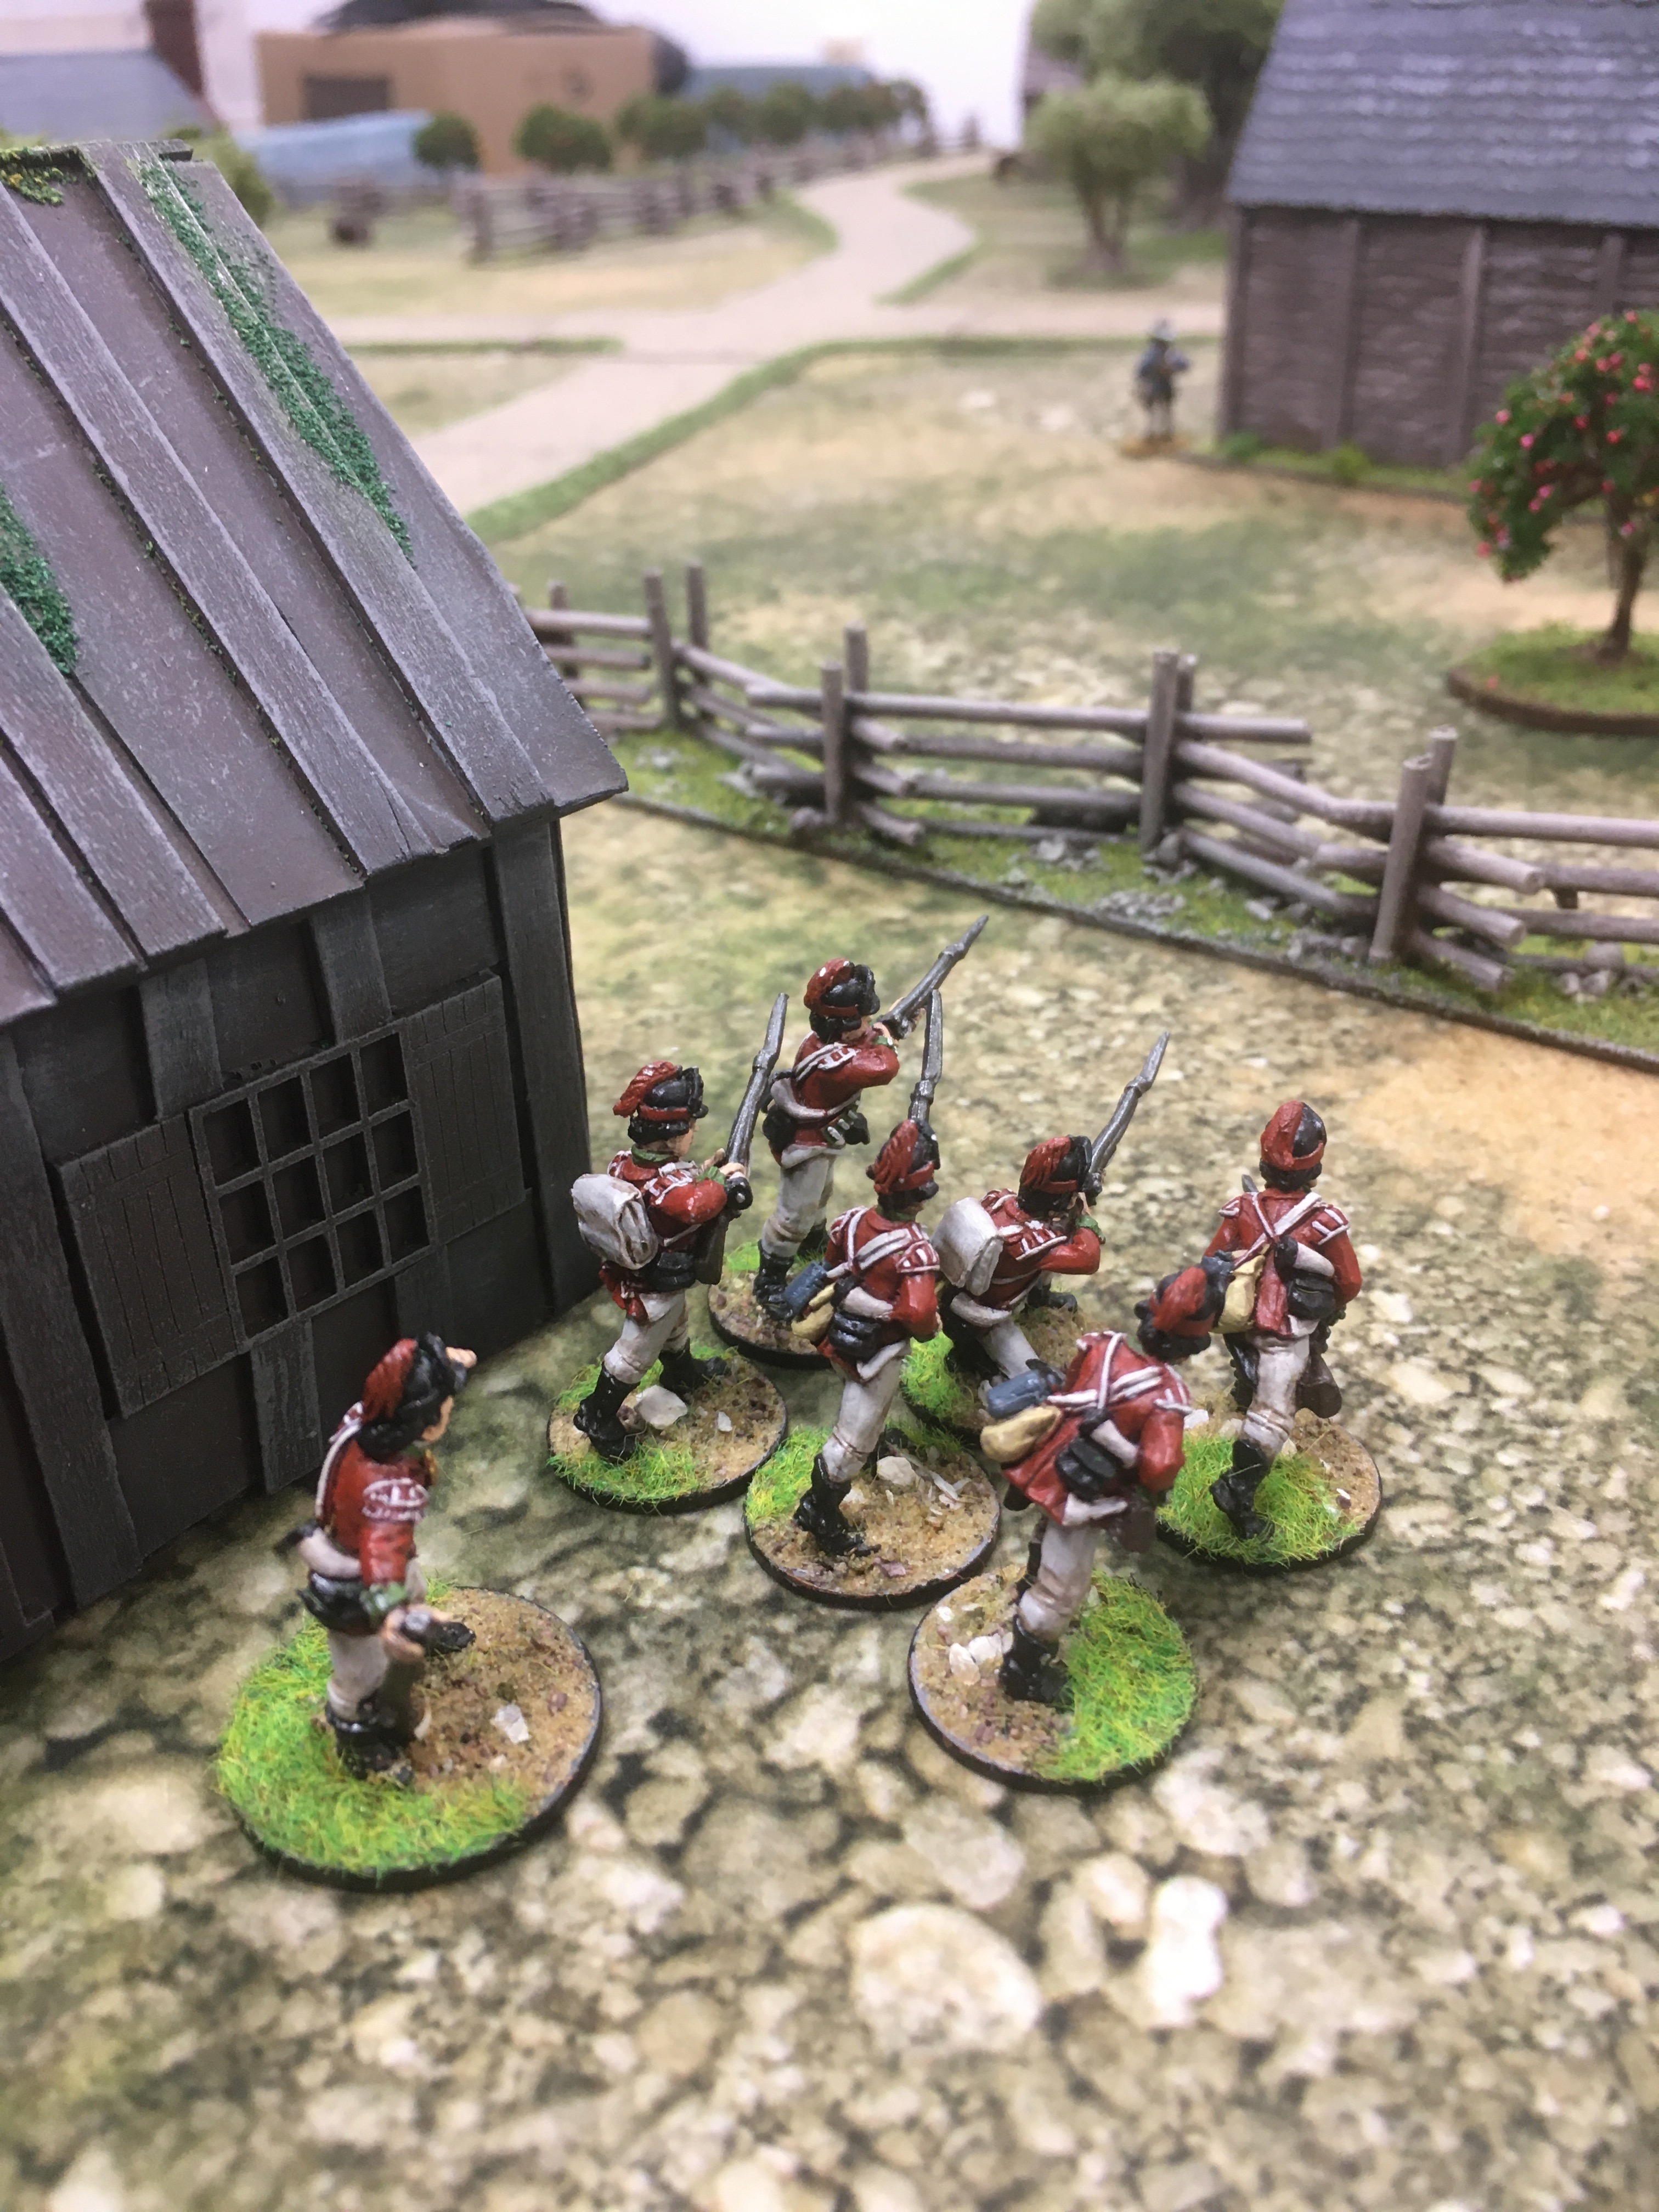
By way of a change, Lieutenant Horace Swinton and his two groups of Line Infantry were able to march down the other road, Andy kindly providing a second deployment point. Swinton was still unlikeable though.

Swinton's column being screened by Sergeant Preston and his skirmishers...

Captain Ramsey spotting a local, popped over to have a chat about Good King George and see if the gentleman enjoyed his tea in a cup or a harbour. All the officers attempting to obtain the oaths of loyalty from civilians had to do it on a new activation which did mean they could be out the fight for some period waiting for their token to be pulled...

But as there was no sign of any Rebels this seemed of little concern.
So Ensign Frederick Hillingham sauntered off to have a 'chat' with another local...

Whilst Lieutenant Swinton pushed forward...

Accompanied by Preston's men on their flank...

Ramsey finished his chat and obtained an oath of allegiance from the nice man he had a chat with.

Suddenly though things took a change as a volley of musket fire erupted from the woods. Rebel skirmishers commanded by Philomon Miller had arrived in Westbury!

However they didn't like it up 'em as Sergeant Roach's Light Infantry Skirmishers gave them a return volley and charged forward bayonets fixed. The Rebel Skirmishers fell back.

Fortunately for the Americans (and their exposed Deployment Point) another group arrived led by Giles McMullen. They fired at Lieutenant Swinton's column...

Two redcoats fell to the Rebel fire and the groups both took some Shock.

Marching (I use the term loosely) to the sound of the guns, more Rebels arrived, Cotton Taggart and his Minutemen.

Swiftly followed by Captain Elisha Wallace with an additional two groups of Minutemen. Typical Rebel scum they hung well back in the woods away from the fighting!

Then even more Rebels arrived like woodlice from under an upturned log, Horatio Galbraith and a group of his rifle armed Skirmishers. They may be slow shooters but they outranged the forces of the Crown.

Taggart's Minutemen engaged Roach's Skirmishers managing to kill two of the Light Infantrymen and inflict some Shock on the exposed group.

However Sergeant Preston's men were providing covering fire from the flank...

And this gave Roach the opportunity to charge his men in on the enemy Skirmishers...

And force them to flee!

Preston and his men engaged in an ineffective exchange of fire with Galbraith's Riflemen...

Whilst the silver tongued Ensign Hillingham finally managed to persuade his civilian that Washington was a bounder and King George a jolly good ruler.

The fighting in the wood grew quite intense as the two groups of Light Infantry Skirmishers took on the Rebel force on their own with no sign of the two formations of Line Infantry who were supposed to be following them.

Captain Wallace's Minutemen poured a volley at Sergeant Roach and his four Skirmishers...

The musket fire ripping through the trees and killing another two of Roach's men. The survivors stood strong in the finest traditions of the British army!

However the numbers of Rebel muskets were beginning to add up...

And two of Preston's men fell and his group of Skirmishers took some Shock,

Having enjoyed his chat with the local and with the oath of allegiance carefully stowed in his jacked pocket. Captain Ramsey strolled rather laconically back to his men...

Who had been stood watching the fighting before them, no doubt discussing the price of cabbages with the local farmer or some kind of agricultural nonsense.

Ensign Hillingham also decided he ought to get back with his unit and strolled a little quicker down the road but, it must be said, was hardly breaking a sweat...

Having taken some more casualties and Shock from the Rebels, Lieutenant Swinton deployed his men into line and fired...

Their volley inflicting some Shock on the Rebel Skirmishers and wounding the Rebel Leader Philomon Miller!

However another volley of Minutemen fire proved too much for Sergeant Roach and his surviving Light Infantryman who broke and ran back towards the safety of the Redcoat lines.

With Ensign Hillingham having reached his somewhat depleted unit...

Lieutenant Swinton left the Regulars in his command to fire volleys at the Cotton Miller's Minutemen,,,

Their fire being complimented by Ramsey's men who eventually decided to take part in the battle after the Captain rejoined them and they'd taken some casualties from Minutemen fire!

The controlled volleys scaring off a local whom Ramsey was planning to chat with. Oh bugger...

Lieutenant Swinton attempted to get an oath of allegiance out of an old crone...

But being 'unlikeable' he needed to score a 5 or 6 on his dice roll to get the oath so, unlike his brother officers failed and she ran off...

Unable to get to the remaining civilians behind Rebel lines, I had to role a D6 to see if the two oaths of allegiance my British had got was enough to please the Crown. Needing to score a 5 or 6 I rolled a 1. Captain Ramsey would soon find himself commanding a garrison as far from New York as could be found for him! :D
The changes Andy made to the scenario from our first play through did give it a better balance and maybe things would have worked out better if the British Regulars had supported the Light Infantry Skirmishers who had shown much zeal with the bayonet.
On the day at Winter Wonderland II after a couple more slight tweaks Andy ran the game twice, the British achieving a narrow victory in the first game and a decisive one in the second, managing to advance down the whole length of the table and smash the Rebels!
No comments:
Post a Comment