This was my last wargame of 2021, an American Revolutionary War
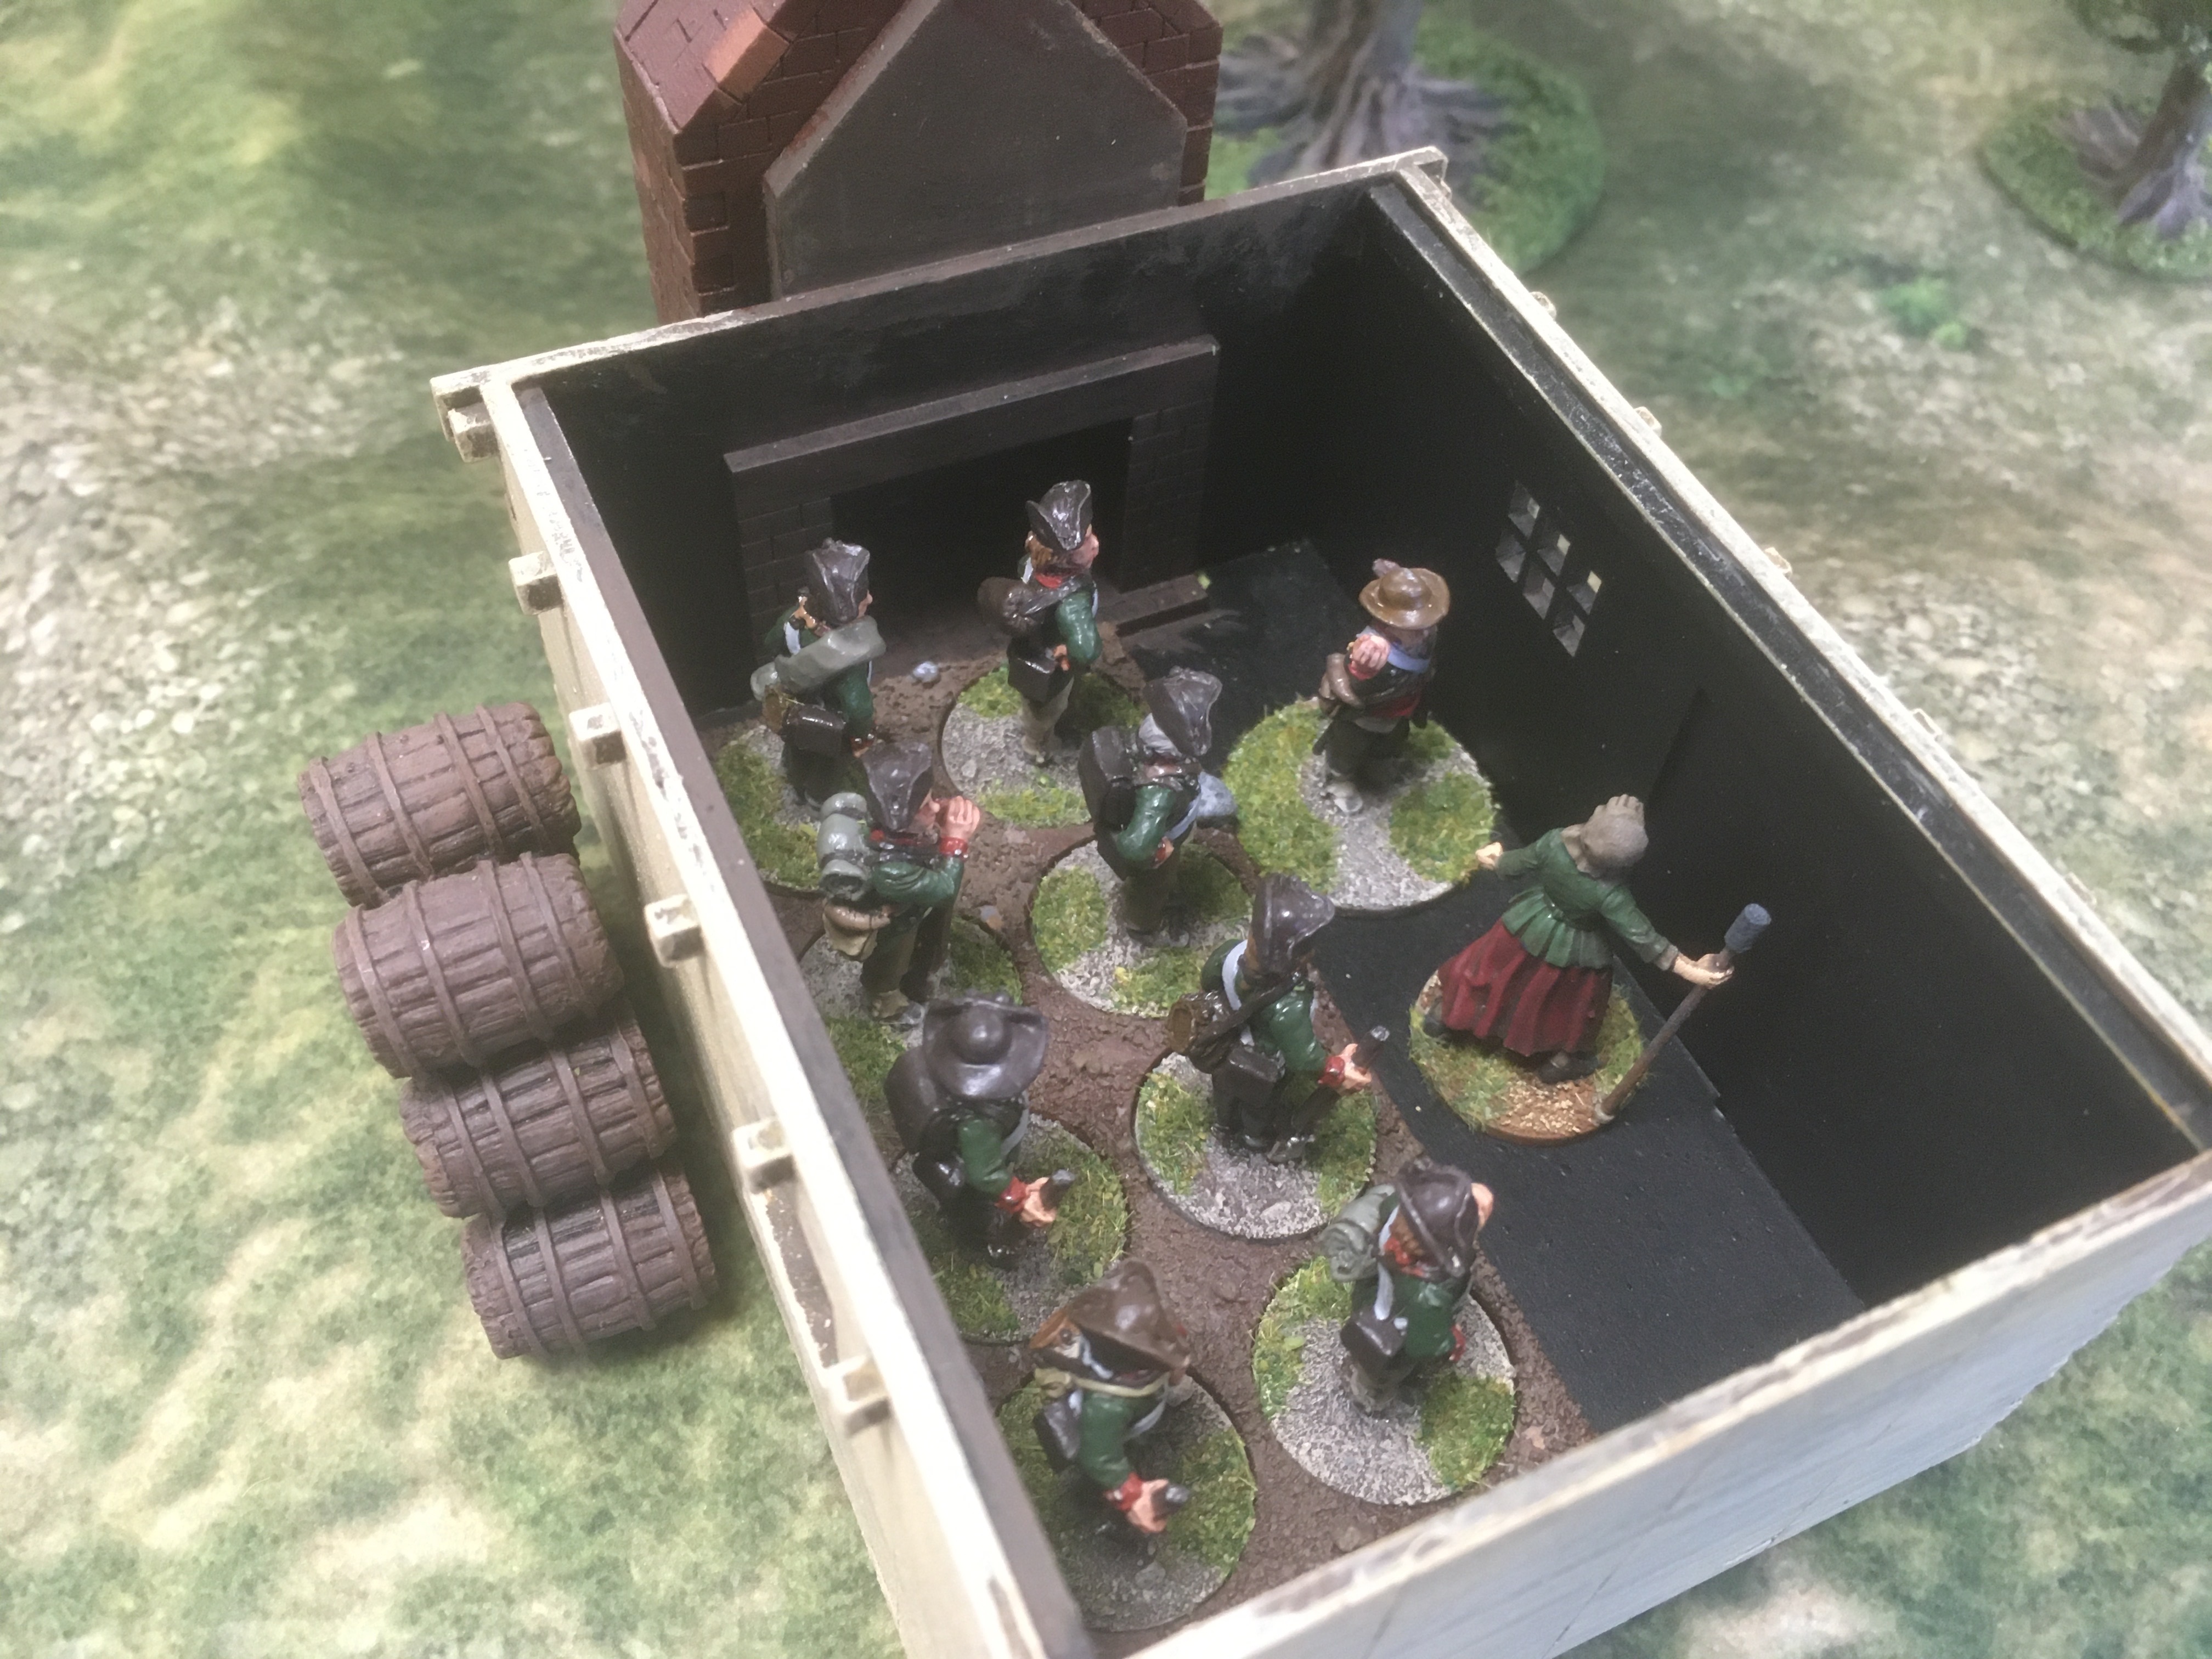
Sharp Practice game against Andy. In this scenario the Tory oppressors of liberty have captured the brave Ms. Anna Strong who needed to be rescued by our staunch Patriot heroes...
Nearby Corporal Stringer and a unit of British Light Infantry skirmishers examined some very nice American rail fencing whilst they waited for any rebels to show themselves.
The quality fencing was so fascinating that the British did not notice that Lieutenant Gillan and his Light Infantry had reached the building where the vile Tory types held the noble Ms. Strong. "Release her you Tory bounders or taste the points of our virtuous steel!"
With the Tories refusing to heed his reasonable request, Gillan ordered his men to storm the building! They recovered the brave Ms. Strong, wounding and capturing the Tory commander, though not without one brave American falling dead and Lieutenant Gillan himself receiving a heroic wound!
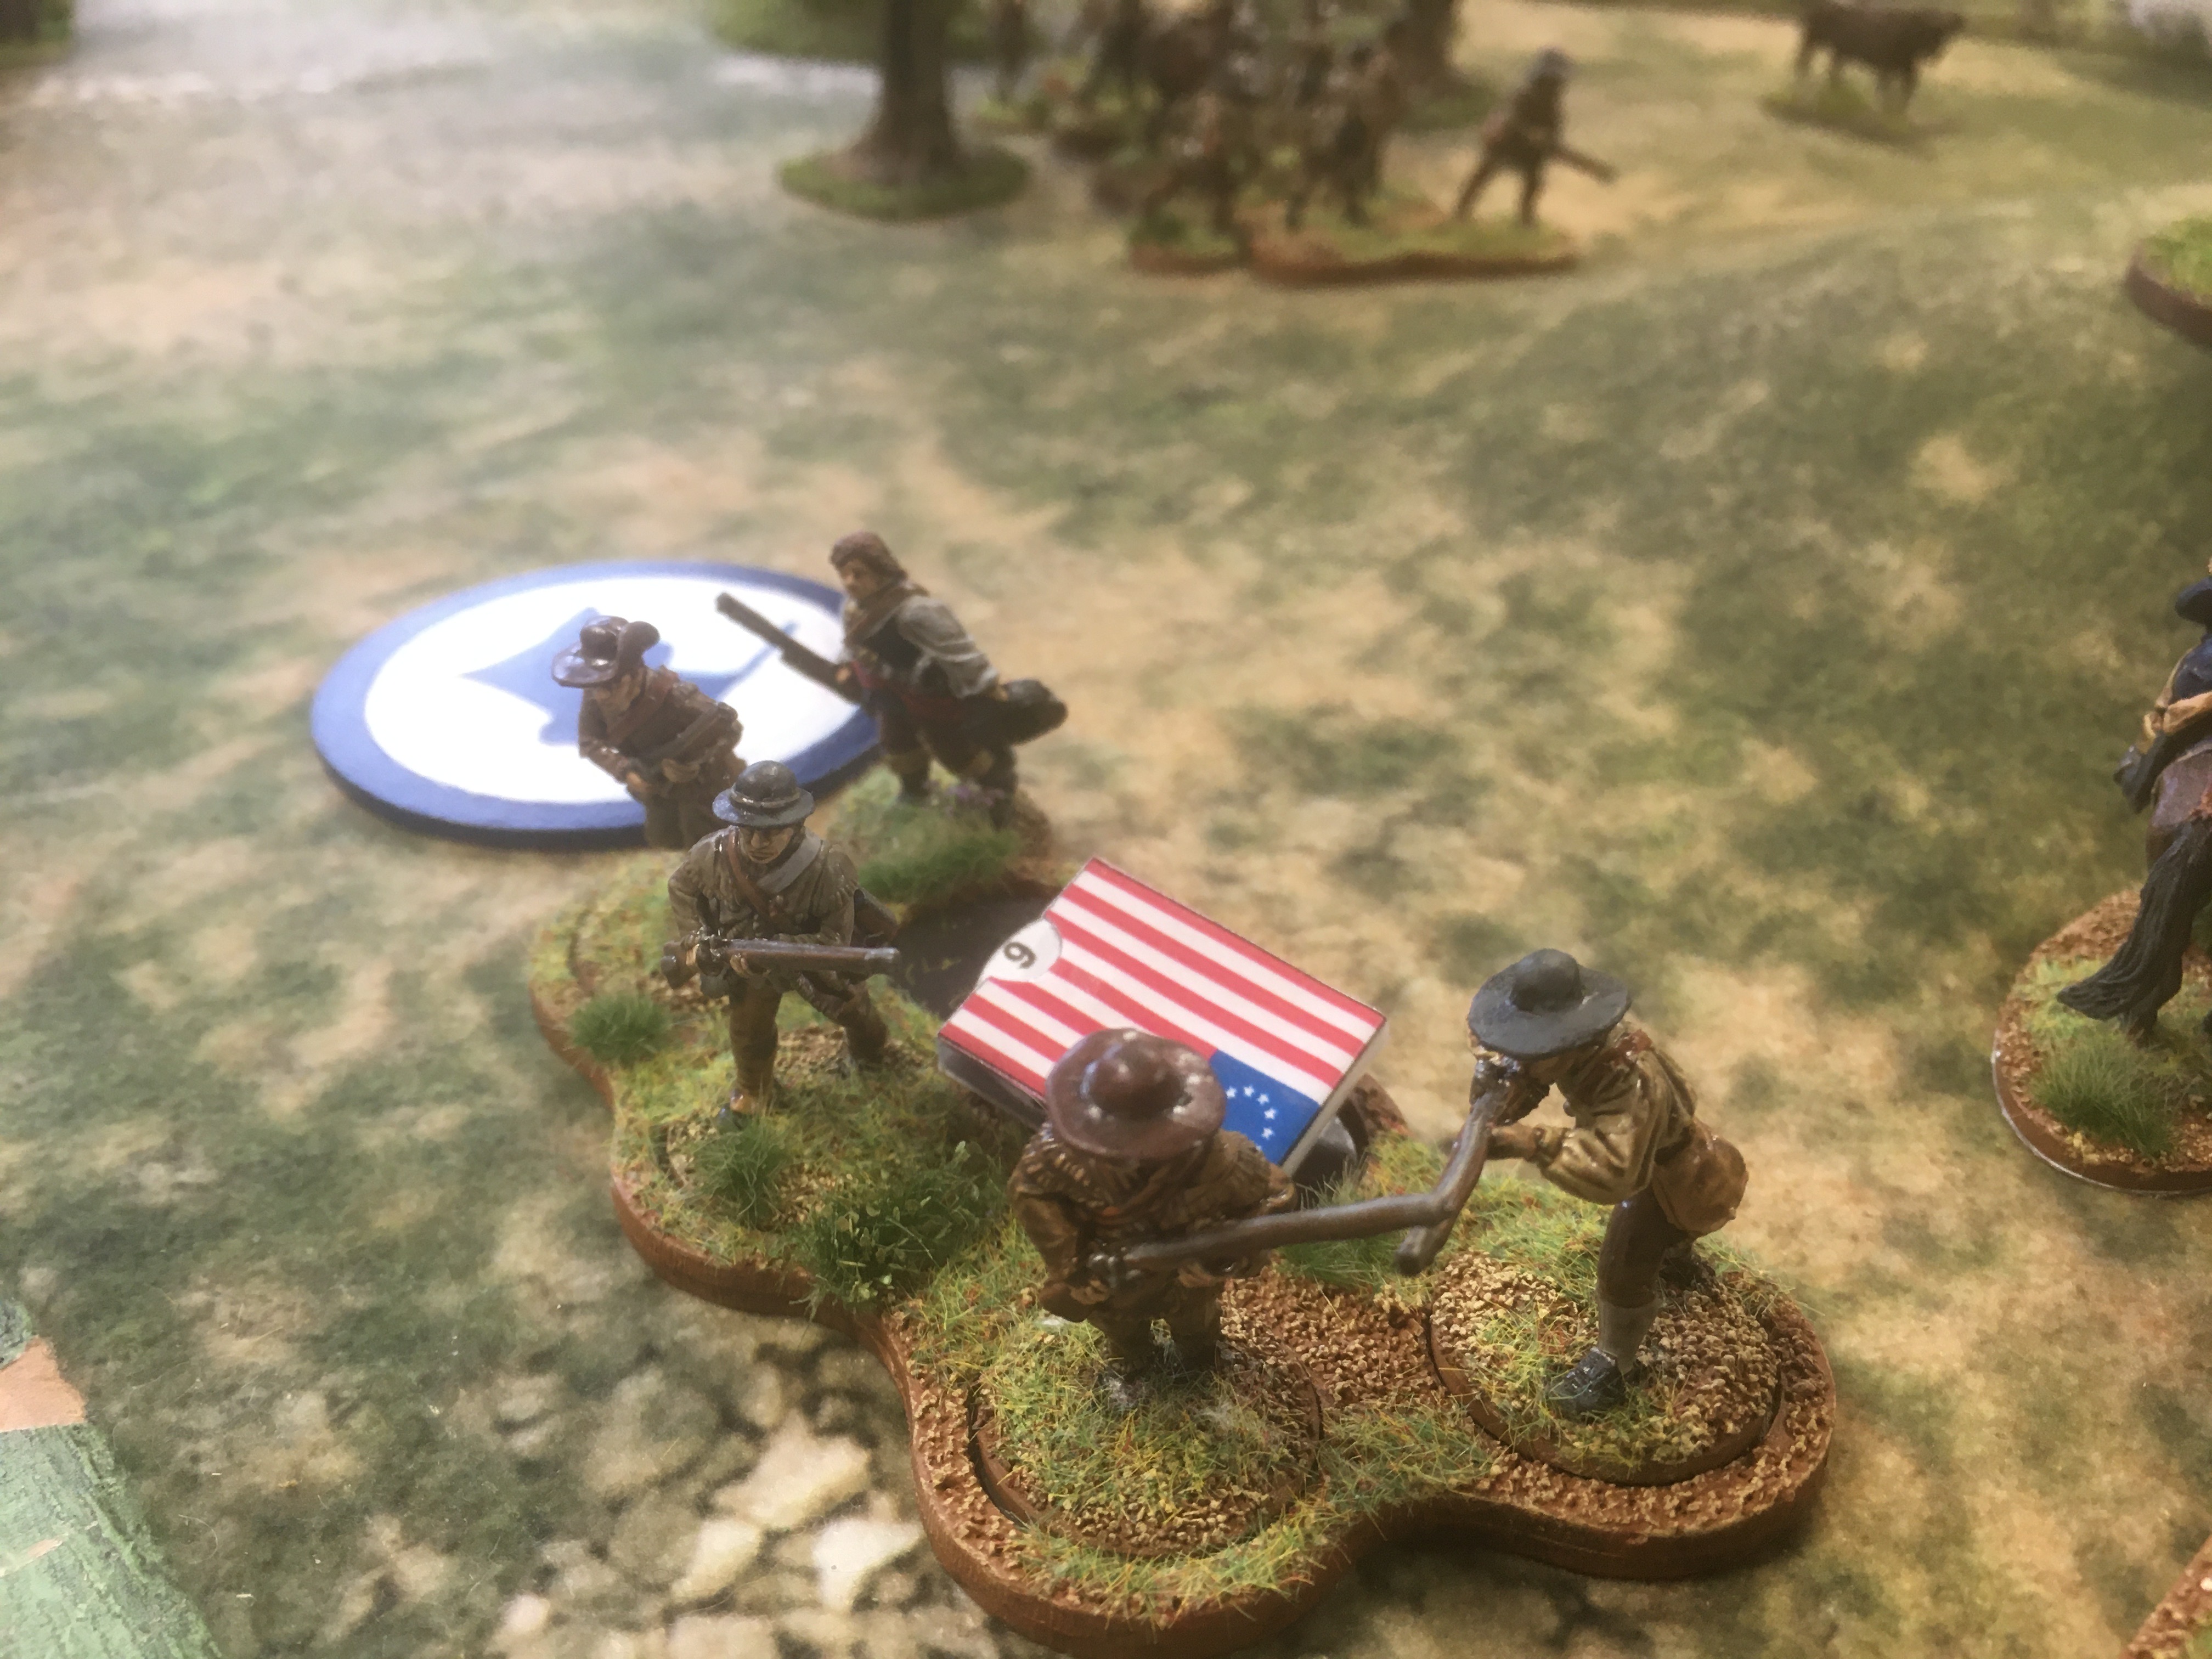
Elsewhere Corporal Hughes led his Militia skirmishers through the fields to try and secure a route for Gillan's men to escort Ms. Strong to safety.
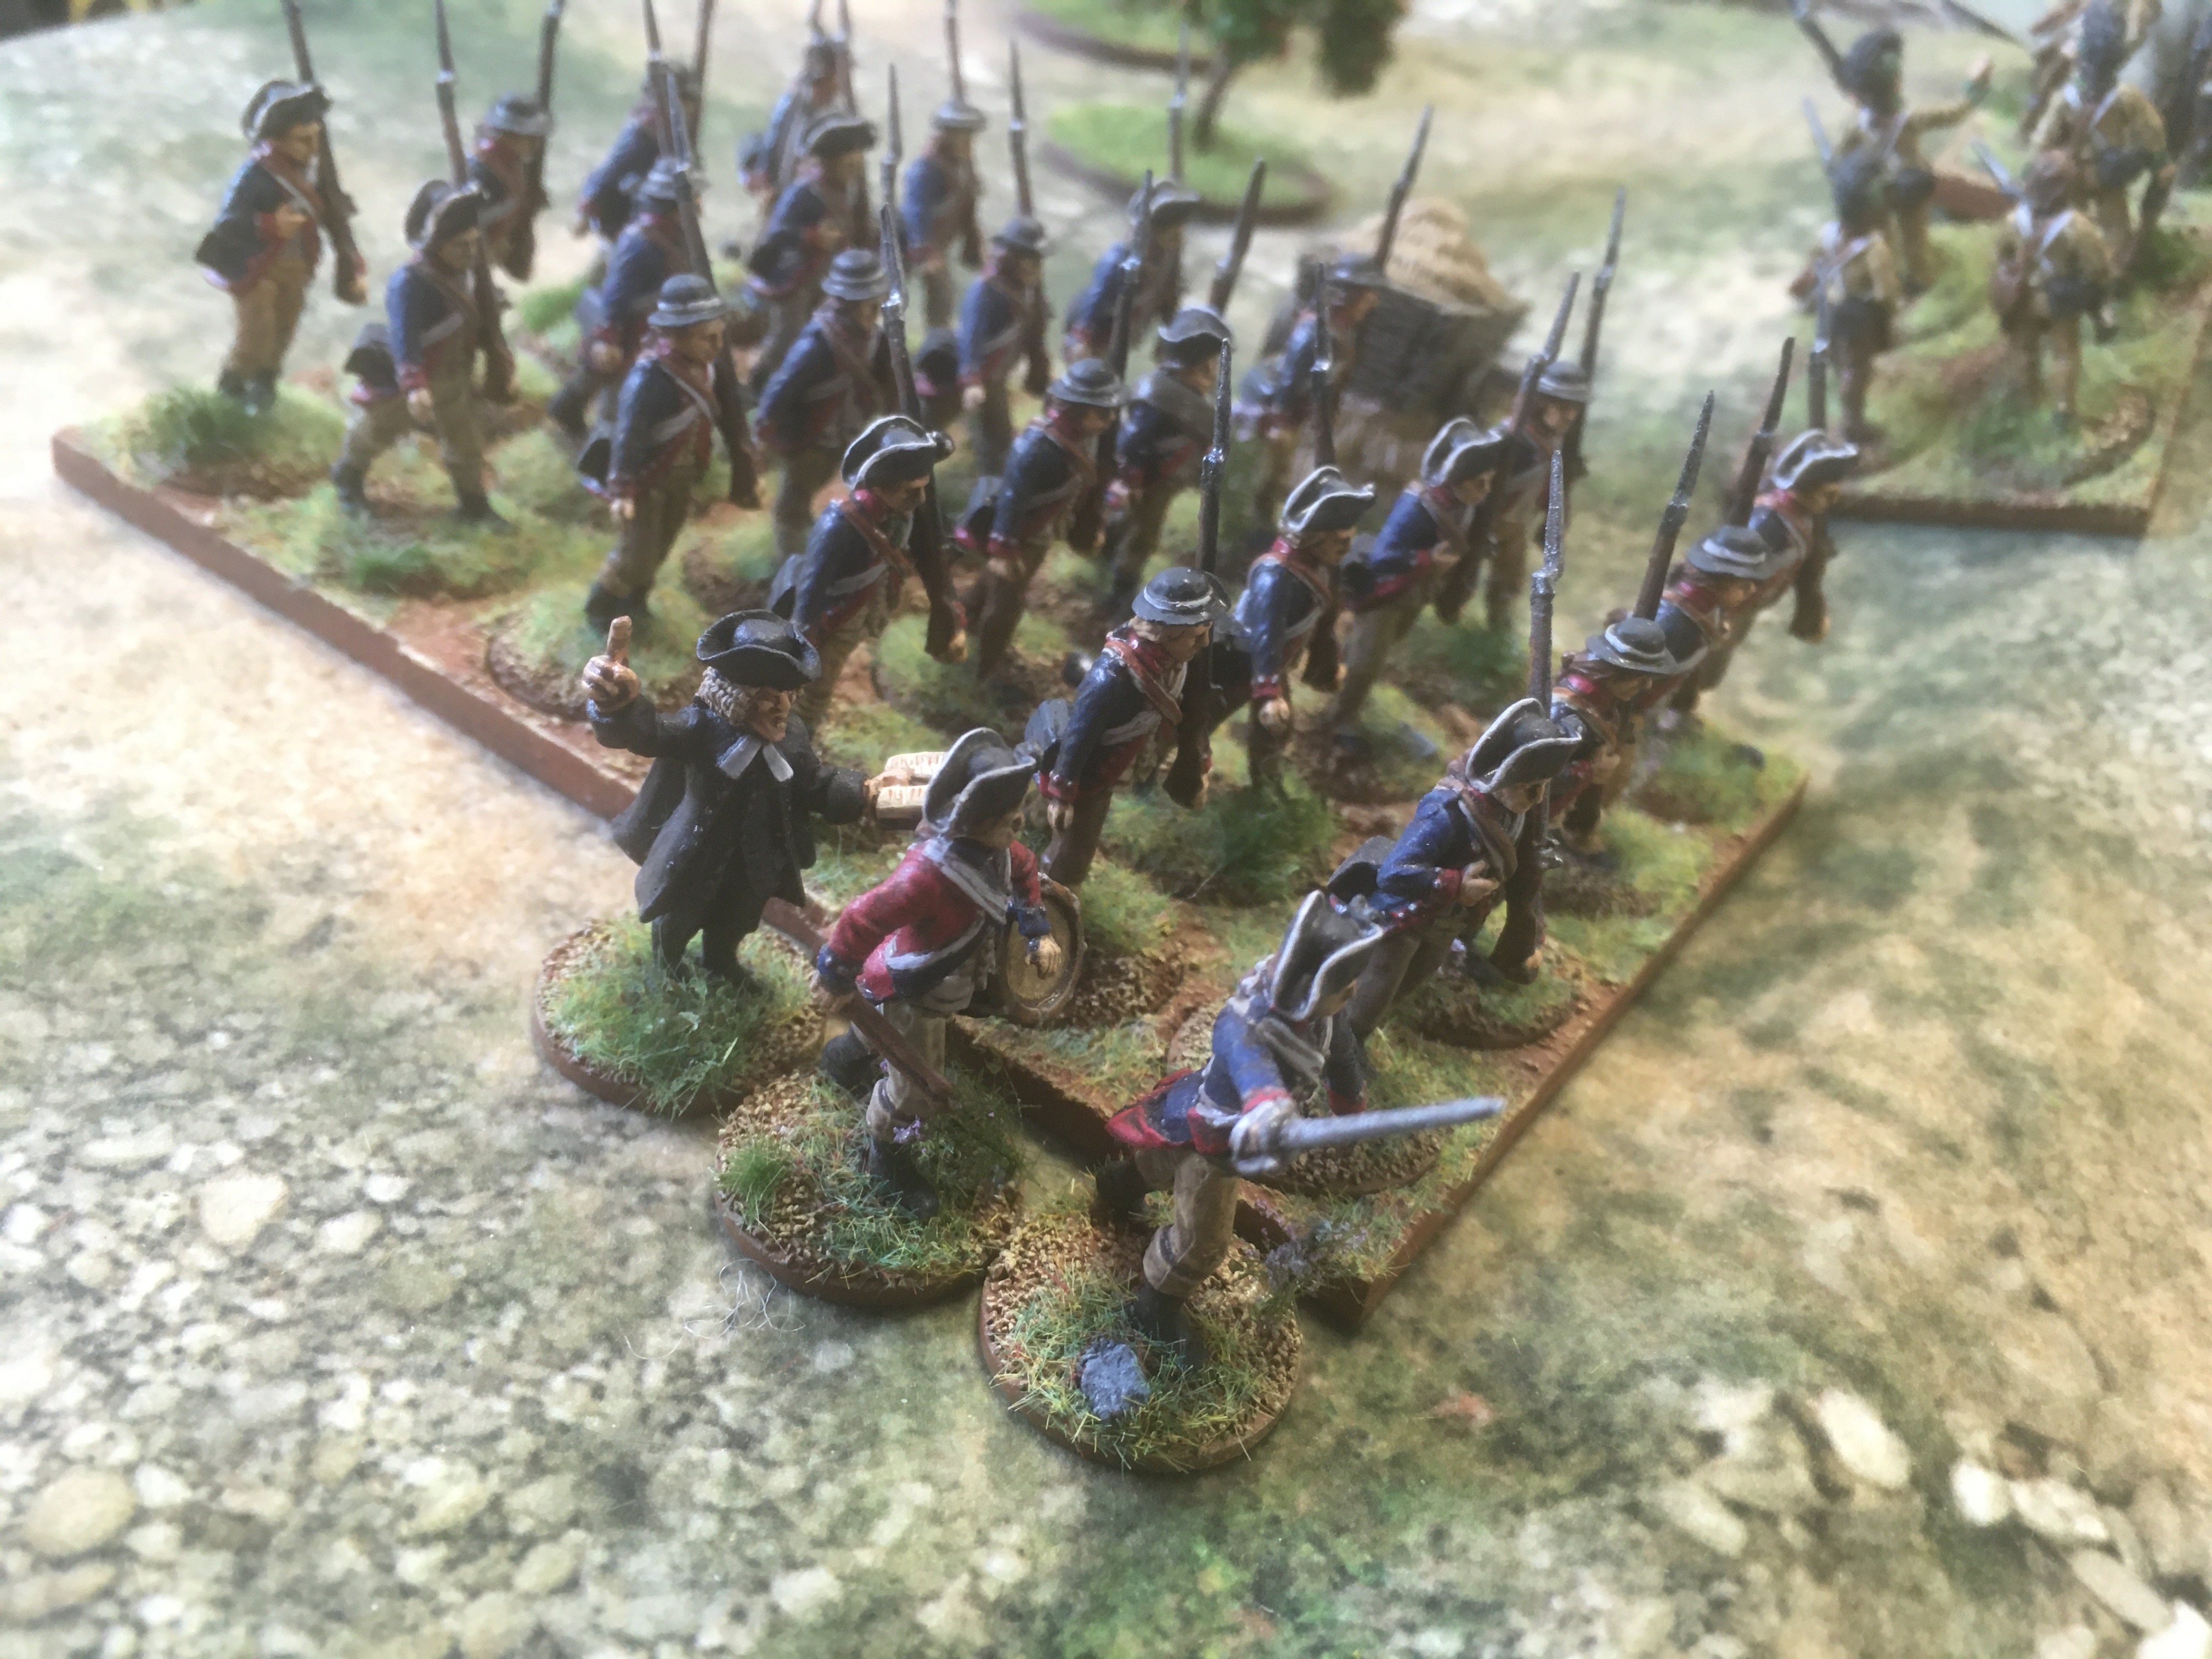
Whilst Captain Blackmore led three groups of Continental Line forward to form a bastion of protection for the American heroine.
Hughes men tried to rush forward to gain the protection of the side of a barn...
But were caught short and received a sharp volley of fire from Corporal Stringer's Lights, killing one militiaman and inflicting Shock on his comrades.
On the other side of the barn, the British deployed more Light Infantry skirmishers, commanded by Sergeant Roach, looking to outflank the Patriot Militia.
Having secured their prisoner, bandaged Lieutenant Gillan's wound and presented themselves to Ms. Anna Strong, the Continental Light Infantry began to escort the noble lady to safety...
Unfortunately for the Americans another volley from Corporal Stringer's men saw the surviving Militia skirmishers fall back.
Captain Blackmore ordered his line to advance forward towards the pesky British skirmishers...
Whilst the dashing Lieutenant Coverdale led his Continental Light Dragoons onto the field of battle.
With the typical unsportsmanlike behaviour you expect from the British in this period, Stringer's men fired another volley - into the backs of the Militia skirmishers...
Who Break and almost flee the field.
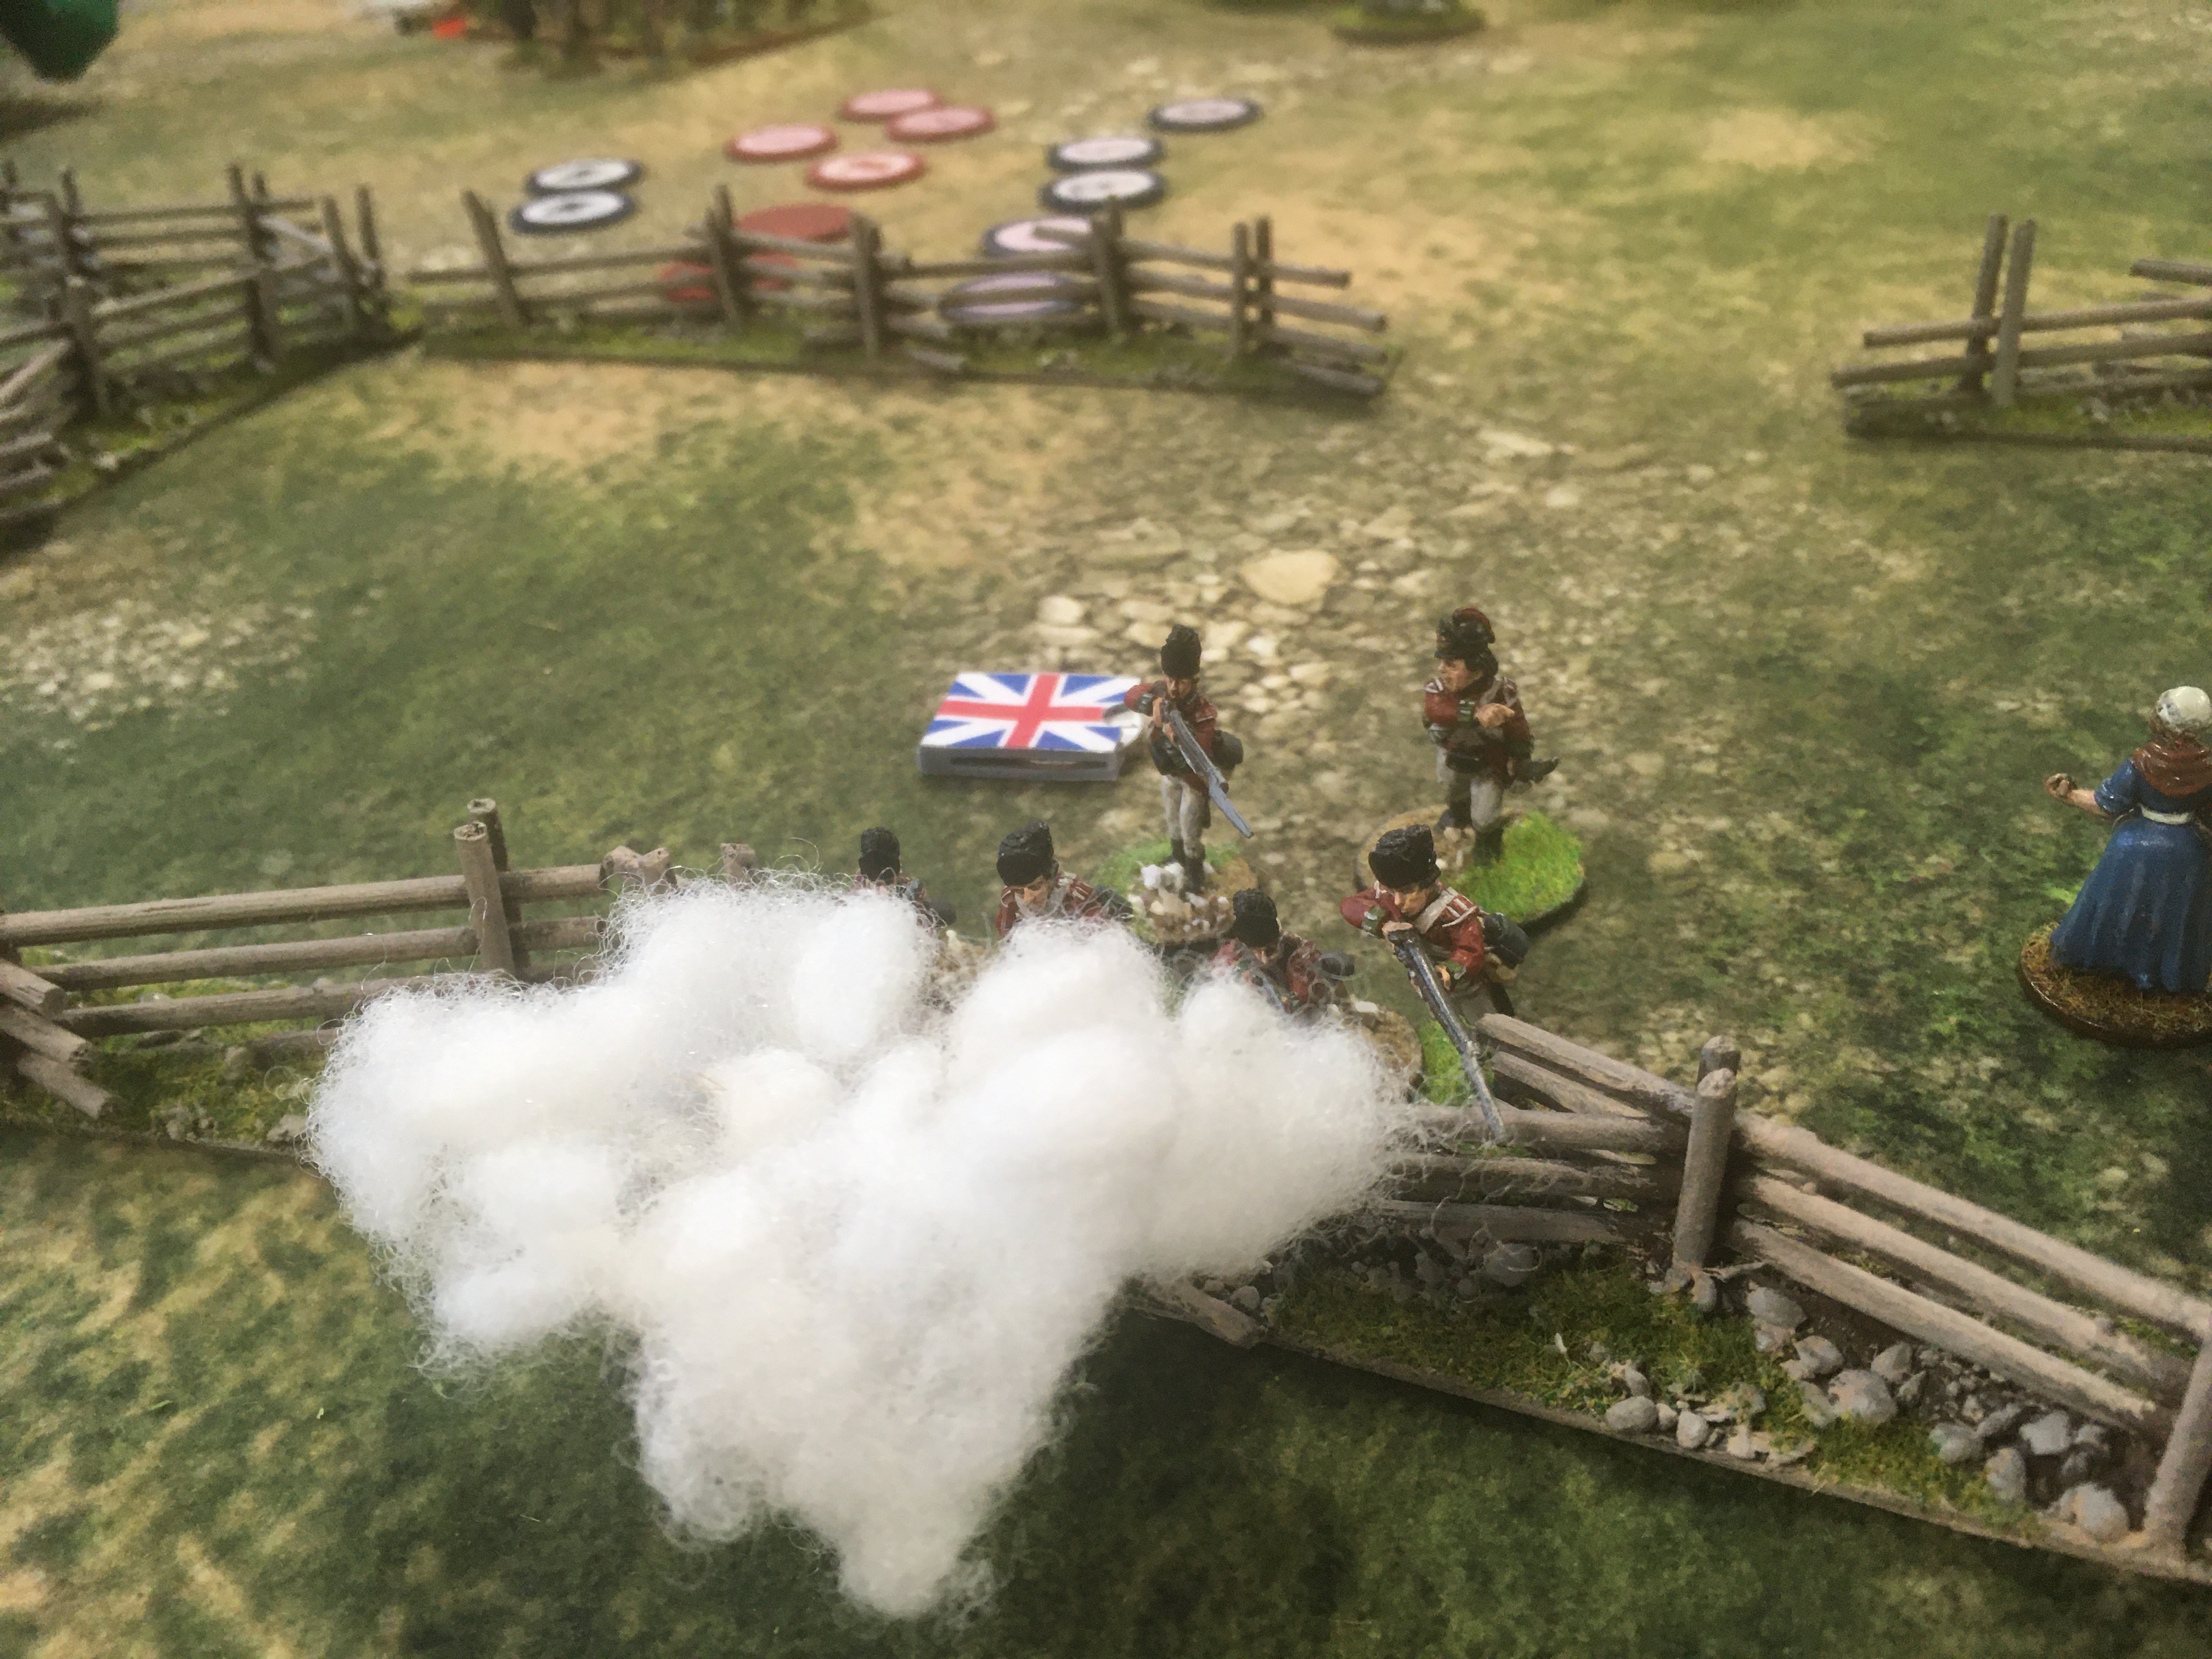
Then down the road Captain Haddock appeared leading two groups of Lobsterback line who he snapped into line and ordered to present arms!
A move mirrored by Captain Blackmore with his Continental line...
Meanwhile Ensign Harrow appeared with two groups of Light Infantry to try and cut off Ms. Strong's line of retreat.
And more redcoat line appeared.
Fresh from his success against Corporal Hughes' Militia skirmishers, Stringer and his men decided to take on another group commanded by Patriot Corporal Paice...
Their firing was good but the American return fire was devastating!
Unfortunately it was not enough to finish off the British skirmishers and they returned fire wounding Corporal Paice who had to be dragged to safety by the surviving Militia man.
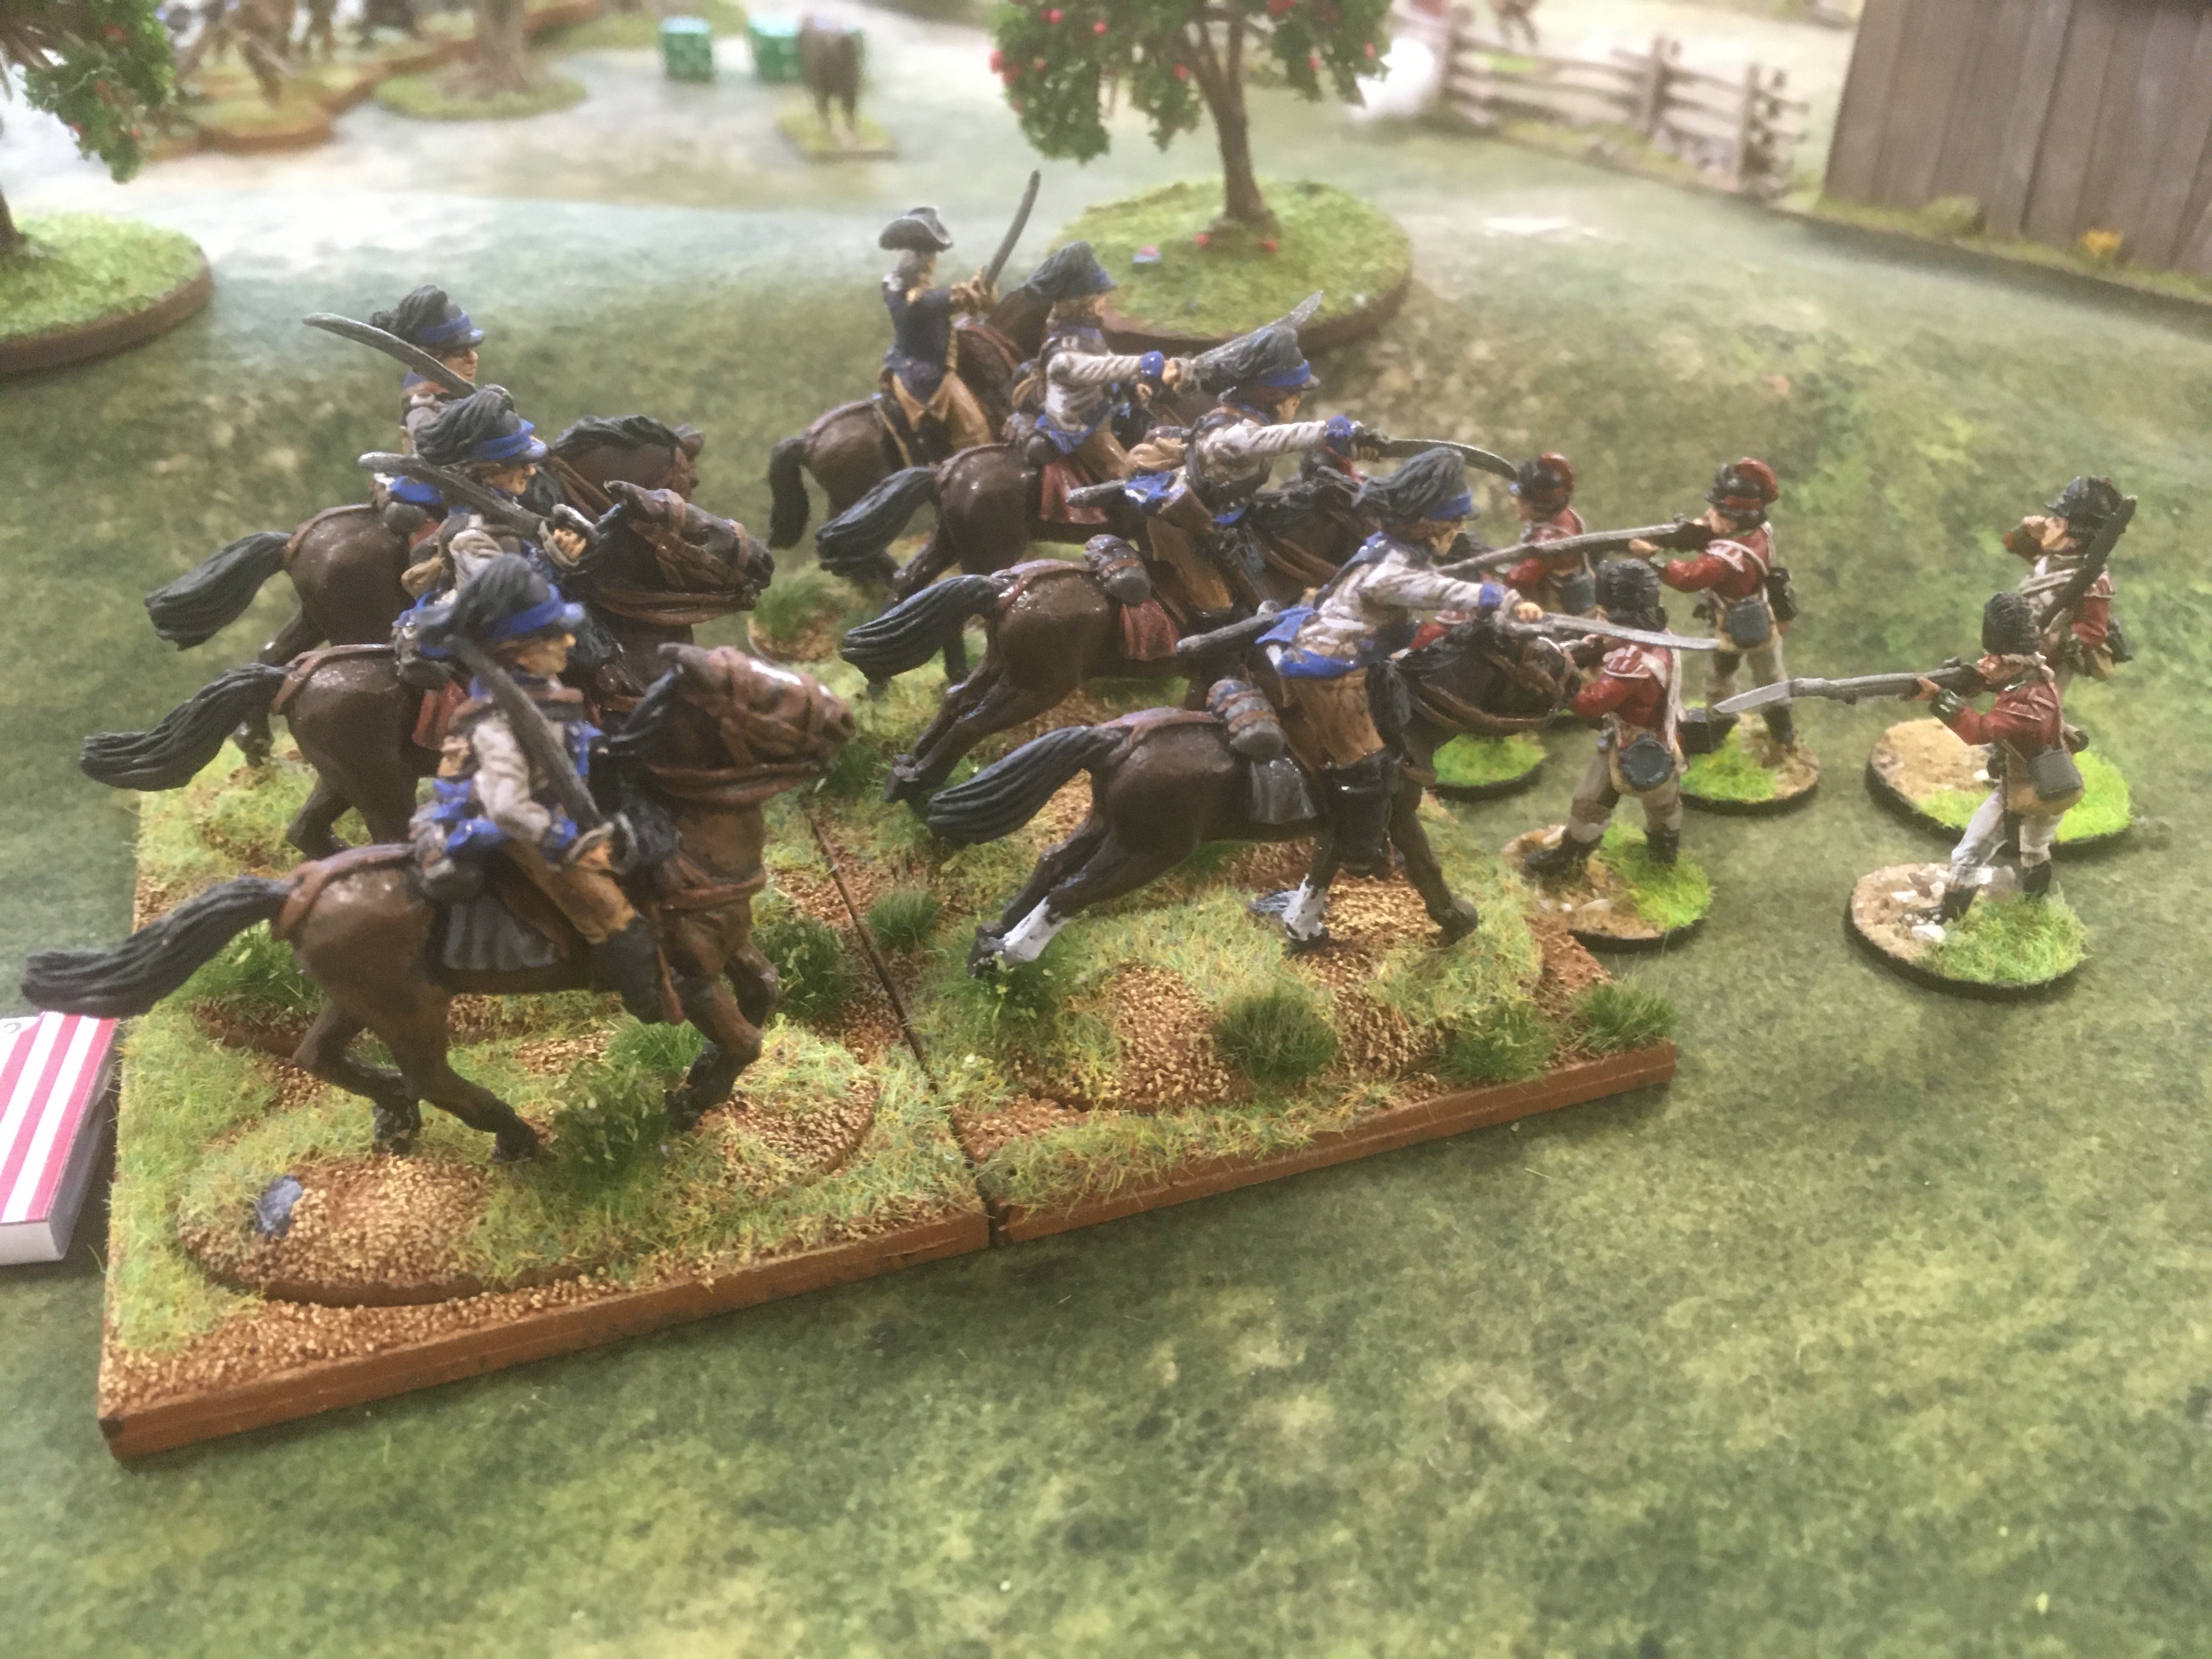
Elsewhere Lieutenant Coverdale's dragoons spotted Sergeant Roach and his Light Infantry skirmishers, who had just moved forward, and charged them! Tally ho!
The charge was devastating with all bar one of the skirmishers killed and Roach wounded! This resulted in the surviving redcoat breaking, dragging his incapacitated Sergeant with him...
Unfortunately this rout went through Ensign Harrow's Light Infantry who picked up the Excess Shock...
And through a group of Redcoat line who also took Excess Shock!
The Gods of War(gaming) clearly love a good cavalry charge and Coverdale's men were activated again so charged in on Ensign Harrow and his Light Infantry...
The contacted group lost over half its mend and Ensign Harrow fell wounded to a well aimed sabre cut! The Light Infantry group broke and fell back...
Piling Excess Shock on the group behind them who were also forced back!
The survivors narrowing missing the deployed British Line and just remaining on the field of battle coming to a halt on their deployment point!
Entertaining as though a good cavalry charge or two can be, elsewhere things were not going as well for the Americans. Stringer's Light Infantry skirmishers poured fire into a third group of Patriot Militia skirmishers...
And then charged in on Corporal Glover's men...
Causing them to Break.
Rather than attempt to charge over the rail fencing and remembering his men were dragoons, Coverdale ordered his horsemen to fire their carbines at the British Light Infantry survivors...
Who fell back further, almost through a unit of British Line.
This resulted in the British Force Morale dropping to just 1. However at this stage of the battle the American Force Morale itself was only 2!
Desperate times indeed. Corporal Stringer advanced his men forward towards the American Deployment point firing at the wounded Corporal Paice and his surviving skirmisher.
Having dragged his leader to safety the brave Militiamen fell dead to the nefarious British musketry - and the American Force Morale dropped to 1!
Somewhat ironically the main parts of both armies had not done anything much up to this point other than glare at each other across an open field. Captain Haddock decided to move his redcoats forward.
Into a long range volley of Continental Line musket fire...
Having lost four men and taken some Shock the Lobsterbacks returned fire to minimal effect.
Whereas the Gods of War(gaming) clearly liked a cavalry charge, they don't like a Light Infantry unit escorting a female secret agent and despite the excitement elsewhere Gillan and his men had only just made it across the rail fence and into the woodland as they attempted to get Ms. Strong to safety.
Hearing the retreating Continental Light Infantry to his rear and noting the Dragoons to his flank, Corporal Stringer decides to throw caution to the wind and attempt to rush and seize the American Deployment Point. Rolling 3D6 for distance covered, well what can I say...
Moving 18 inches in one turn Stringer and his men reached the American Deployment Point, cutting off the Patriot's retreat and causing the American Force Morale to hit 0...
Another cracking game of Sharp Practice in the Rebellious colonies. Although my Americans lost the performance of the Continental Light Dragoons will live long in the memory. Perhaps in future I will remember not to rely on Militia Skirmishers to cover my line of retreat!